Stripe
Implementing Stripe Express as payment provider
Stripe Checkout is an embeddable payment form for desktop, tablet, and mobile devices. It works from within your website – customers can pay instantly without being redirected away to complete the transaction. It also supports saved credit cards.
Some things to note:
- Stripe requires an SSL certificate in production mode
- Please verify that your country is supported by Stripe
For more information about Stripe, consult https://support.stripe.com/ or https://stripe.com.
If you don’t already have a Stripe account you can register here.
To configure the Stripe payment provider, you need 2 keys:
- A Test Secret key
- A Test Publishable key
You can locate these keys within your Stripe account. Once your account is activated, you'll also find access to the live keys in the same section.
Once you have obtained the keys you can configure the Stripe checkout handler:
- Go to Settings > Ecommerce > Order Management > Payment and click the '+ new payment' in the upper right corner
- Go to the Provider tab and select 'Stripe Checkout' as the payment provider
- Fill in the 2 test keys from Stripe
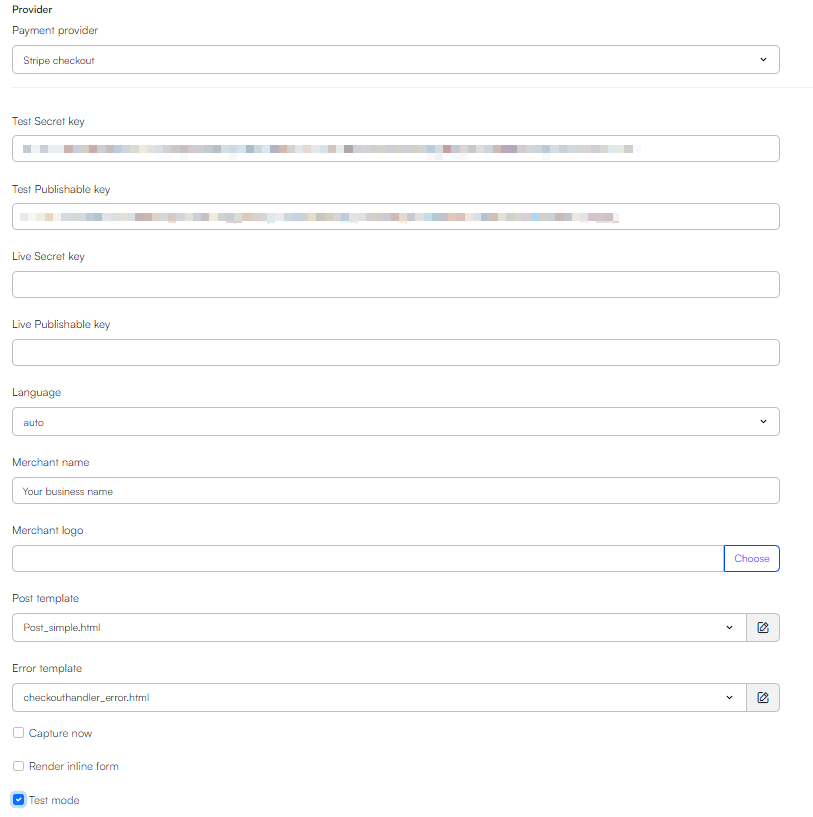
For a basic configuration:
- Supply the Test Secret key and the Test Published key from Stripe
- Select a language – or use auto, which selects a checkout language based on the browser. This setting is also used to format numbers & currencies according to the customs of the language selected.
- Provide a merchant name and a merchant logo to use in the payment form
- Select or create templates:
- The post template is used to post data to Stripe
- The error template is shown if an error occurs during checkout
You also have access to the following parameters:
| Parameter | What it does | Comment |
|---|---|---|
| Capture now | Auto-captures a payment when it is authorized | Please note that it is illegal in some countries to capture payment before shipping any physical goods |
| Render inline form | Makes it possible to render this form inline in the checkout flow | Use the 'Ecom:Cart.PaymentInlineForm' tag in the cart flow to render the form inline. |
| Test mode | Enables test mode | When checked, test credentials are used – when unchecked, live credentials are used |
To test the setup, you can use the test credential provided by Stripe. Once you’re ready to go live you must:
- Activate your stripe account
- Generate live credentials and use them in the checkout handler
- Uncheck the 'test mode' checkbox