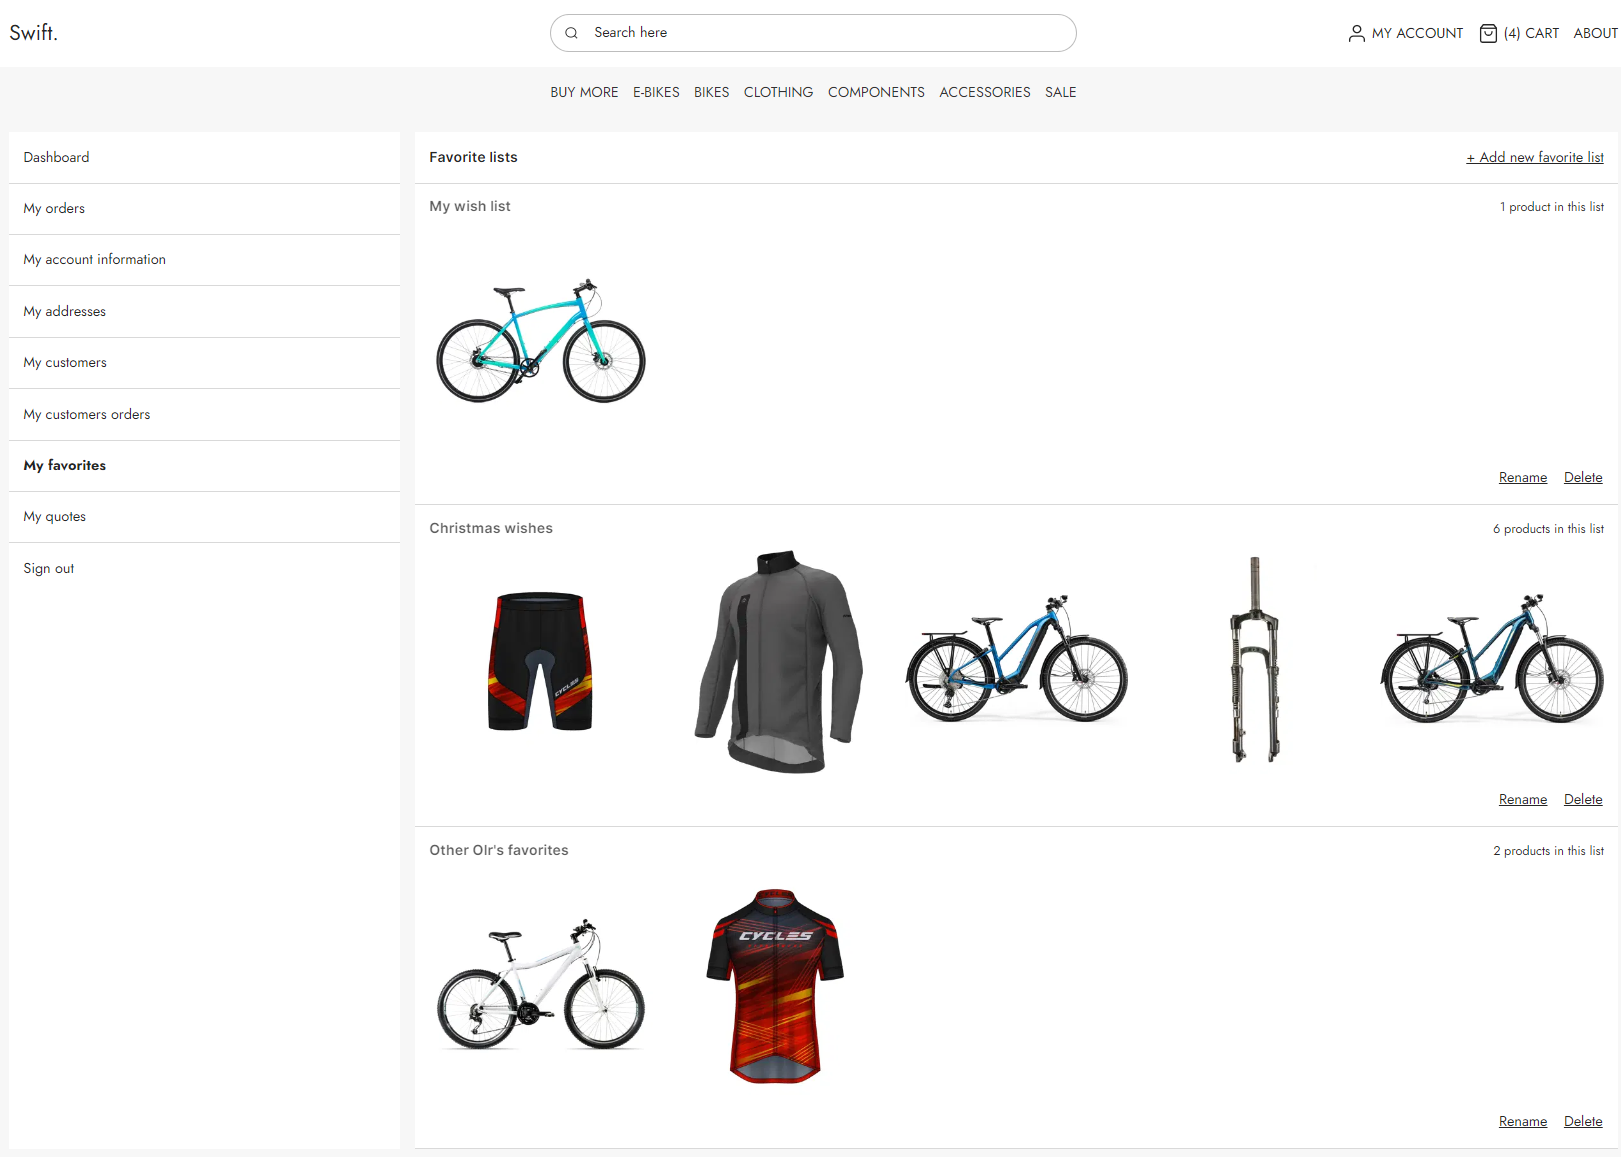
Favorite list
Sometimes customers are browsing your product list just for inspiration and not for buying – at least not right now. They might want to save items and return later to buy them. This is why favorites lists are handy as they allow customers to group various items on self-created lists, which will be saved in their customer center.
When the customer adds an item to a favorite list a small notification appears in the bottom right corner. If the customer has created more than one favorite list an off canvas menu will appear on the right. In this menu the customer will have to choose which favorite list the item should be added to.
Manual setup
If you want to setup the favorites list app manually follow this guide.
You'll need to create two pages, one in the customer center and a Swift Tools page in the folder called "Services".
We'll start with the page in the customer center:
- In the content tree, navigate to Content>Navigation>Utilities>My account.
- Create a new page in the My account folder and call it something suiting – E.g. “My favorites”
Next, you want to set-up your favorites list page.
- Add a 2-column 3/9 row.
- In the first column, select Vertical navigation. Link the Navigation root to the My account folder.
- Let the theme and style match the navigation column on the other customer center pages. Hit Save and Close.
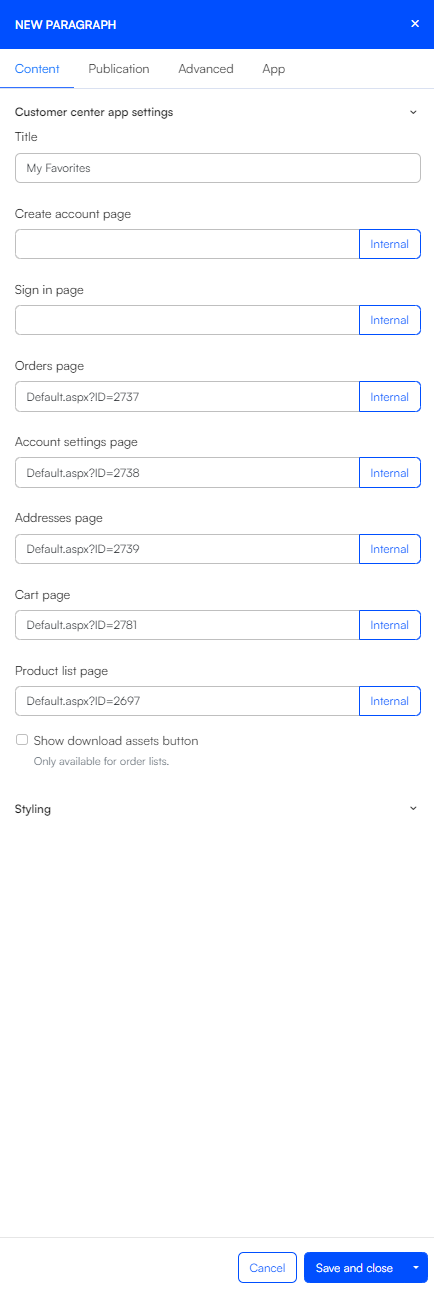
The second column is where the customers favorites lists will be located. To create the area for the lists, select the Customer Center app app to the empty column.
- Give the app the title My favorites.
- Make sure to link the following fields to the following pages:
- Order page to My orders
- Account settings page to My account information
- Addresses page to My adresses
- Cart page to Products/Details
- Product list page to Products
When all this is done enter the App part of the settings.(1)
- Under App, select Customer Experience Center - Favorites.
- Retrieve list based on User id.
- Under Display, select:
- How many lists you want to show per page.
- How the lists should be sorted.
- Whether the sorting should be ascending or descending.
- Under Templates, link List with the FavoriteLists.cshtml and Details with the FavoritesDetail.cshtml file.
When this is done, you'll need to set up the Favorite service page. The documentation for this can be found here.