Live integration with Business Central Plug-in unit
This article is a best practice how-to guide for connecting to the web service of a DynamicWeb plug-in unit installed on a cloud hosted Business Central instance. Configuring a Plug-in unit integration between DynamicWeb and Business Central, as opposed to a standard OData batch integration, enables you to set up a live integration where stock and prices are controlled by Business Central and updated in DynamicWeb in real time.
Installation
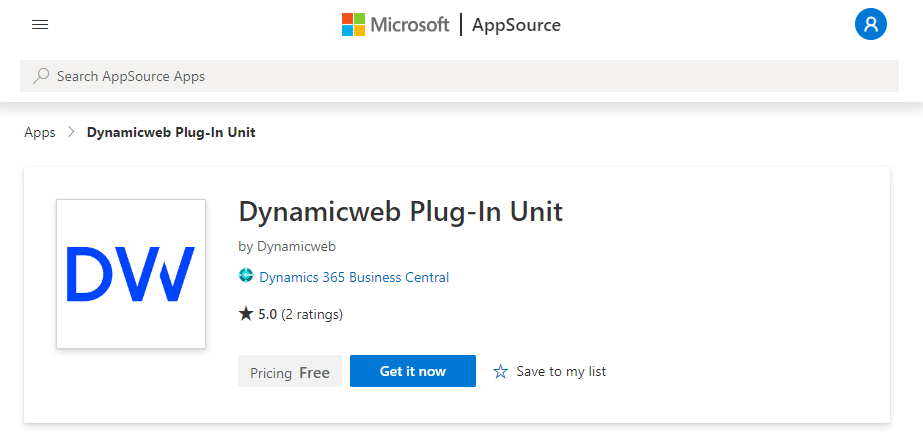
To install the Plug-in unit on your Dynamics 365 Business Central go to the application page on Microsoft AppSource and click Get it now.
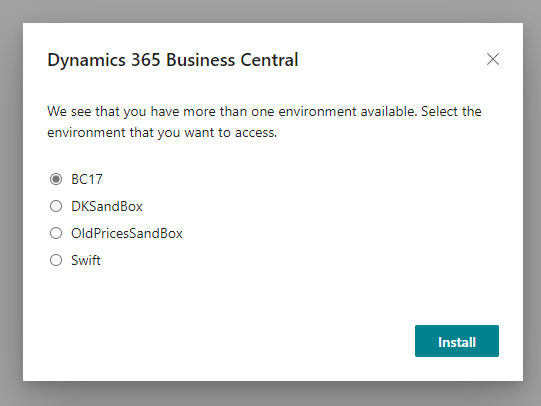
Select the environment you wish to install the Plug-in Unit on. We recommend you start with a Sandbox and test everything before installing on the Production environment.
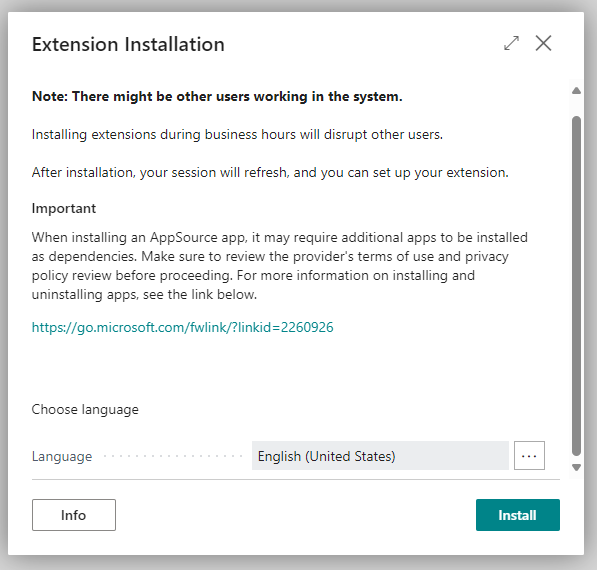
The installer should open a dialogue in the selected environment, where you can choose a language and click install to finish the installation.
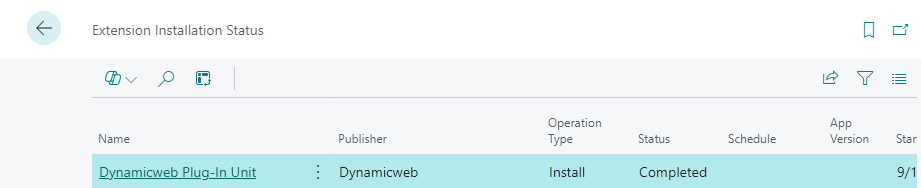
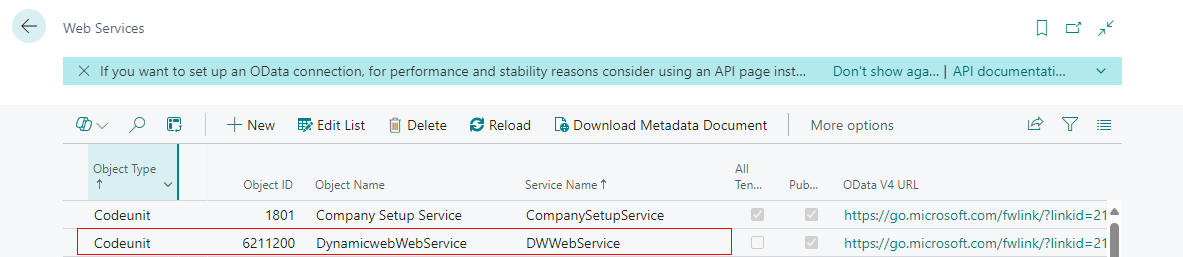
After the installation is finished, you should go to Extension Management > Manage > Installation Status and verify that the installation has been completed.
Once the installation is completed, you should have access to the DynamicwebWebService. Copy the SOAP URL tied to the web service - this will be used later.
Authentication
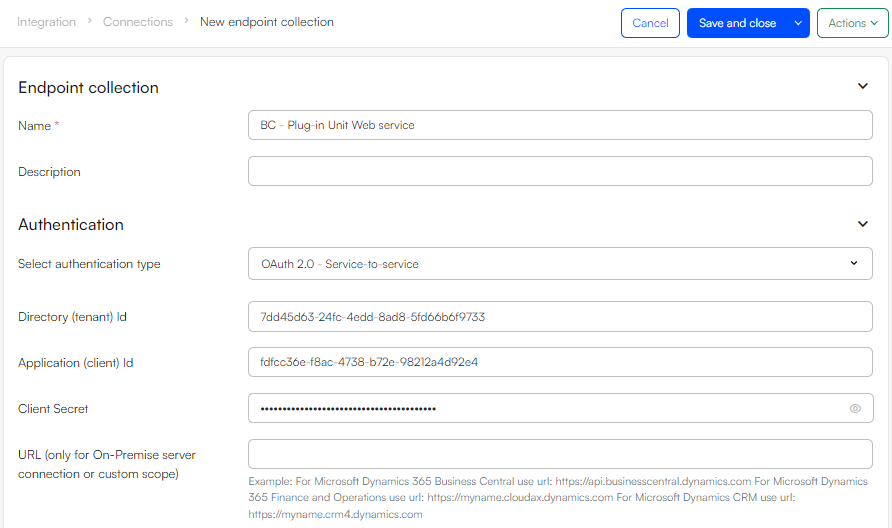
Authentication between DynamicWeb and Business Central is best achieved through Service-to-Service authentication (sometimes referred to as S2S or Server-to-Server).
Check out the comprehensive S2S authentication tutorial to learn how to setup one.
Endpoint configuration
When an authentication has been established, the next step is to define an endpoint collection with the credentials.
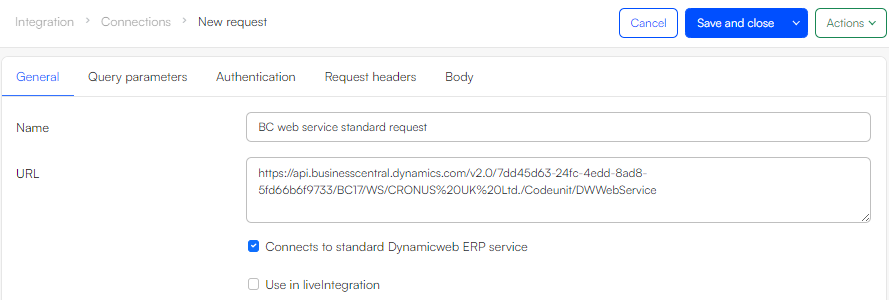
Next, you should a request to the collection with the SOAP URL of the web service located earlier. Make sure to check the Connects to standard Dynamicweb ERP service box to ensure that the request is made as a POST and is equipped with the required request headers.
Testing the connection
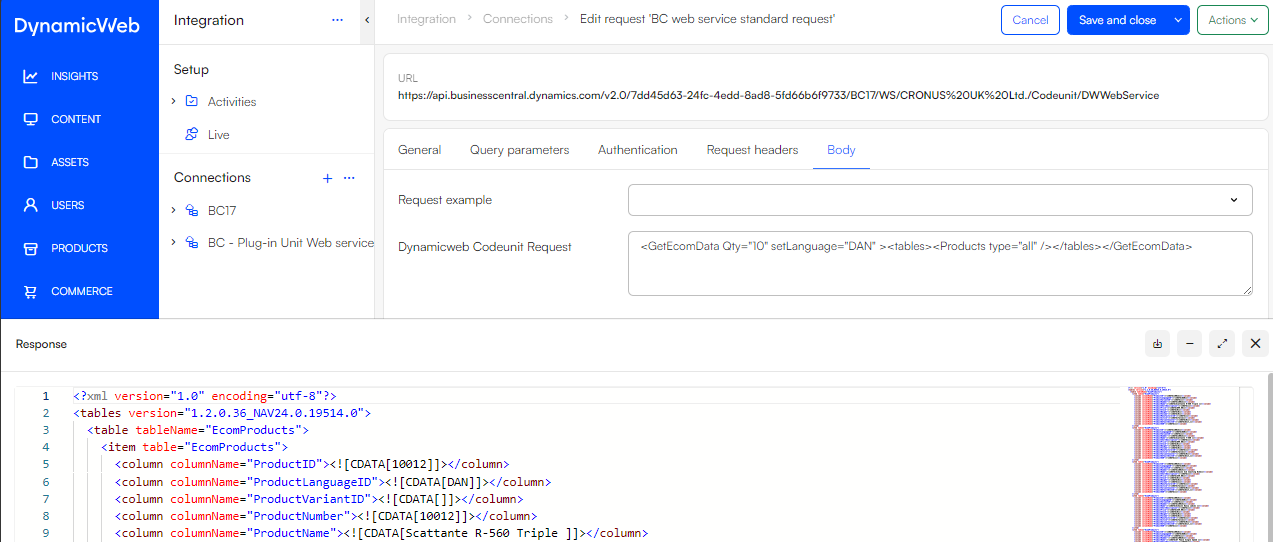
Now that the request is added to the endpoint collection, it is a good time to test your connection. To do so, head over to the Body tab of your request and select a Request example or enter a custom request body manually. Make sure to save the request once you have added a suitable body and hit Send request from the action menu in the top right corner. The response from the endpoint will show in the output viewer in the bottom of the screen.
Configuring the integration in DynamicWeb
Once you have successfully added the plug-in unit web service as a request to an endpoint collection, you are ready to setup tasks, activities and schedules for you integration project. The data flow between the Business Central plug-in unit and the DynamicWeb solution utilizes a few different components:
The DynamicWeb plug-in unit always exposes data as XML, which is both requested and saved as a file by a Scheduled tasks add-in. The scheduled task will then trigger a data integration activity that inserts the data from the XML file to the database.
The flow of a plug-in unit integration thus looks like this in it's essence:
- A request is sent from a scheduled task to a web service authorized with S2S
- The plug-in unit handles the request and sends a response in XML
- The scheduled task reads the response and saves it to an XML file
- The scheduled task triggers a data integration activity, that reads the content of the XML file and stores the data in the DynamicWeb database in accordance to the mappings defined in the activity
Local XML file
As outlined above, the response generated by the plug-in unit is in XML format. This response must first be saved somewhere, before it can be mapped to the Dynamicweb database. Having a local version of the response is also handy for debugging purposes.
To manually add an XML file for the purpose, go to Assets, navigate to a suitable path (like files/integration for instance) and an empty XML file. If you plan to make several requests (e.g. one for product data, one for customer data etc.), you should add an XML-file for each of these.

Defining an Integration activity
How the data is mapped from the local XML file to the database is handled with an integration activity.
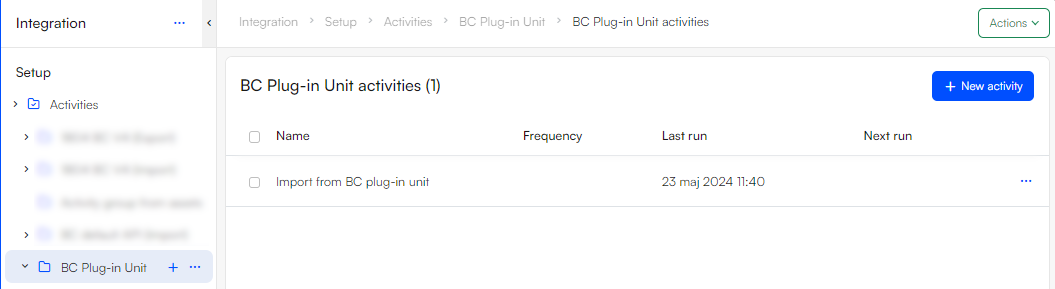
To add an integration activity for the purpose, go to the Integration area and click the context menu of the Activities node to add a new Integration Activity Group. In here, you should add an activity for each request (or each XML file previously added).
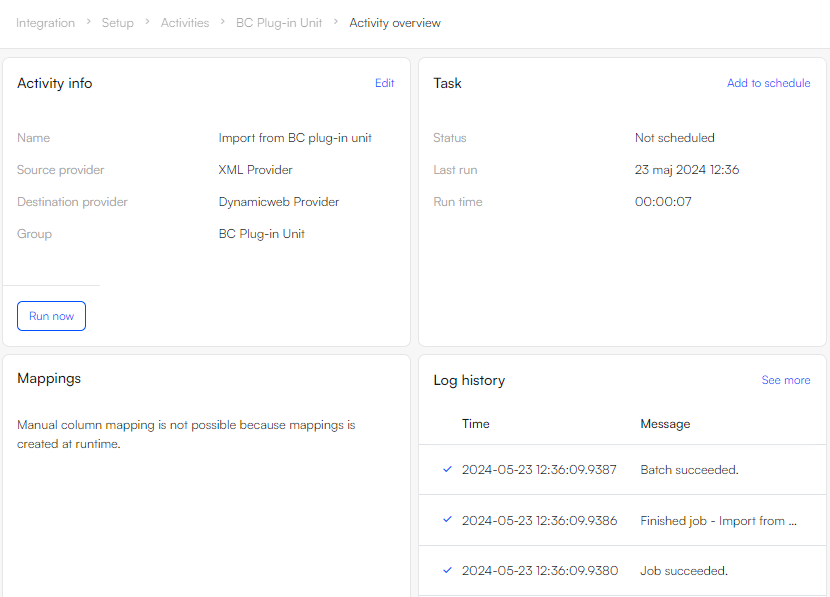
In order to match the format of the plug-in unit response, select the XML provider as source provider and select the previously added XML file (BC-webservice-response.xml in this example) as the source file. Click next to move on to destination provider selection.
The appropriate selection for destination provider depends on the nature of the data you wish to import, but generally, the Dynamicweb provider is a wise choice for a general purpose import to the DynamicWeb database.
As the source XML file is still just an empty file at this point, there are no tables or columns to manually define mappings from. You must therefore set the activity to Create mappings at runtime in the General tab of the activity. The table and column names of an XML response generated by the plug-in unit is an exact match to the tables and columns of the DynamicWeb database, so by checking Creative mappings at runtime box, these are automatically paired, when the activity is run.
Scheduled task add-in
All of the aforementioned components are finally tied together using the Import data with custom request scheduled task add-in.
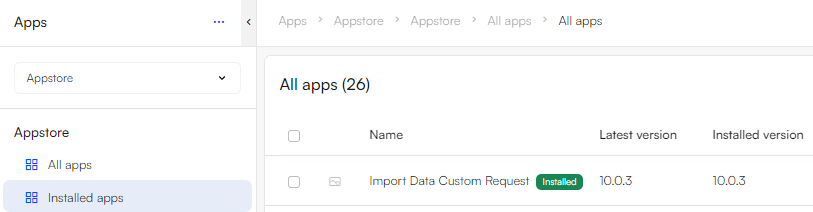
To do so, make sure that the add-in is installed and updated to the latest version in the Appstore.
Next, go to Settings > Integration > Scheduled tasks, add a new task and follow these steps:
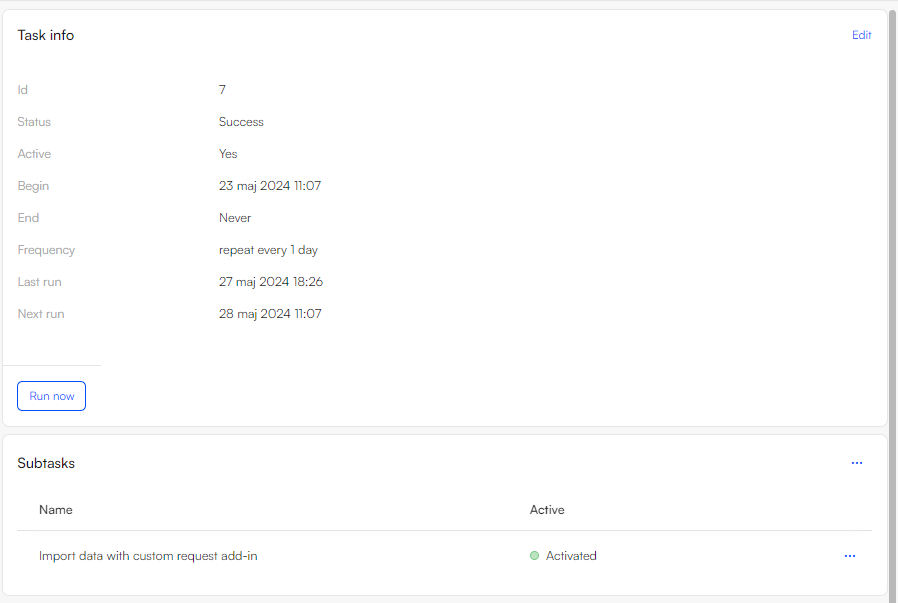
- Give the task a name and optionally a suitable schedule
- Save the task and open it from the list of tasks
- Add a new Add-in subtask from the context menu of the Subtasks widget.
- Select the Import data with custom request add-in as the task type
- Select the Preconfigured endpoint with the SOAP URL and authentication
- Optionally, you can override the XML body defined in the endpoint request by providing a Request XML, but you can also leave this field empty, to use the XML body configured in the Test stage. Overriding the XML request body from the Scheduled task add-in makes it possible to use the same preconfigured endpoint for multiple requests/integration activities.
Once the Scheduled task is configured, you can ensure that everything is working as intended by clicking Run now in the Scheduled task overview screen or from the context menu on the list screen.
Live integration
To set up a Live integration between DynamicWeb 10 and the Business Central plug-in unit, a new request must first be defined in the Endpoint collection previously established.
Since the live integration uses the same web service URL as the batch integration(s), you can simply copy the old endpoint from the context menu in the area tree.
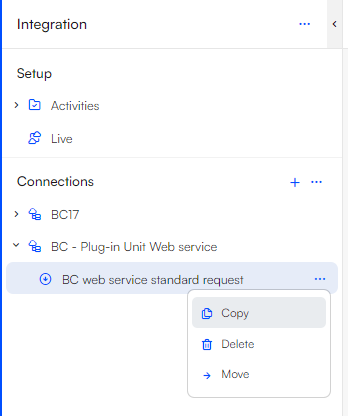
Rename the copied endpoint request to something suitable, check both the Connects to standard Dynamicweb ERP service and the Use in Live Integration boxes and save the request.

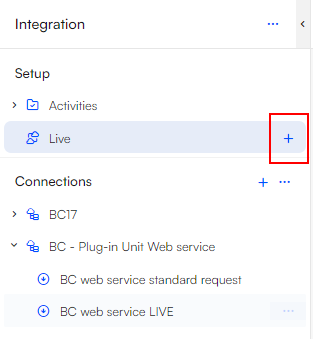
The next step is to create an instance of the Live Integration Add-in that makes use of the preconfigured endpoint. To do so, click New next to the Live node in the area tree.
In here, give the Live instance a label, select the pre-configured request from the list of endpoints and select a shop. Finally, check the Enable live integration box in the top of the edit screen to establish the connection.
