Permissions
In this guide we will go through the process of setting up role-based permissions on a DynamicWeb 10 solution step-by-step.
We will set up permissions for the following roles:
- Content managers
- PIM managers
- Commerce managers
These are fairly standard user roles but please keep in mind that the first step of any permissions setup is to describe, in detail, what you want each role to be able to see and do.
Creating users and user groups
In DynamicWeb, permissions are granted to users based on either user type or user group membership.
Since we don’t want these users to be administrators (who can see and do everything), you should first create a user group for each role:
- Go to the Users-area
- Under Groups create three new user groups:
- Content managers
- PIM managers
- Commerce managers

- within each group, create a user and check the 'Allow backend login for this user' and 'Active'

You can now log in with these users – but they won’t be able to see anything, as they have not been granted any permissions:

Let’s change that!
Content managers
Content managers are responsible for handling everything related to content management:
- Planning, creating and editing content
- Handling assets – specifically media files like images and videos
First give them access to the overall Content area:
- Log in as an administrator user
- Open the content tree, then click the context-menu for the tree and select Permissions
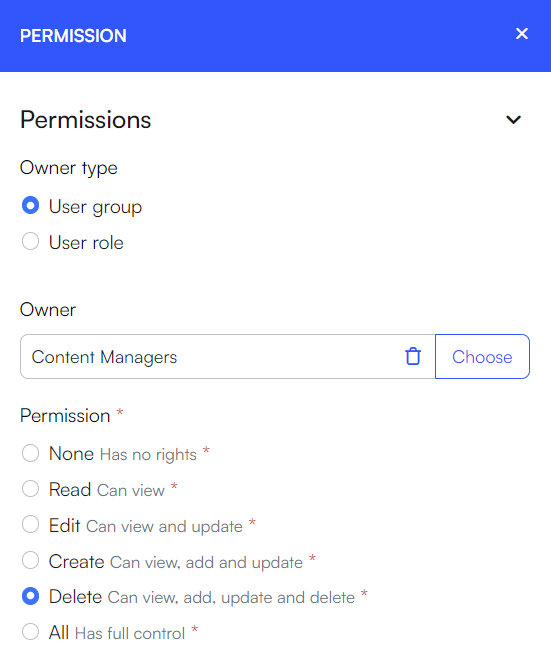
- Click + New permission:
- Owner type: user group
- Owner: Content manager
- Permission: Delete

- Save
Content manager should be able to access all media files within Assets. However, we don’t want content managers to be able to change design files or edit system files, meaning they should only have Read-access to the Assets area: Open the Assets-area, then click the context-menu for the tree and select Permissions
- Open the Assets-area, then click the context-menu for the tree and select Permissions
- Click New permission:
- Owner type: user group
- Owner: Content manager
- Permission: Read
- Save

We do want them to be able to create, edit and delete media files – as this is important for content management:
- Open the context menu for the Media section of the Assets-tree and select Permissions
- Click + New permission::
- Owner type: user group
- Owner: Content manager
- Permission: Delete
- Save
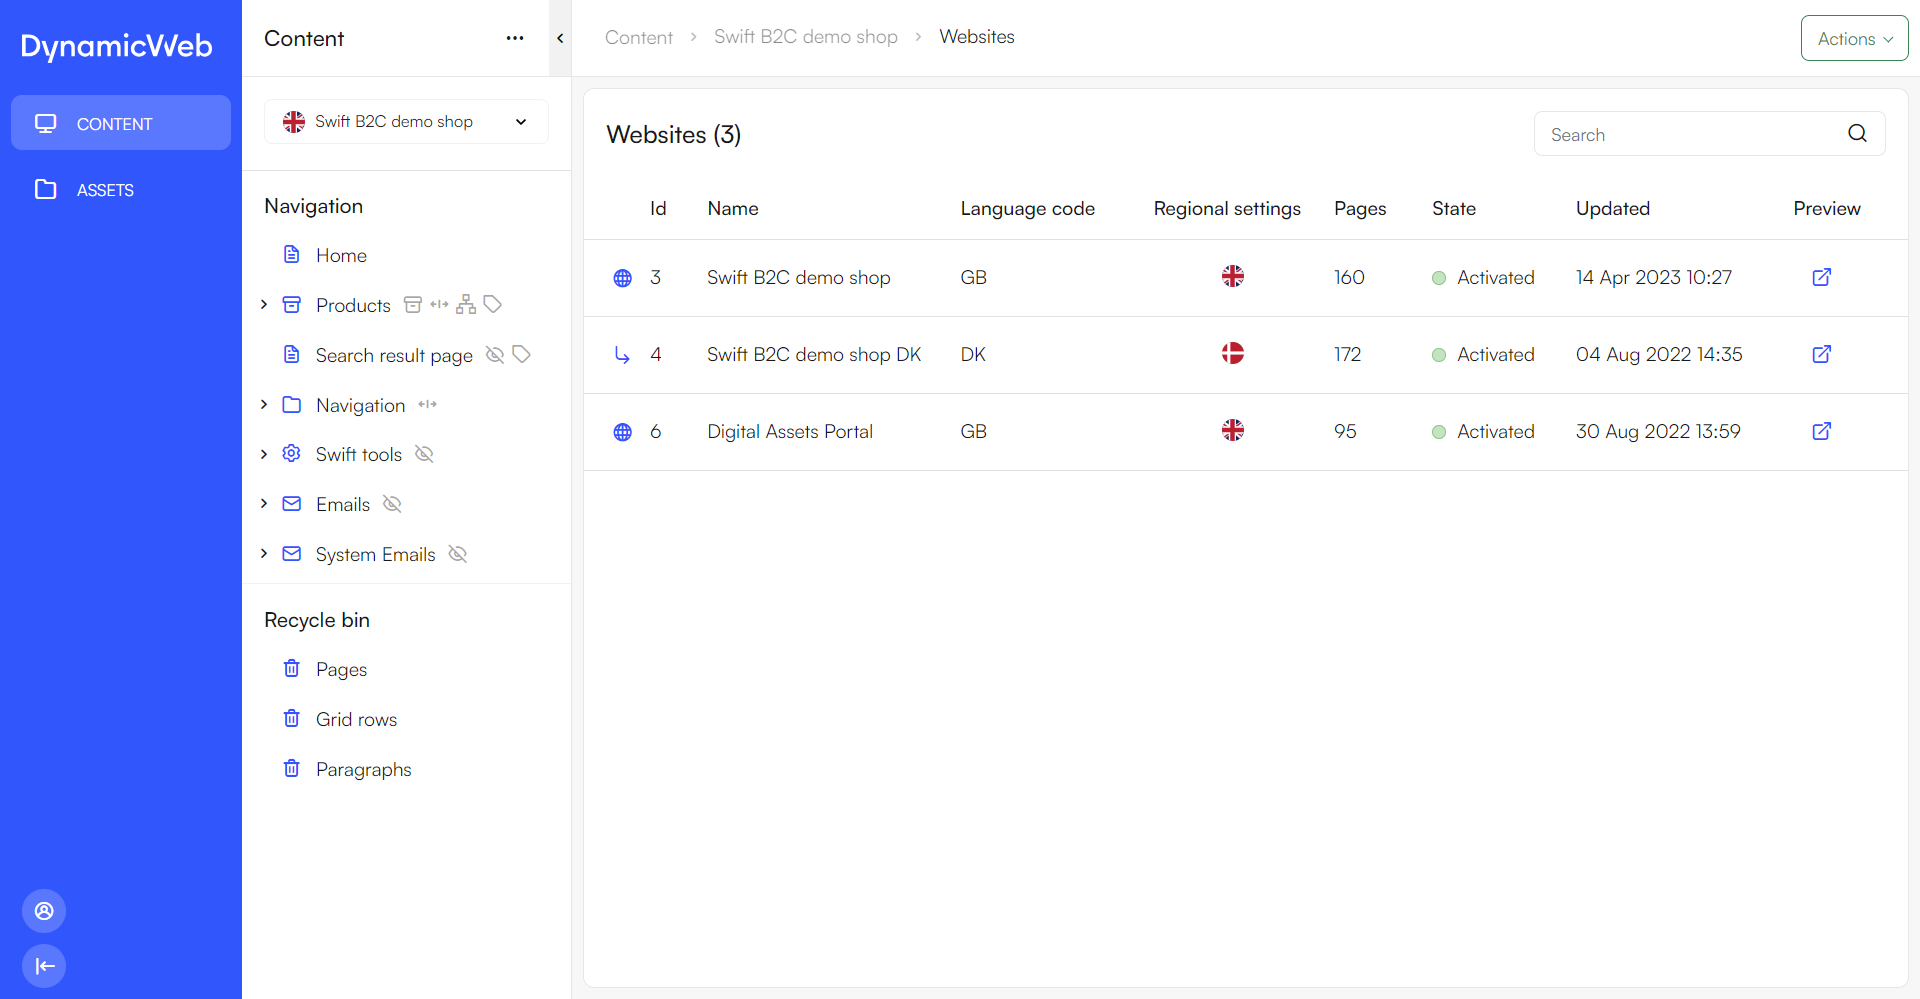
Now login with the content manager user – you should now have access to the relevant areas:

PIM Managers
PIM Managers need to be able to access and work with the Products area as this is where product information is maintained. They also need access to the Assets area so they can work with product images and other assets.
First let’s grant them access to the assets. As with content managers, we don’t want them to be able to change design files or edit system files, so we will only give them Read access to the overall Assets area:
- Open the Assets-area, then click the context-menu for the tree and select Permissions
- Click + New permission:
- Owner type: user group
- Owner: PIM Managers
- Permission: Read
- Save

They should be able to create, edit and delete media files – as these are essential for enriching products:
- Open the context menu for the Media section of the Assets-tree and select Permissions
- Click + New permission:
- Owner type: user group
- Owner: PIM Managers
- Permission: Delete
- Save

Besides access to media assets, PIM managers should of course have access to the Products area:
- Open the Products-area, click the context-menu for the tree and select Permissions
- Click + New permission:
- Owner type: user group
- Owner: PIM Managers
- Permission: Delete
- Save
It is also possible to give permissions at a lower level, such as shops, warehouses or even groups within a shop. An example could be that you have two shops, shop A and shop B. You want certain people to have access to shop A and not shop B and vice versa. To achieve this, you would configure their permissions accordingly:
- Set the permission to read for the Products tree
- Set the permission to delete for their designated shop
When a user within the PIM managers user group is logged in, the page will now look like this:

Commerce managers
Commerce managers are responsible for handling everything related to commerce, and this includes:
- Order management
- Assortments
- Promotions
- User accounts
Meaning that the commerce manager needs access to the users, email and commerce areas.
Within the Users area, the commerce manager usually needs reading access to the customers information but more than that is rarely needed. This could be to gain insights into consumer behavior, trends, and preferences. Commerce managers can use this data to analyze sales performance and identify areas for improvement.
Here is how to achieve this:
- Open the Users-area, click the context-menu for the tree and select Permissions
- Click + New permission:
- Owner type: user group
- Owner: Commerce Managers
- Permission: Read
- Save

The Commerce manager should also have permission to the Emails area to be able to work with email marketing.
- Open the Email-area, click the context-menu for the tree and select Permissions
- Click + New permission:
- Owner type: user group
- Owner: Commerce Managers
- Permission: Delete
- Save

Like with the others, it is possible to grant permission on a lower level if needed.
Lastly, the commerce manager needs to be granted permission to the commerce area, as this is where commerce tasks like order management and promotions are located:
- Open the Commerce-area, click the context-menu for the tree and select Permissions
- Click + New permission:
- Owner type: user group
- Owner: Commerce Managers
- Permission: Delete
- Save

When a user within the commerce managers user group is logged in, the page will now look like this:

It's important to note that while the roles outlined in this guide are common in some organizations, specific responsibilities and required permissions may vary based on factors such as company structure and business needs. Permissions should always be tailored to fit the requirements of each role within your organization.
it's also important to regularly review and adjust permissions to ensure they remain aligned with current needs and security standards.