RMA
Handle returns directly in DynamicWeb 10
The RMA node contains our tool for Return Merchandize Authorization - i.e. handling returns. RMA entries are created either from frontend using a Customer Center app or from the order list using the Actions-menu.
Once an RMA entry has been created it appears in the RMA-list:
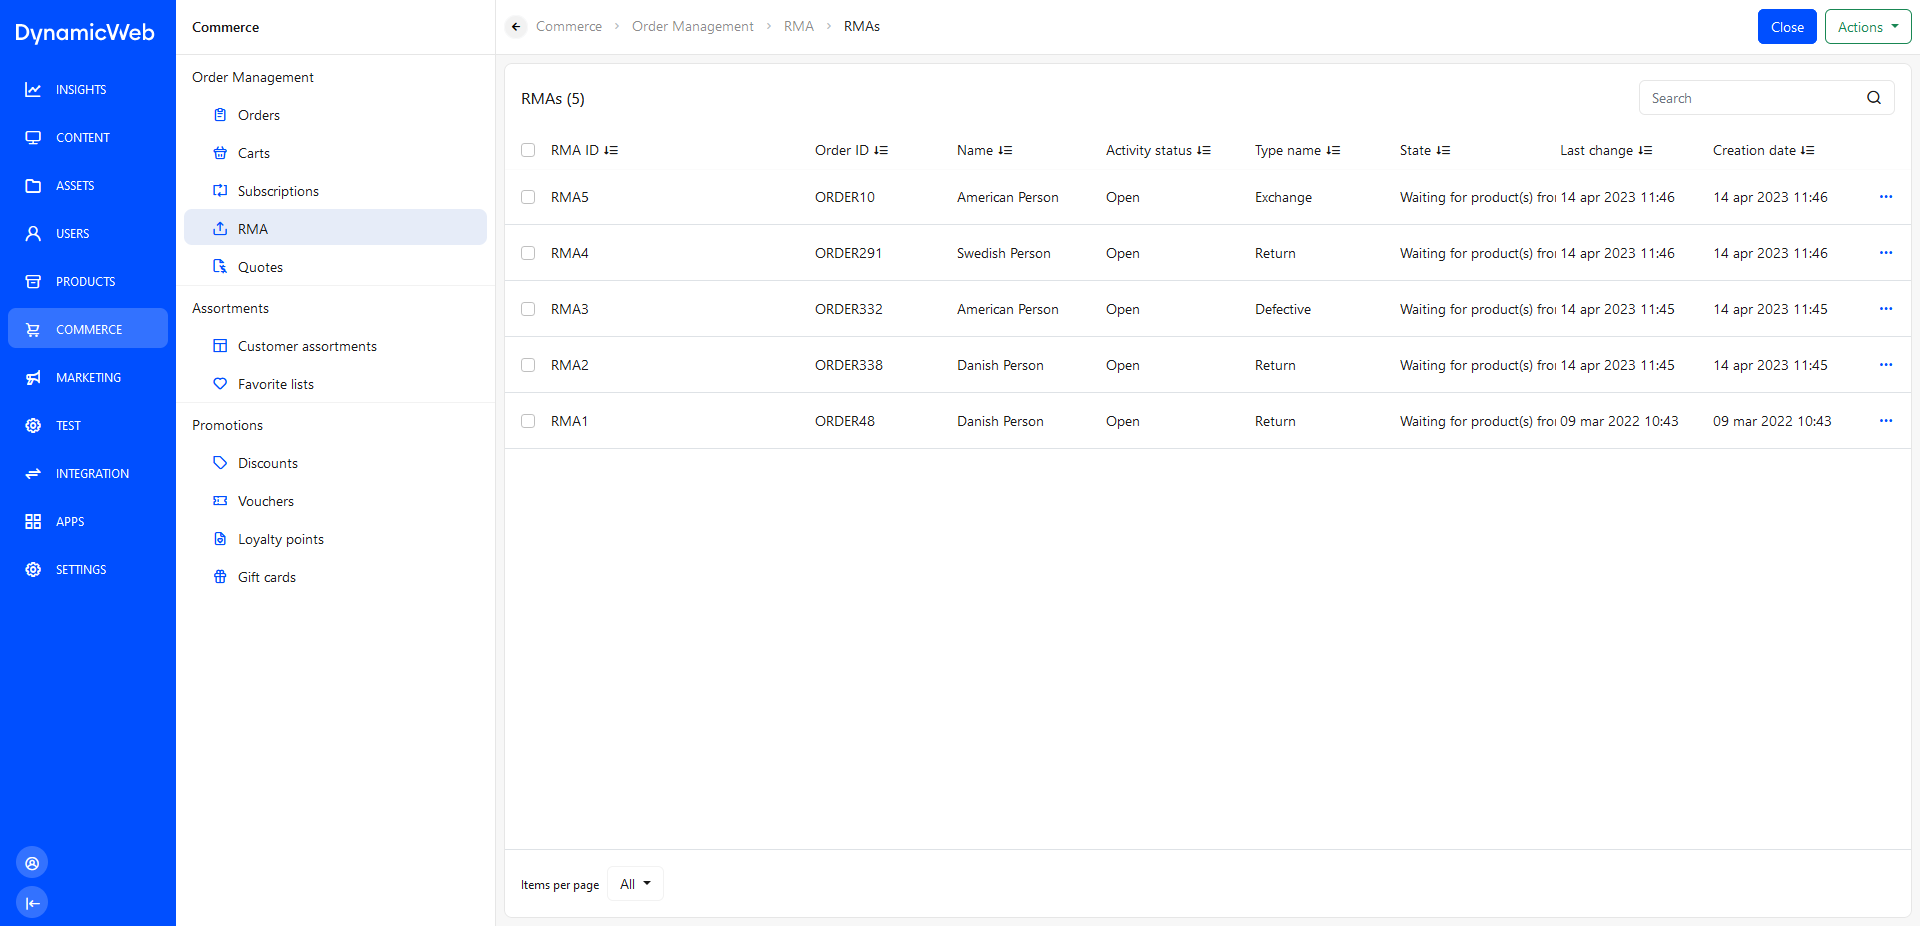
For each list entry, you can see various details about the RMA - the OrderID, the Customer who submitted it, the Status, the RMA-state, etc.
Processing RMAs
The overall idea with the RMA tool is that you process each RMA entry by moving it through a workflow represented by a series of RMA states.
To move an RMA entry from one state to another:
- Click the RMA entry to open the details view
- Click Edit on the details view
- On the General-tab, select the new state using the dropdown
- If relevant, change the Email notification language
- Save and close
Eventually, depending on the result of the RMA process, you can create a replacement order.
Replacement orders
Once an RMA entry reaches the end of the RMA flow, you may want to create a replacement order - to do so:
- Open the details view of the RMA entry
- Use the ...-menu to select Create order
- Select a replacement order type
- Refund
- Replacement product
- Replace with same product
- Save and close
If Refund is selected, please note that you must refund the customer manually using whichever refund practice normally in place. If Replacement product or Replace with same product is selected, an order is automatically generated.