If you're looking to move large number of files to a solution but you're not comfortable using the DynamicWeb CLI you can instead use the DynamicWeb CLI Uploader - a small application which uses the DW CLI to bulk-upload files in a manner reminiscent of FTP transfers.
To use this tool please ensure you have Node.js installed.
To use the CLI Uploader to copy a live site:
- Step 1: Download the application
- Step 2: Create a backend user on both websites
- Log in to the backend of the solutions you want to upload from and to
- Create a new user - e.g. 'CLI-uploader' - with administrator rights on both sites
- Step 3: Generate an API key
- Go to Settings > Developer > API Keys and generate an API key
- Copy it to somewhere safe - you won't be able to see it again
- Step 4: Launch the CLI Uploader
- Run DynamicWeb10-CLIUploader.exe and fill in:
- Username, e.g. 'CLI-uploader'
- API Key
- Host URL (the solution you want to connect to, must be public)
- Connect to both live and staging environments

- Run DynamicWeb10-CLIUploader.exe and fill in:
- Step 5: Create a database backup from the live site
- Log into the live site's files-folder
- Create an empty file called
backup.txtunder/system/cloudhosting/backuprestoreDB/restore - This generates a .backpac backup file under
/system/cloudhosting/backupRestoreDB/backup - Monitor progress under
CloudHosting/BackupRestoreDB/Logs
- Step 6: Download the Files-folder
- After the DB-backup is complete download the files folder
- The downloaded folder will later be uploaded to the staging site
- After the DB-backup is complete download the files folder
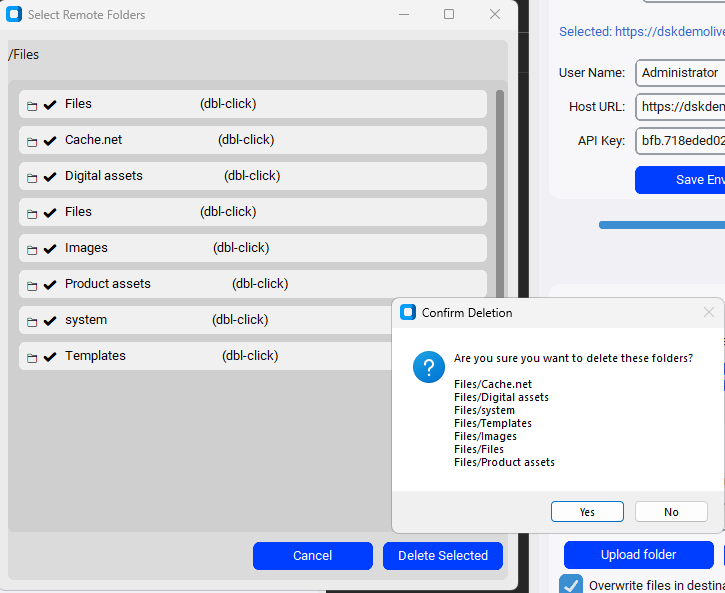
- Step 7: Prepare the staging environment
- In the CLI uploader switch to the staging environment
- Delete all folders from the Files-folder of the staging environment to ensure a clean upload
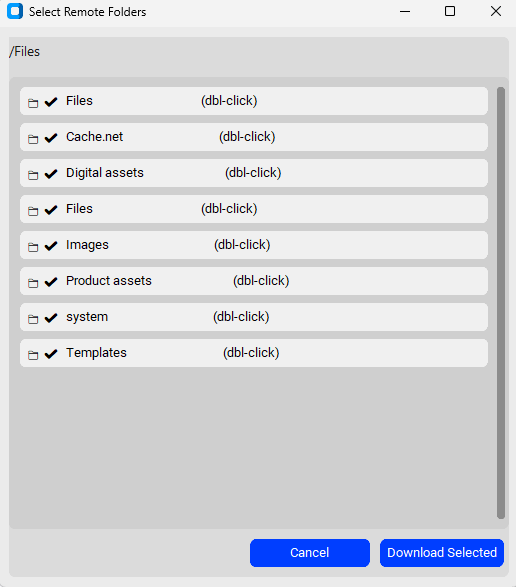
- Step 8: Upload Files to staging site
- In the uploader tool browse to the folder you downloaded from the live site
- Upload the files to the root directory by selecting
.as the destination - Select the folder and start the upload

- Step 9: Restore the database on the staging site
- Log into the staging site file system
- Move the .bacpac file from the backup folder to the restore folder under
/system/cloudhosting/backuprestoreDB/restore - This will trigger an automatic database restore operation - wait for it to complete
- Step 10: Update the API key
- After these operations the staging site API key may have changed
- You can reuse the live site API key or generate a new one
- Update the environment configuration (username, host, api key) accordingly
Your staging site is now an exact copy of your live DW10 site.
Note
DynamicWeb CLI will be installed the first time you run the application.
However, if you encounter any problems you can try installing the CLI manually by opening a terminal and running:
npm i @dynamicweb/cli -g
This command is also used to ensure that you have the most recent version of the CLI installed if you experience issues.