Back-in-Stock notifications is a feature, which lets customers add themselves to a notification list when they are interested in a product that is temporarily out of stock.
You can then set up a scheduled email to alert users on the notification list once the product is back in stock.
To set up Back-in-Stock notifications, you must:
- Modify your product details template to let customers sign up for notification emails
- Create a Back-in-stock campaign folder
- Create an email-page
- Create an email
- Schedule the email
Modifying the product details template in Swift
As possible way to modify your product details template in Swift is to:
- Navigate to Content > Swift Setup > Product Components > Product Info (right side)
- Add a New row
- Add the Back in stock notification column to the row and configure the layout.
Setting up the campaign folder
Since back-in-stock emails need to have their content rendered for each recipient – because they have unique content for each user – we suggest you create and configure separate campaign folder for them.
To do so:
Go to the Email area
Click on the context menus for the Campaigns node and click Create new folder
Go through the folder settings tab:
Creating the email page
In DW10, emails are actually pages which are wrapped in an email template and sent to your recipients.
A back-in-stock notification email can therefore contain whatever you like - just like other emails. However, to display the product(s) that are back in stock, the email must contain the Product Catalog (eCom) app configured in product context render mode.
To do so:
- Create an email page under Content > Emails > System emails
- Create a row and add a Back in stock notification product catalog column to it
- Enter the App column and add the Product Catalog (eCom) app to it
- Check the products (context) checkbox
- In the templates section, select or create a List and/or Details template to render the product(s) in context
- Click Save
- Configure the layout as you please
Creating the email
Now that you have your email page and Campaign folder created, it's time to create the actual email within the campaign folder.
To do so:
- Head back to your newly created Back-in-Stock Notification campaign folder
- Click the context menu and select Create email
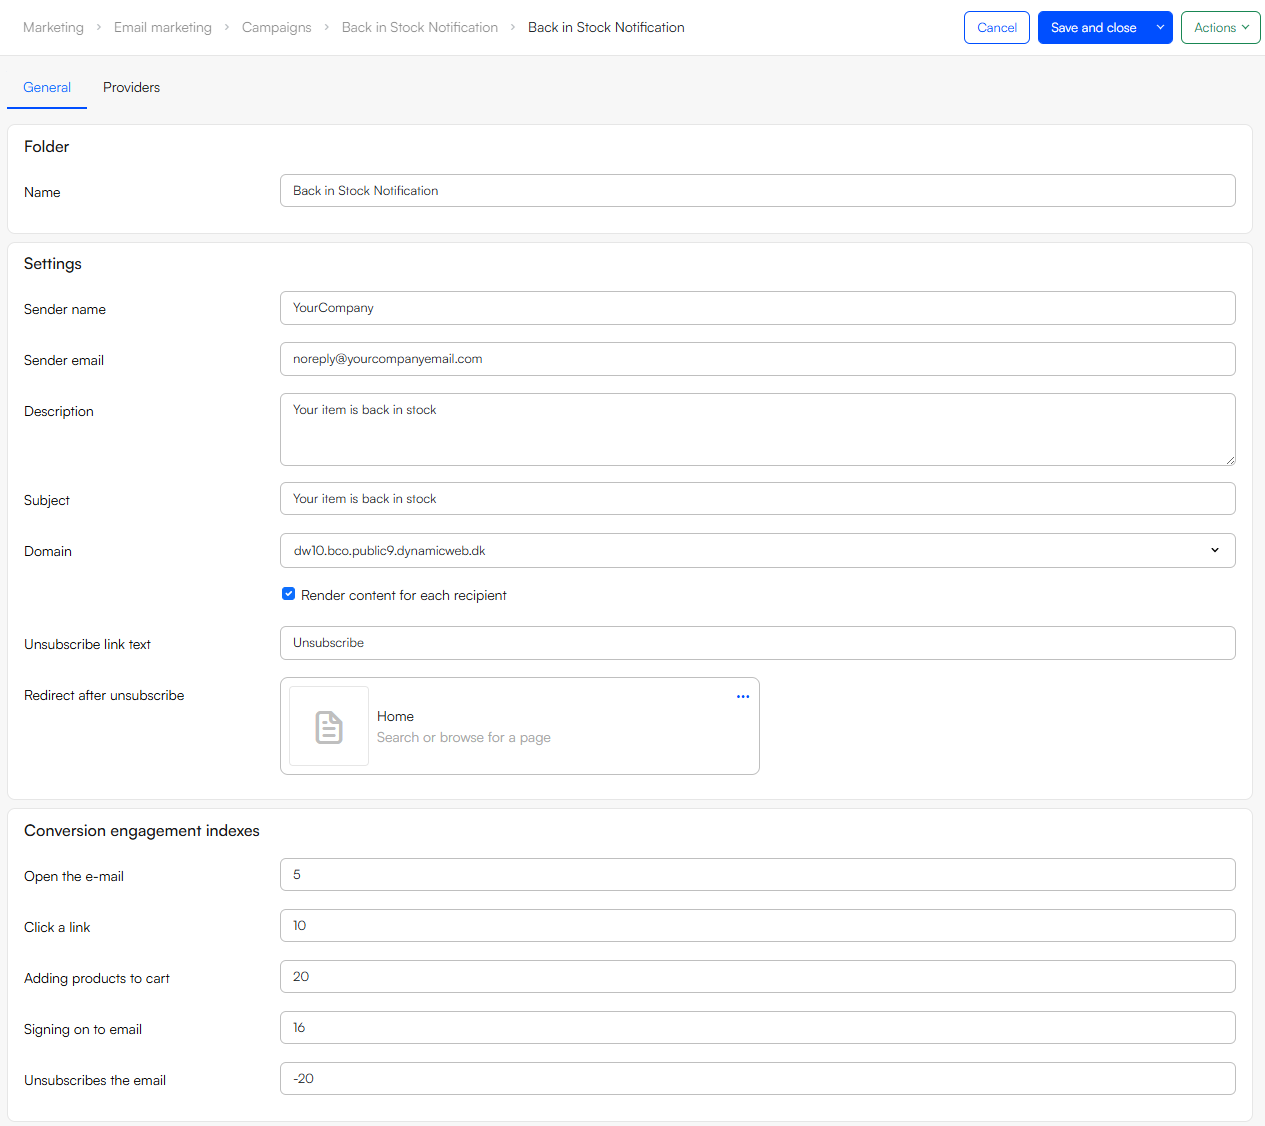
- Fill out the Email tab:
- Provide a name and email for the sender of the email
- The Recipients/Recipient groups is be locked since users sign themselves up
- Provide a subject and pre-header
- As the Page, select the Back-in-Stock Notification email you just created
- Select a domain
- Optionally add attachments
- Head to the Settings tab:
- Create an unsubscribe text and a redirect page after unsubscription
- Check the Render content for each recipient checkbox and choose Generate automatically from content
- Uncheck Ensure unique recipients and do not set a quarantine period
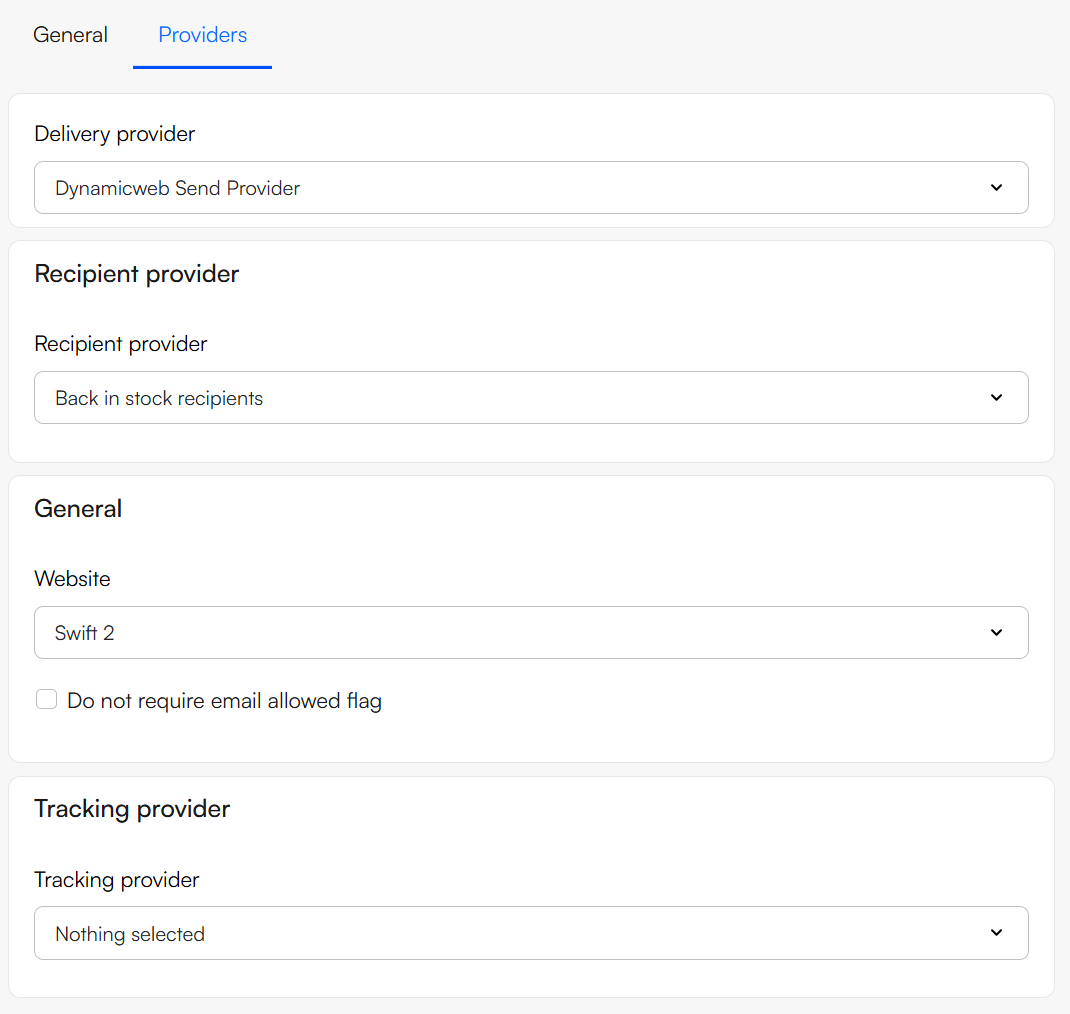
- The Providers should already be configured correctly from when the campaign folder was created
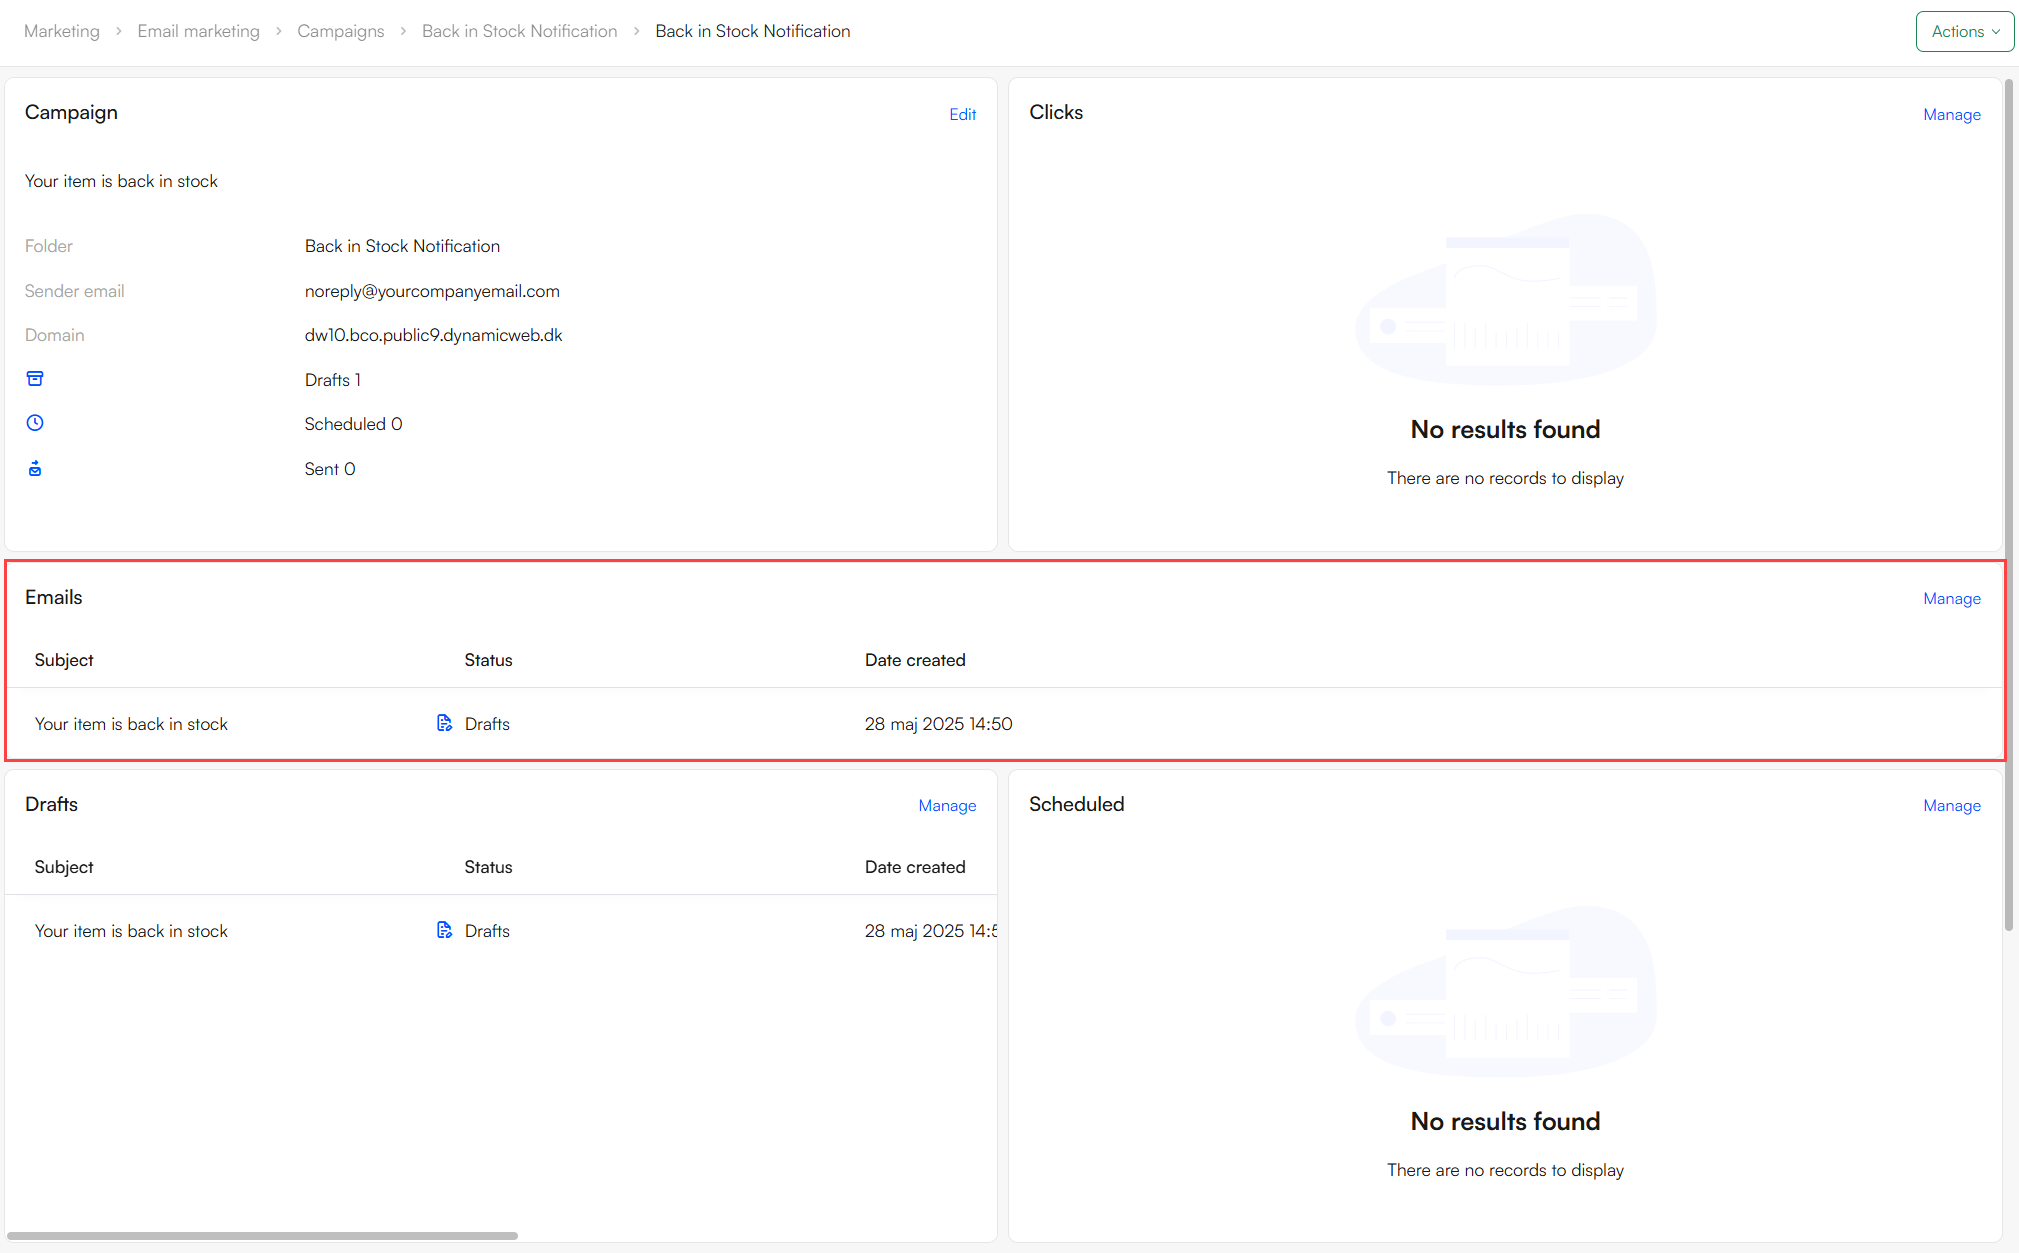
- Click Save and close
You will now see the email on your dashboard:
Scheduling the campaign
To schedule the Back-in-Stock email:
- Enter the email you've just created
- Click the Actions dropdown menu in the top right corner and click Schedule email
- Set an appropriate Date, Timezone, and repetition interval
- Click Save
Once scheduled, the email will be located in the Scheduled folder in the campaign folder.
Testing
It's always a good idea to test that everything works as expected.
Here’s an easy way to test your back-in-stock notification setup:
- Locate a product that is out of stock on the frontend
- Click the 'Notify me when available' button and enter the email address where you want to receive the notification
- Update the product to be back in stock
- Send the email from the back-in-stock campaign