Permissions are authorizations – rights – given to users, either because they are members of a specific user group, or because they have a user type such as Administrator, Admin or Editor which has been given a specific level of access to the system. A permission level, such as the Read permission, corresponds to a specific level of access to a certain part of the system.
The following permission levels can be set:
| Permission level | Description | Included permission |
|---|---|---|
| Not set | No rights | - |
| None | No rights | - |
| Read | Can access and view content/settings | - |
| Edit | Can edit existing content/settings | Read |
| Create | Can create new content/settings | Read, Edit |
| Delete | Can delete content/settings | Read, Edit, Create |
| All | Can set permissions | Read, Edit, Create, Delete |
As you can see, the permission levels form a hierarchy where each permission level includes or supersedes the previous levels. This means that a user with Delete permission also has the rights given to the Read, Edit, and Create permission levels. The None permission is the lowest explicit permission level and does not include any other permissions.
If a user is a member of multiple groups with different explicit permissions levels set for the same area, the highest permission level is used;
- Not set < None < Read < Edit < Create < Delete < All
Note
Some older solutions may still be set up according to the previous permission model. In that model, None acted as an explicit deny which overrode all other permission levels, and the hierarchy was:
Not set < Read < Edit < Create < Delete < All < None
If you are reviewing or rebuilding an older permissions setup, keep this difference in mind when comparing existing configurations with the current behavior.
User Roles & Default Permissions
User roles exist to supply default permission to the most basic roles on a solution – they are as follows:
| User Role | Default permission | Description |
|---|---|---|
| Anonymous users (frontend) | Read | You usually want anonymous visitors to have access to the frontend |
| Authenticated users (frontend) | Read | You also typically want logged-in users to have access to the frontend |
| Authenticated users (backend) | Not set | Backend-users are not explicitly given any rights. This means that by default they see a blank page. Remember, Not set is the lowest permission level and any inherited permission overrides it |
| Administrators | All | Administrators are given All permissions by default, which means they can set permissions |
As you can see, the system is designed so that Authenticated users (backend) have no explicit permission set for the backend, which means that they don’t have access to any features unless specifically granted access. This is by design, as it is much easier to maintain this type of model than a model where you must explicitly remove access to various sets of users as they are created.
You can always override the default permission for a user role by setting explicit permissions for the role on some content. For example, you may want to deny regular website visitors - the user role Anonymous users (frontend) - access to a Members' Area. To do so, set the permission for Anonymous users (frontend) to None on the root page of the members' area, and make sure the same users do not receive a higher permission (such as Read) through other roles or groups on that branch.
Setting permissions
Permissions are set in the backend by opening the context menu of an item in the area tree, and then selecting Permissions. This opens the Permissions workspace of that specific item. Here you can see the inherited permissions that the user roles have by default, and User Groups with default permission levels.

To create explicit permissions for the specific item, do the following:
- Click New permission
- Select the Principal type, a user group or a user role
- Select the Principal
- If user group is selected, you choose a user group or a query
- If user role is selected, you choose between the different user roles
- Configure the Permission, here you select the permission level
- Click Save
You can also apply default permissions to all members of a specific user group - to do so, open the user group settings and change the Default permission for the user group; all members will now inherit this permission level on all parts of the system unless it's explicitly overridden by another permissions of a higher level in the hierarchy being set for the user or a user group they are a member of.
UI Permissions
As of DynamicWeb 10.21, the permissions system has been extended with a second dimension - UI permissions. These types of permissions allow you to hide parts of the UI without the permission level being inherited by the features further down in the stream. This solves a problem with the old system where it was difficult to cosmetically remove access to features for certain user groups without impacting their capabilities elsewhere on the solution.
Permission dialogs on Areas and Navigation tree sections are converted to UI-only permissions. Using these, you can remove access to the area or navigation tree section for select user groups without the permission affecting other things on the solution:
 Again, please bear in mind that this is a UI permission only. It does not remove access to features under an area or navigation tree section, it only hides them in the UI.
Examples
To provide you with hands-on examples of how to setup role-based permissions, we will set up permissions of the following roles:
- Content managers
- PIM managers
- Commerce managers
These are fairly standard user roles but please keep in mind that the first step of any permissions setup is to describe, in detail, what you want each role to be able to see and do.
Tip
Please note that since None does not override higher permissions, if a user gets Read (or higher) through another role or group on the same branch, that higher permission wins.
Mini-example:
- Group A has None on a page branch
- Group B has Read on the same branch
- A user who belongs to both groups gets Read as the effective permission
As mentioned above, permissions are granted to users based on either user type or user group membership.
Since we don’t want these users to be administrators (who can see and do everything), you should first create a user group for each role:
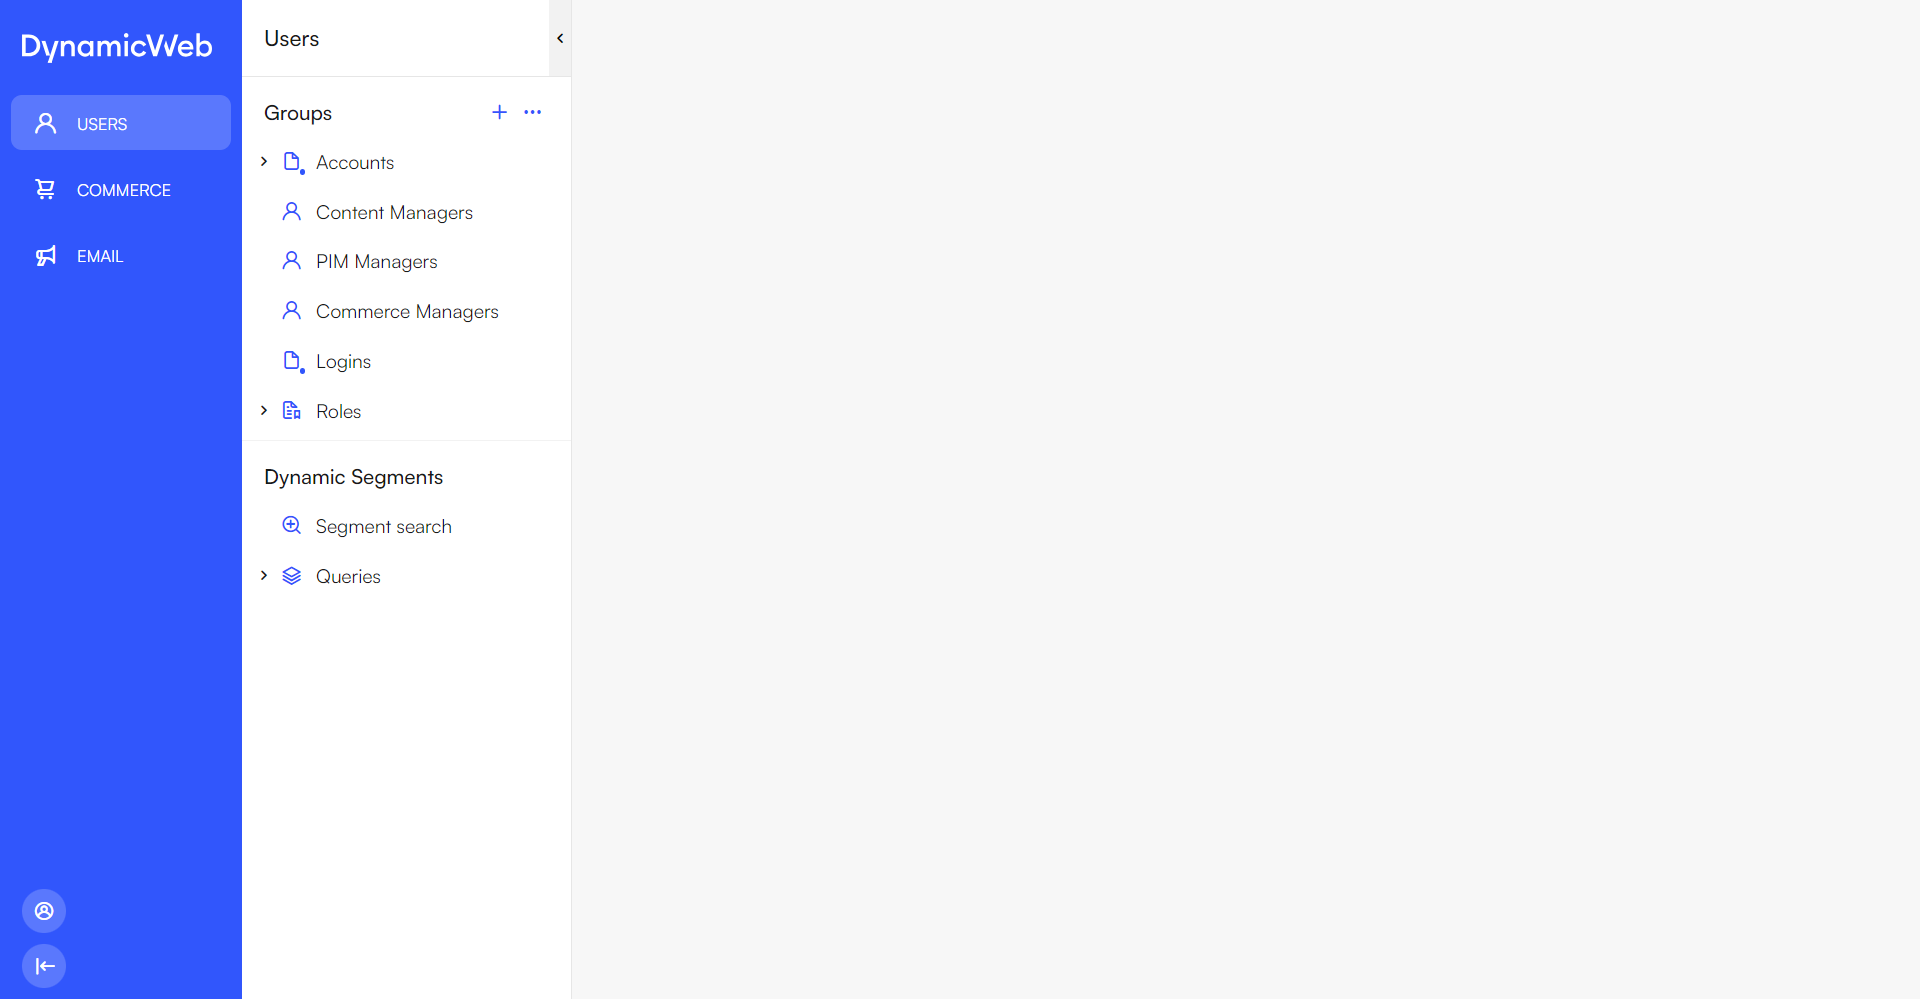
- Go to the Users-area
- Under Groups create three new user groups:
- Content managers
- PIM managers
- Commerce managers
- within each group, create a user and check the 'Allow backend login for this user' and 'Active'

You can now log in with these users – but they won’t be able to see anything, as they have not been granted any permissions:

Let’s change that!
Content managers
Content managers are responsible for handling everything related to content management:
- Planning, creating and editing content
- Handling assets – specifically media files like images and videos
First give them access to the overall Content area:
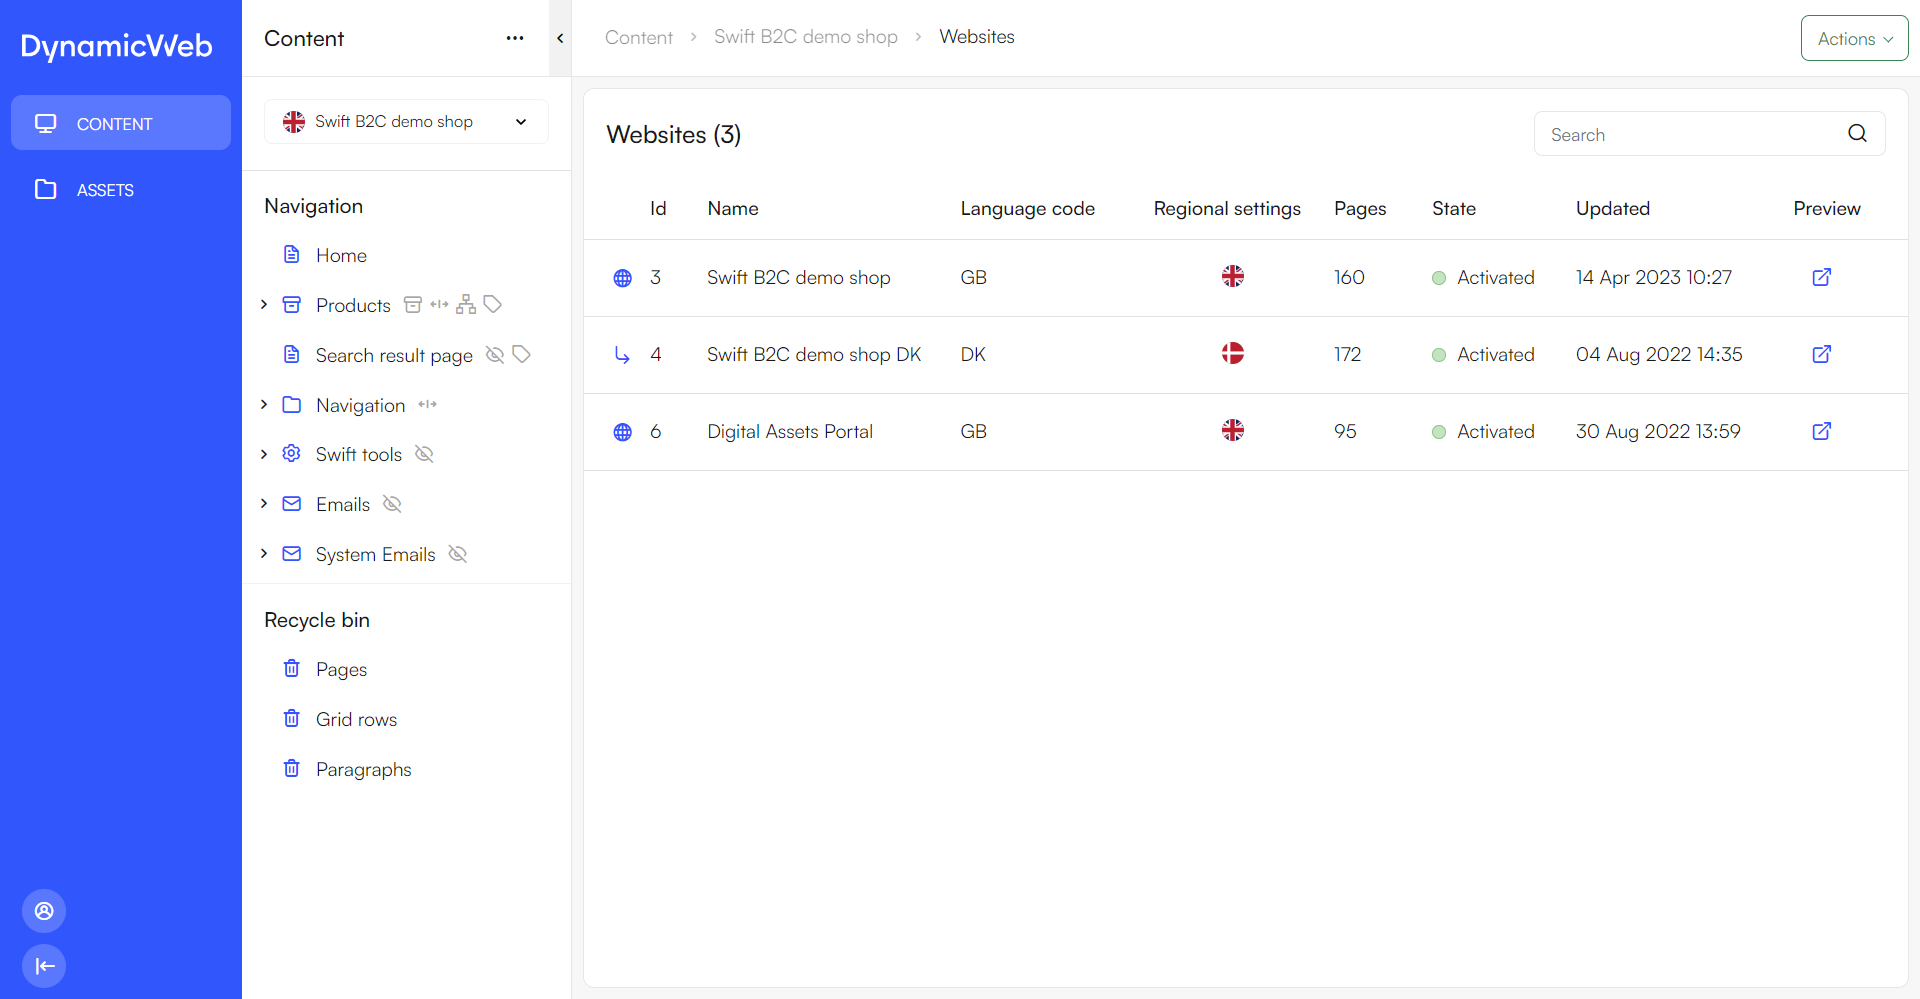
- Log in as an administrator user
- Open the content tree, then click the context-menu for the tree and select Permissions
- Click + New permission:
- Principal type: user group
- Principal: Content manager
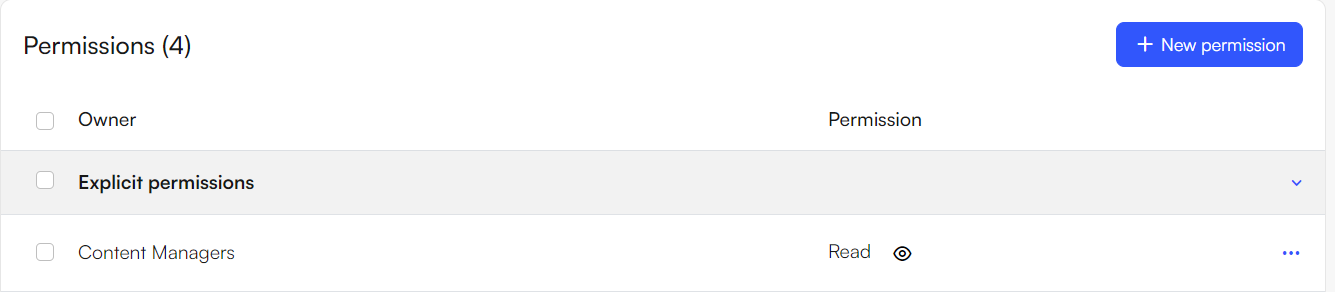
- Permission: Delete
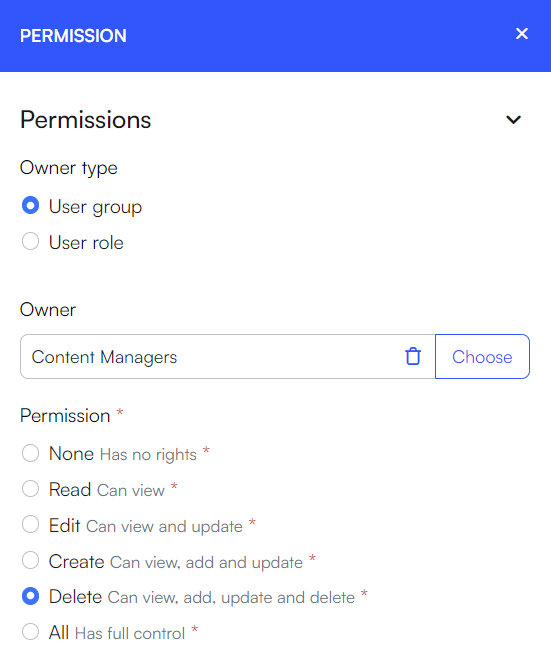
- Save
Content manager should be able to access all media files within Assets. However, we don’t want content managers to be able to change design files or edit system files, meaning they should only have Read-access to the Assets area: Open the Assets-area, then click the context-menu for the tree and select Permissions
- Open the Assets-area, then click the context-menu for the tree and select Permissions
- Click New permission:
- Principal type: user group
- Principal: Content manager
- Permission: Read
- Save
We do want them to be able to create, edit and delete media files – as this is important for content management:
- Open the context menu for the Media section of the Assets-tree and select Permissions
- Click + New permission::
- Principal type: user group
- Principal: Content manager
- Permission: Delete
- Save
Now login with the content manager user – you should now have access to the relevant areas:
PIM Managers
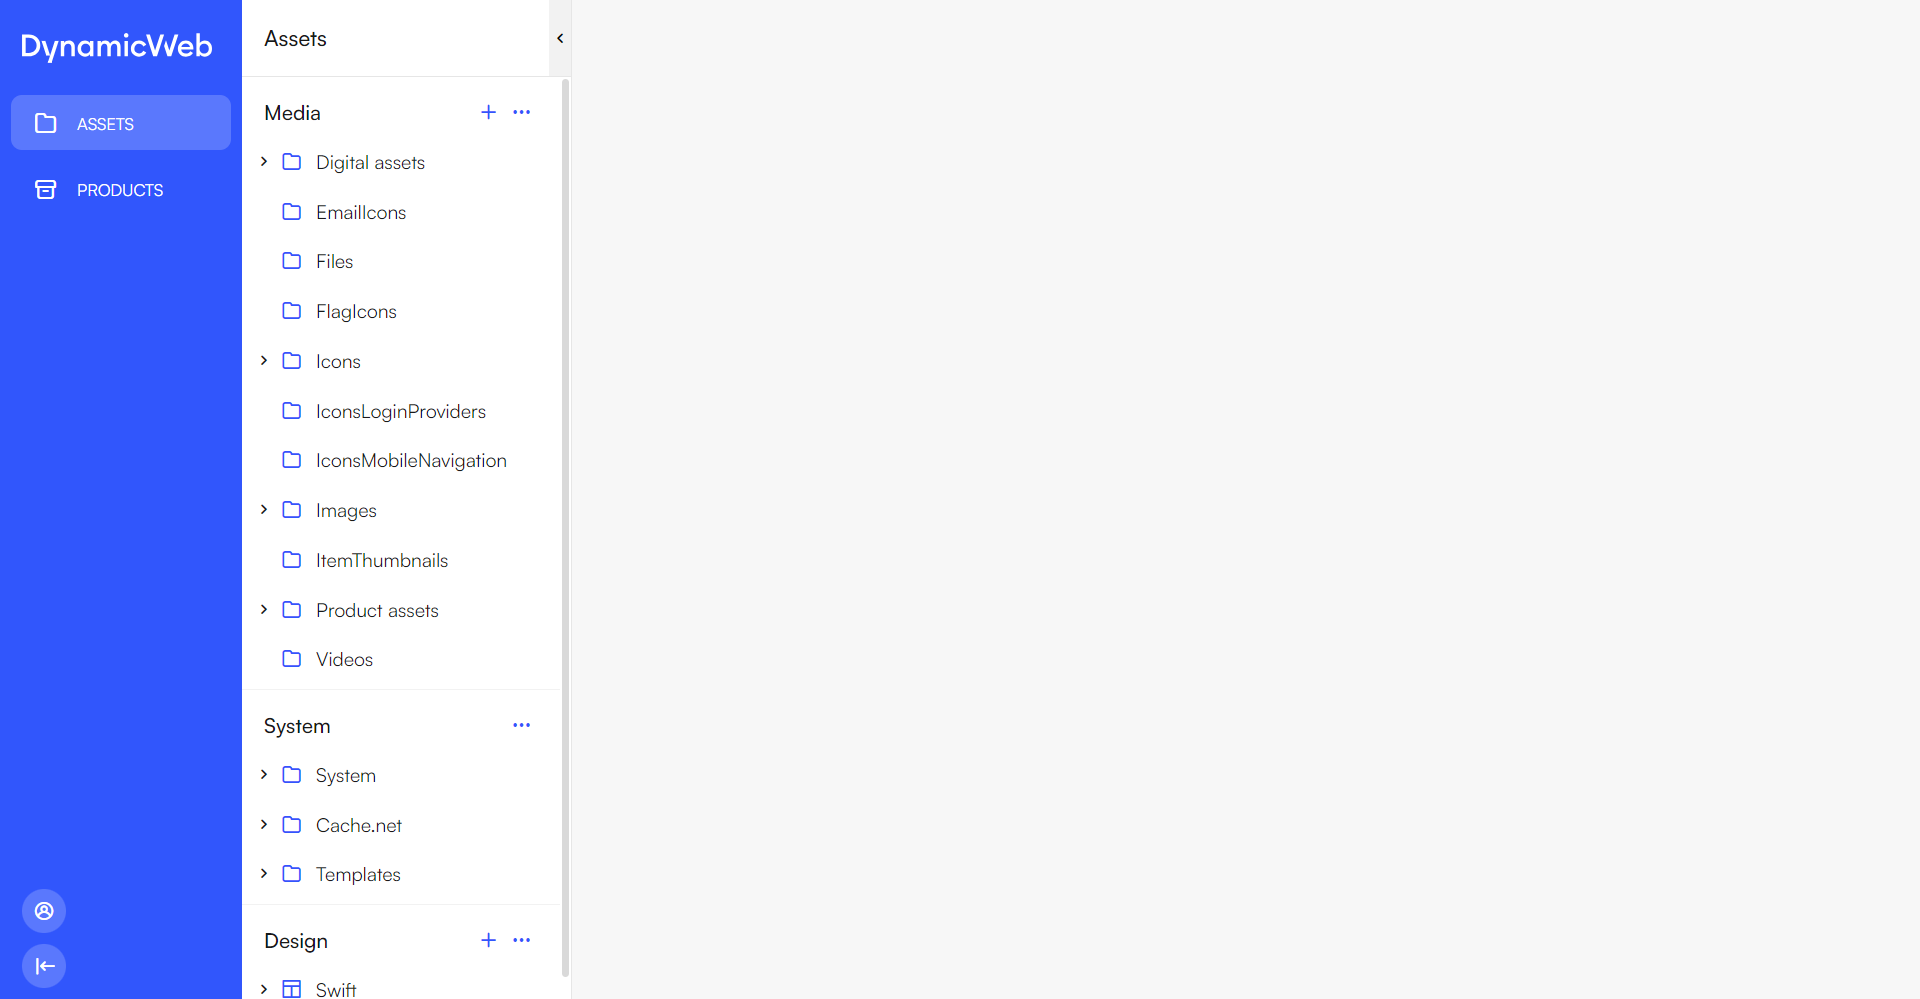
PIM Managers need to be able to access and work with the Products area as this is where product information is maintained. They also need access to the Assets area so they can work with product images and other assets.
First let’s grant them access to the assets. As with content managers, we don’t want them to be able to change design files or edit system files, so we will only give them Read access to the overall Assets area:
- Open the Assets-area, then click the context-menu for the tree and select Permissions
- Click + New permission:
- Principal type: user group
- Principal: PIM Managers
- Permission: Read
- Save

They should be able to create, edit and delete media files – as these are essential for enriching products:
- Open the context menu for the Media section of the Assets-tree and select Permissions
- Click + New permission:
- Principal type: user group
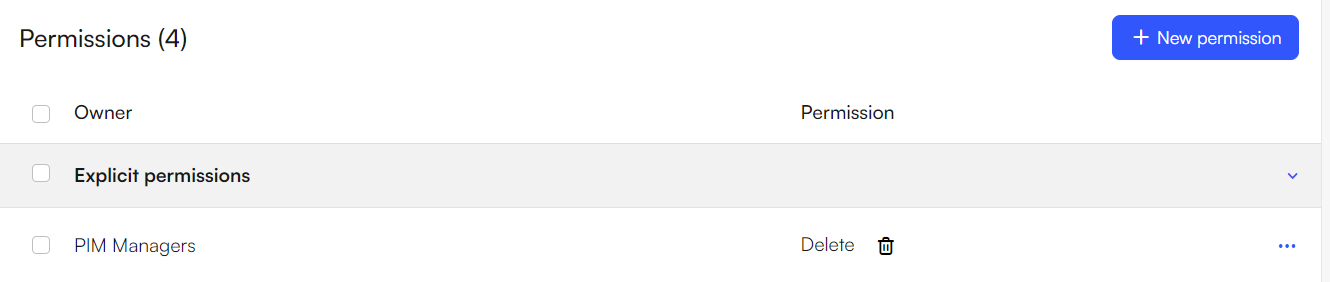
- Principal: PIM Managers
- Permission: Delete
- Save
Besides access to media assets, PIM managers should of course have access to the Products area:
- Open the Products-area, click the context-menu for the tree and select Permissions
- Click + New permission:
- Principal type: user group
- Principal: PIM Managers
- Permission: Delete
- Save
It is also possible to give permissions at a lower level, such as shops, warehouses, groups within a shop, or specific ecommerce languages. An example could be that you have two shops, shop A and shop B. You want certain people to have access to shop A and not shop B and vice versa. To achieve this, you would configure their permissions accordingly:
- Set the permission to read for the Products tree
- Set the permission to delete for their designated shop
You can also control access to specific ecommerce languages. Open the language under Settings > Areas > Products > Internationalization > Languages, then use the action menu to add or change permissions for that language.
When a user within the PIM managers user group is logged in, the page will now look like this:
Commerce managers
Commerce managers are responsible for handling everything related to commerce, and this includes:
- Order management
- Assortments
- Promotions
- User accounts
Meaning that the commerce manager needs access to the users, email and commerce areas.
Within the Users area, the commerce manager usually needs reading access to the customers information but more than that is rarely needed. This could be to gain insights into consumer behavior, trends, and preferences. Commerce managers can use this data to analyze sales performance and identify areas for improvement.
Here is how to achieve this:
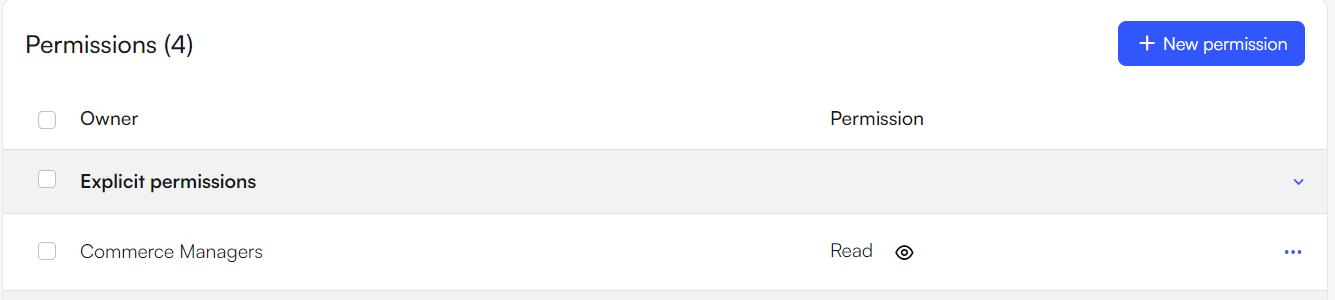
- Open the Users-area, click the context-menu for the tree and select Permissions
- Click + New permission:
- Principal type: user group
- Principal: Commerce Managers
- Permission: Read
- Save
The Commerce manager should also have permission to the Emails area to be able to work with email marketing.
- Open the Email-area, click the context-menu for the tree and select Permissions
- Click + New permission:
- Principal type: user group
- Principal: Commerce Managers
- Permission: Delete
- Save
Like with the others, it is possible to grant permission on a lower level if needed.
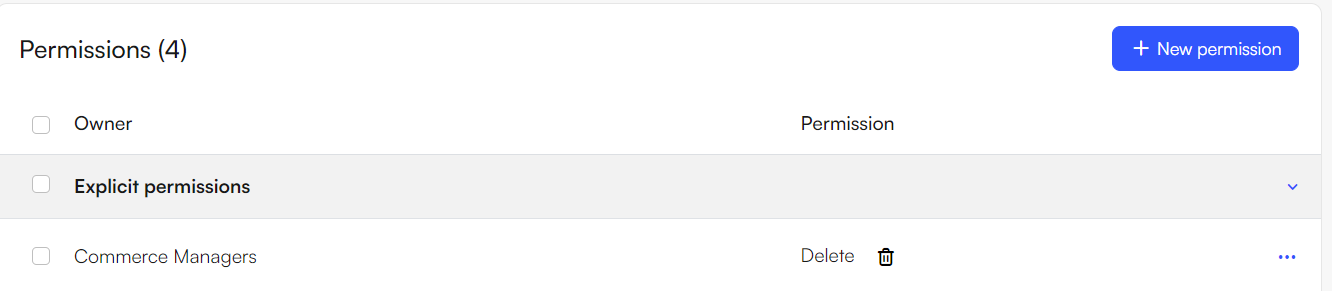
Lastly, the commerce manager needs to be granted permission to the commerce area, as this is where commerce tasks like order management and promotions are located:
- Open the Commerce-area, click the context-menu for the tree and select Permissions
- Click + New permission:
- Principal type: user group
- Principal: Commerce Managers
- Permission: Delete
- Save
On solutions with multiple shops or channels, you can also use lower-level commerce permissions to limit which shop data a commerce manager can work with. This affects order management lists such as Orders, Carts, Quotes, Subscriptions, Ledgers, and RMAs, as well as the shop and channel filters used on these lists. Users will only see data and filter options for shops and channels they have read access to.
When a user within the commerce managers user group is logged in, the page will now look like this: