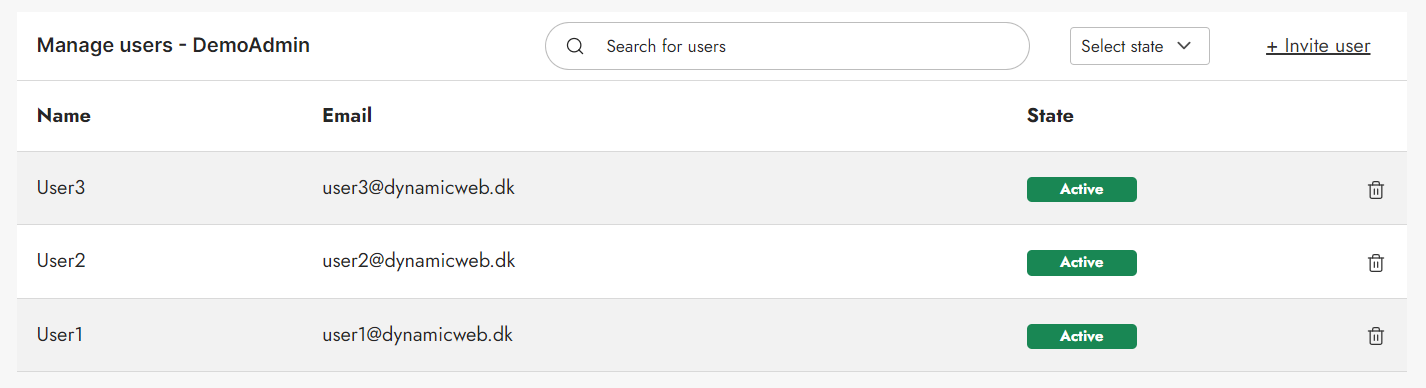
In the Swift Customer Center, you can invite and manage users on the website. Users are displayed with their name, email, and state. The state can be "Active" or "Pending", with "Pending" indicating that the user has not yet accepted the invite. Since this role should be for an Account Manager, it is advisable to use our Permissions to ensure that only Account Managers have access to this page.
For the Manage users page to work, the Account manager must have a valid customer number. You can check the customer number in the Users section:
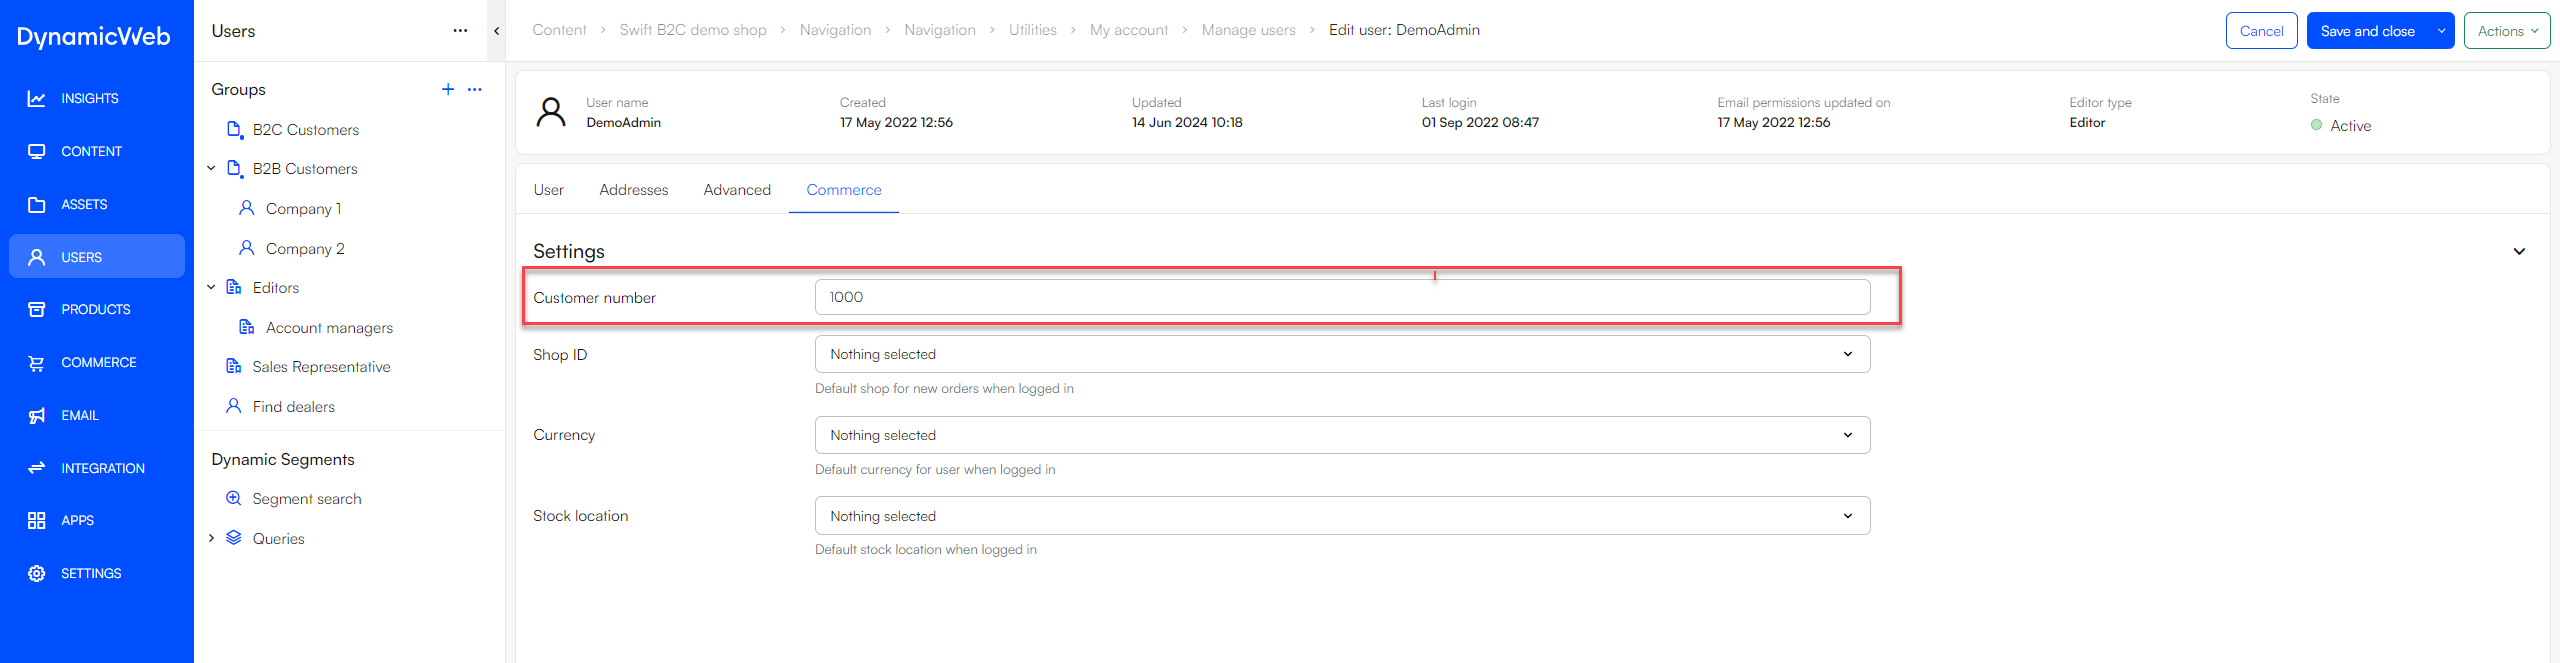
When a new user has been invited and later on created the user will have the same customer number as the Account manager. This way the Account manager is linked to the users.
Manual setup
The Manage Users page is an standard part of a Swift solution. However, if you prefer to set it up manually, you can follow this guide:
Creating the "Manage users" page
- Go to Content > Navigation > My account
- Create a new page and provide it with a name, e.g. Manage users
- Add a new row to the page
- insert a Customer center app to the row
it's now time to configure the Customer center App
- Provide the customer center app with a title
- In the App settings choose the Query Publisher App in the Content Section
- In the Query field choose “Secondary users - Manage users.query”
- In the Sort by field click Add a new row
- Set Field to "Auto update ID"
- Set direction to "Descending"
- In the Template section choose “ManageUsers.cshtml”
- Save
Note
At this point you might get an error message. This will happen if you are not logged in in the frontend with an Account Manager. As mentioned, we strongly recommend using our permissions tool to ensure that only an Account manager will have access to this page.
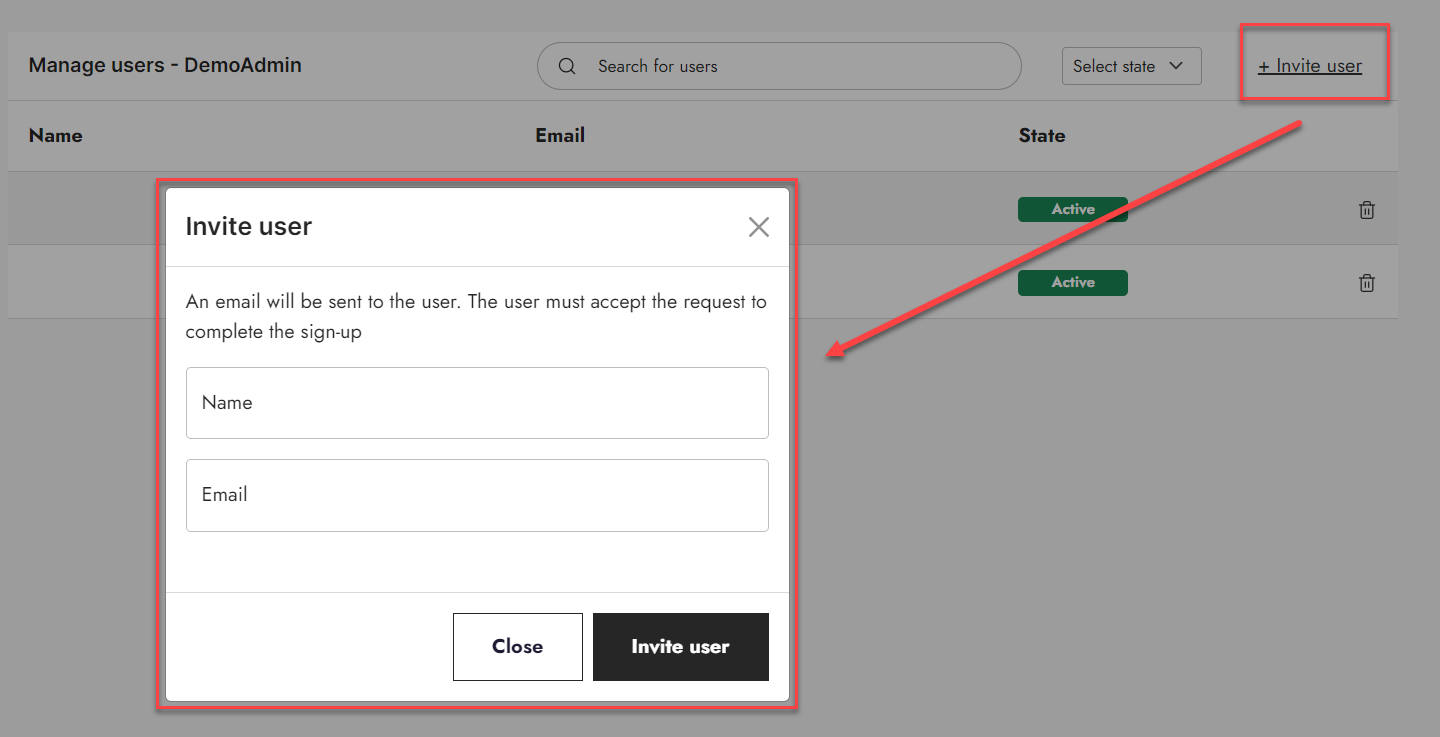
Enabling inviting users functionality
To be able to use the "invite new users" function, you need to add another app paragraph to the page.
- Add a 1 column row to the page
- Add a "Customer center App" to the empty row
- In the App section, select the “Extranet” app
- Select the “Create profile / Manage subscription” mode
- In the Create User section:
- For template select the “ManageUsersInviteModal.cshtml”
- Set Approval to “By user”
- In Groups for new users choose the group new users will be added to, e.g. "Accounts"
- Make sure to tick “Require unique emails”, “Use email for user name” and “Set profile”
- In the User confirmation Email section choose “ManageUsersInviteEmail.cshtml” as Template
- In the User Notification Email section:
- Select template
- Select the “ManageUsersInviteEmail.cshtml” template
- Fill out the last three fields with the relevant information (email, name, and subject for email)
- In the Redirect section:
- Select template
- Select the “RedirectToThisCleanPage.cshtml” template
- Save
It should now be possible to invite new users.
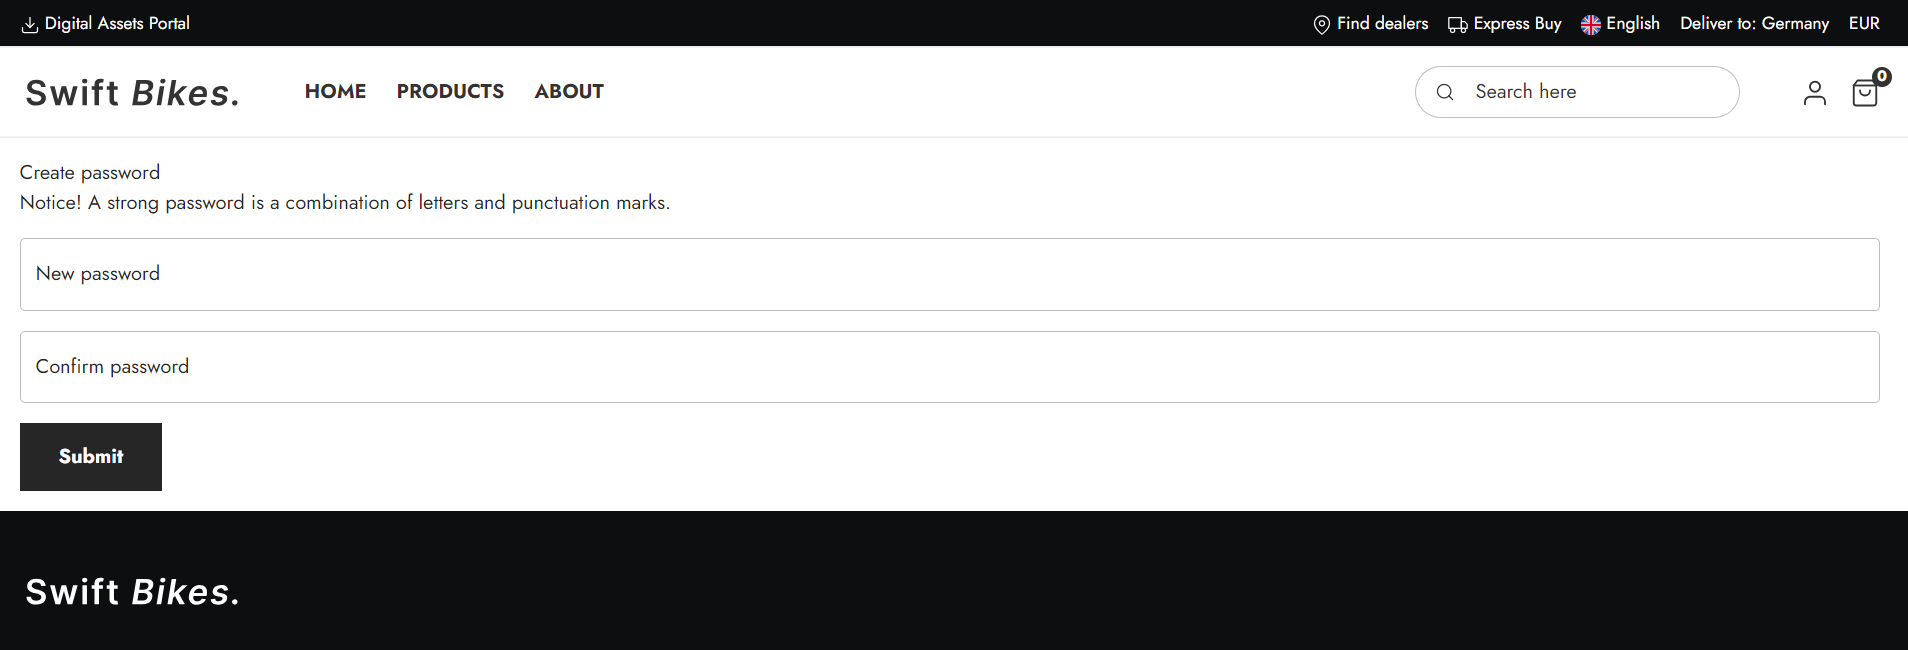
Building "create a password" page
Next, we must build a page for the customers to create password upon being invited. The users will automatically be redirected to this page, when they click the link in the email.
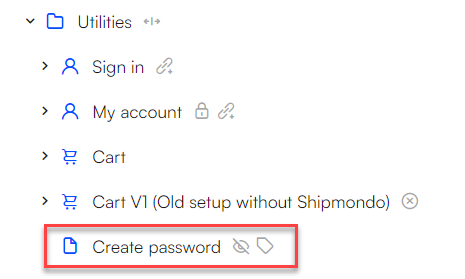
- Go to the Utilities folder (Content > Navigation > Utilities)
- Create a new Customer center page in the folder, Change the name of the page and make it hidden in menu
- Go to the page properties
- Go to the Advanced tab and set the Navigation tag of the page to “CreatePasswordPage”
- Save
Next, we'll add and configure a customer center app paragraph:
- Add an empty 1-column row
- Add a Customer center App paragraph
- Go to the app section of the Customer center app
- Select the "Create profile / Manage subscription" mode
- In the “Groups for new users” select the same group as before
- In the redirection section:
- Select "Page"
- For "Page to redirect", select the "dashboard" page (Navigation > Utilities > Dashboard)
- For "After approval. redirect to", select the "Create password" page
- Save
Now we need to change the Extranet app to "Login" mode (the previous settings will be saved).
- Open the Customer center app and go to the app section
- Select the Login mode
- for Login template, select "CreatePassword.cshtml"
- For Password recovery template, select "PasswordRecovery.cshtml"
- For Password reset template, select "PasswordReset.cshtml"
- Set Link active time to 48 hours
- Save
Once this is completed, you will have built a "Manage Users" page in the Customer Center. On this page, the user can delete existing users or invite new users. Additionally, you will have created a page for invited users to create a password for their profile.
There is nothing visible in the backend. However, when the user clicks the link in the email, they will be redirected to a page similar to this: