Install using a zipped milestone release
How to install a DynamicWeb using a zipped milestone release
To install a clean solution using a zipped milestone release you need to do three things:
- Download the zipped milestone release and extract it
- Create a website in IIS and point it to the extracted application
- Run the Setup guide
Step 1: Download a zipped milestone release
Currently, zipped milestone releases are made available on the old documentation site - you need to login using your DynamicWeb ID to access downloads. There are 5 release rings available, ranging from R0 to R4. If you want to download the newest release you need to download R1.
To download the zipped milestone release, click the Application zip file and the downloading should automatically start.

Once you've downloaded the zipped milestone release, extract it where you usually place DynamicWeb applications, e.g. a /DWLocal-folder.
To see the release version, download the Lastest.txt file:

Step 2: Create a website in IIS and point it to the extracted application
Before running a DynamicWeb 10 solution in IIS please ensure that:
- You have IIS 10 or newer installed and configured
- You have ASP.NET Core Runtime 8.0 Hosting Bundle installed
We will continue with a single-tenant setup, meaning that the solution has a dedicated application. This means that the application is not shared with other solutions.
Open the IIS Manager
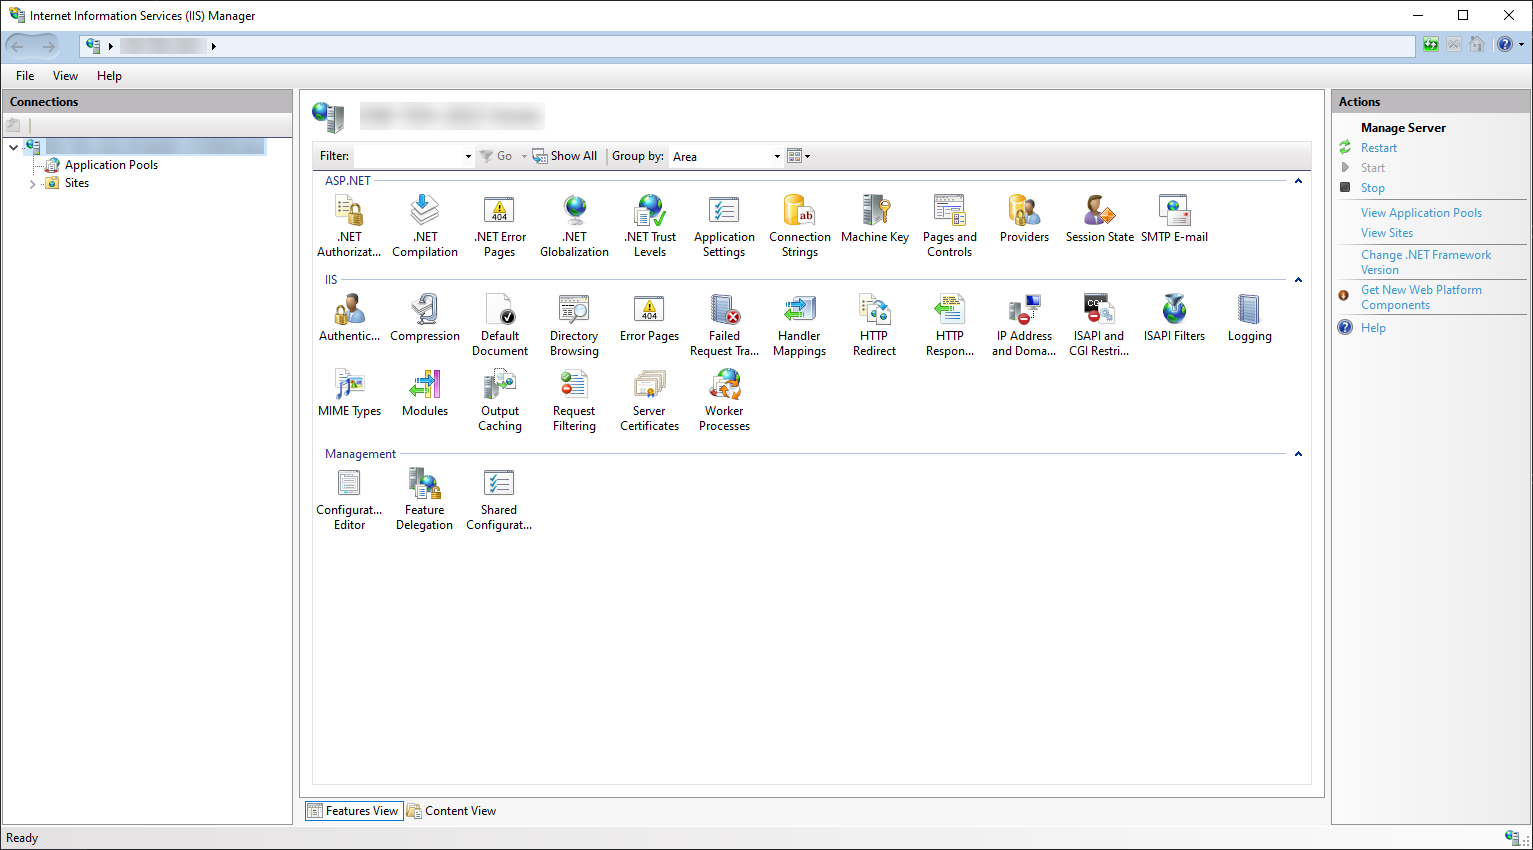
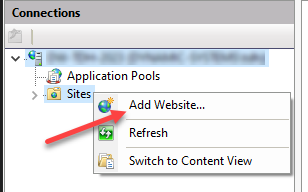
Right-click Sites > Add website – then configure it:
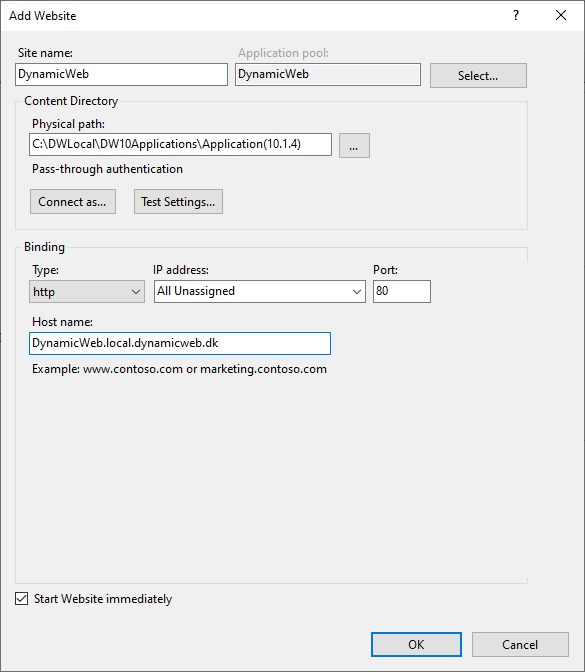
- Add a site name
- Point the physical path to the application folder (where the bin-folder is)
- Give it a host name – for local installations use yoursitename.local.dynamicweb.dk
- Click OK
Access the hostname through your browser, or use the browsing functionality within the IIS Manager.
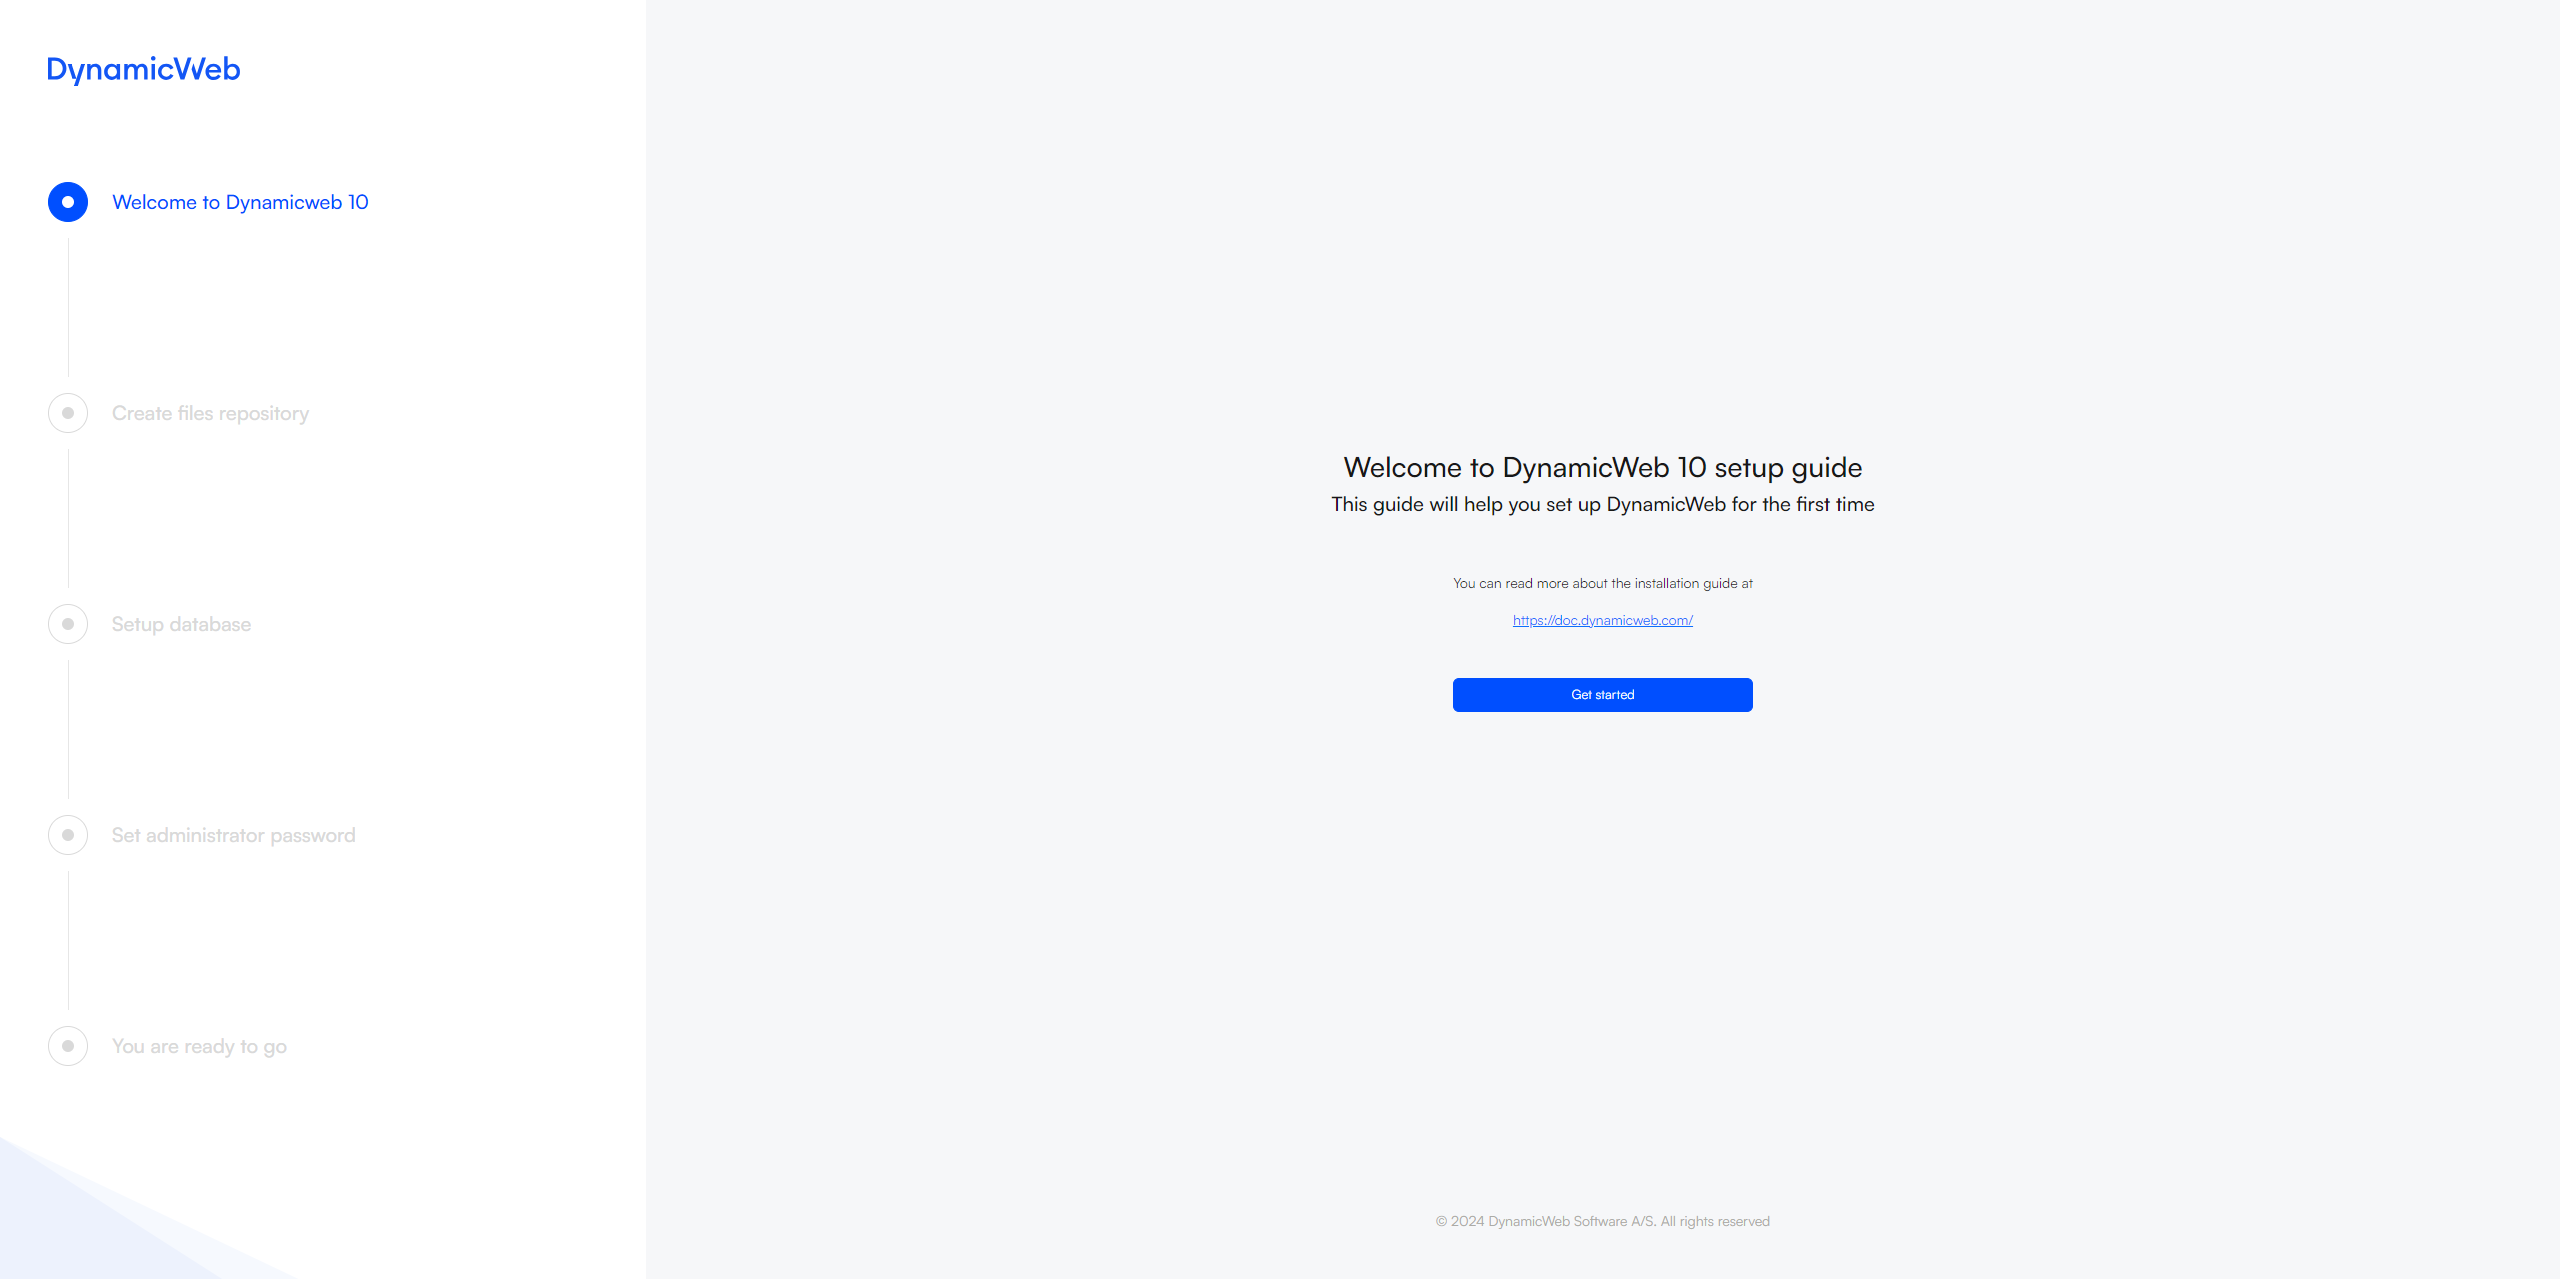
Step 3: Run installer or install Swift
At this point, you've created a website which runs on the downloaded application. You can now do either of two things:
- Follow the Setup Guide to create a clean solution and database
- Follow the Install using Swift-guide from the Extract the database-step to create a Swift solution
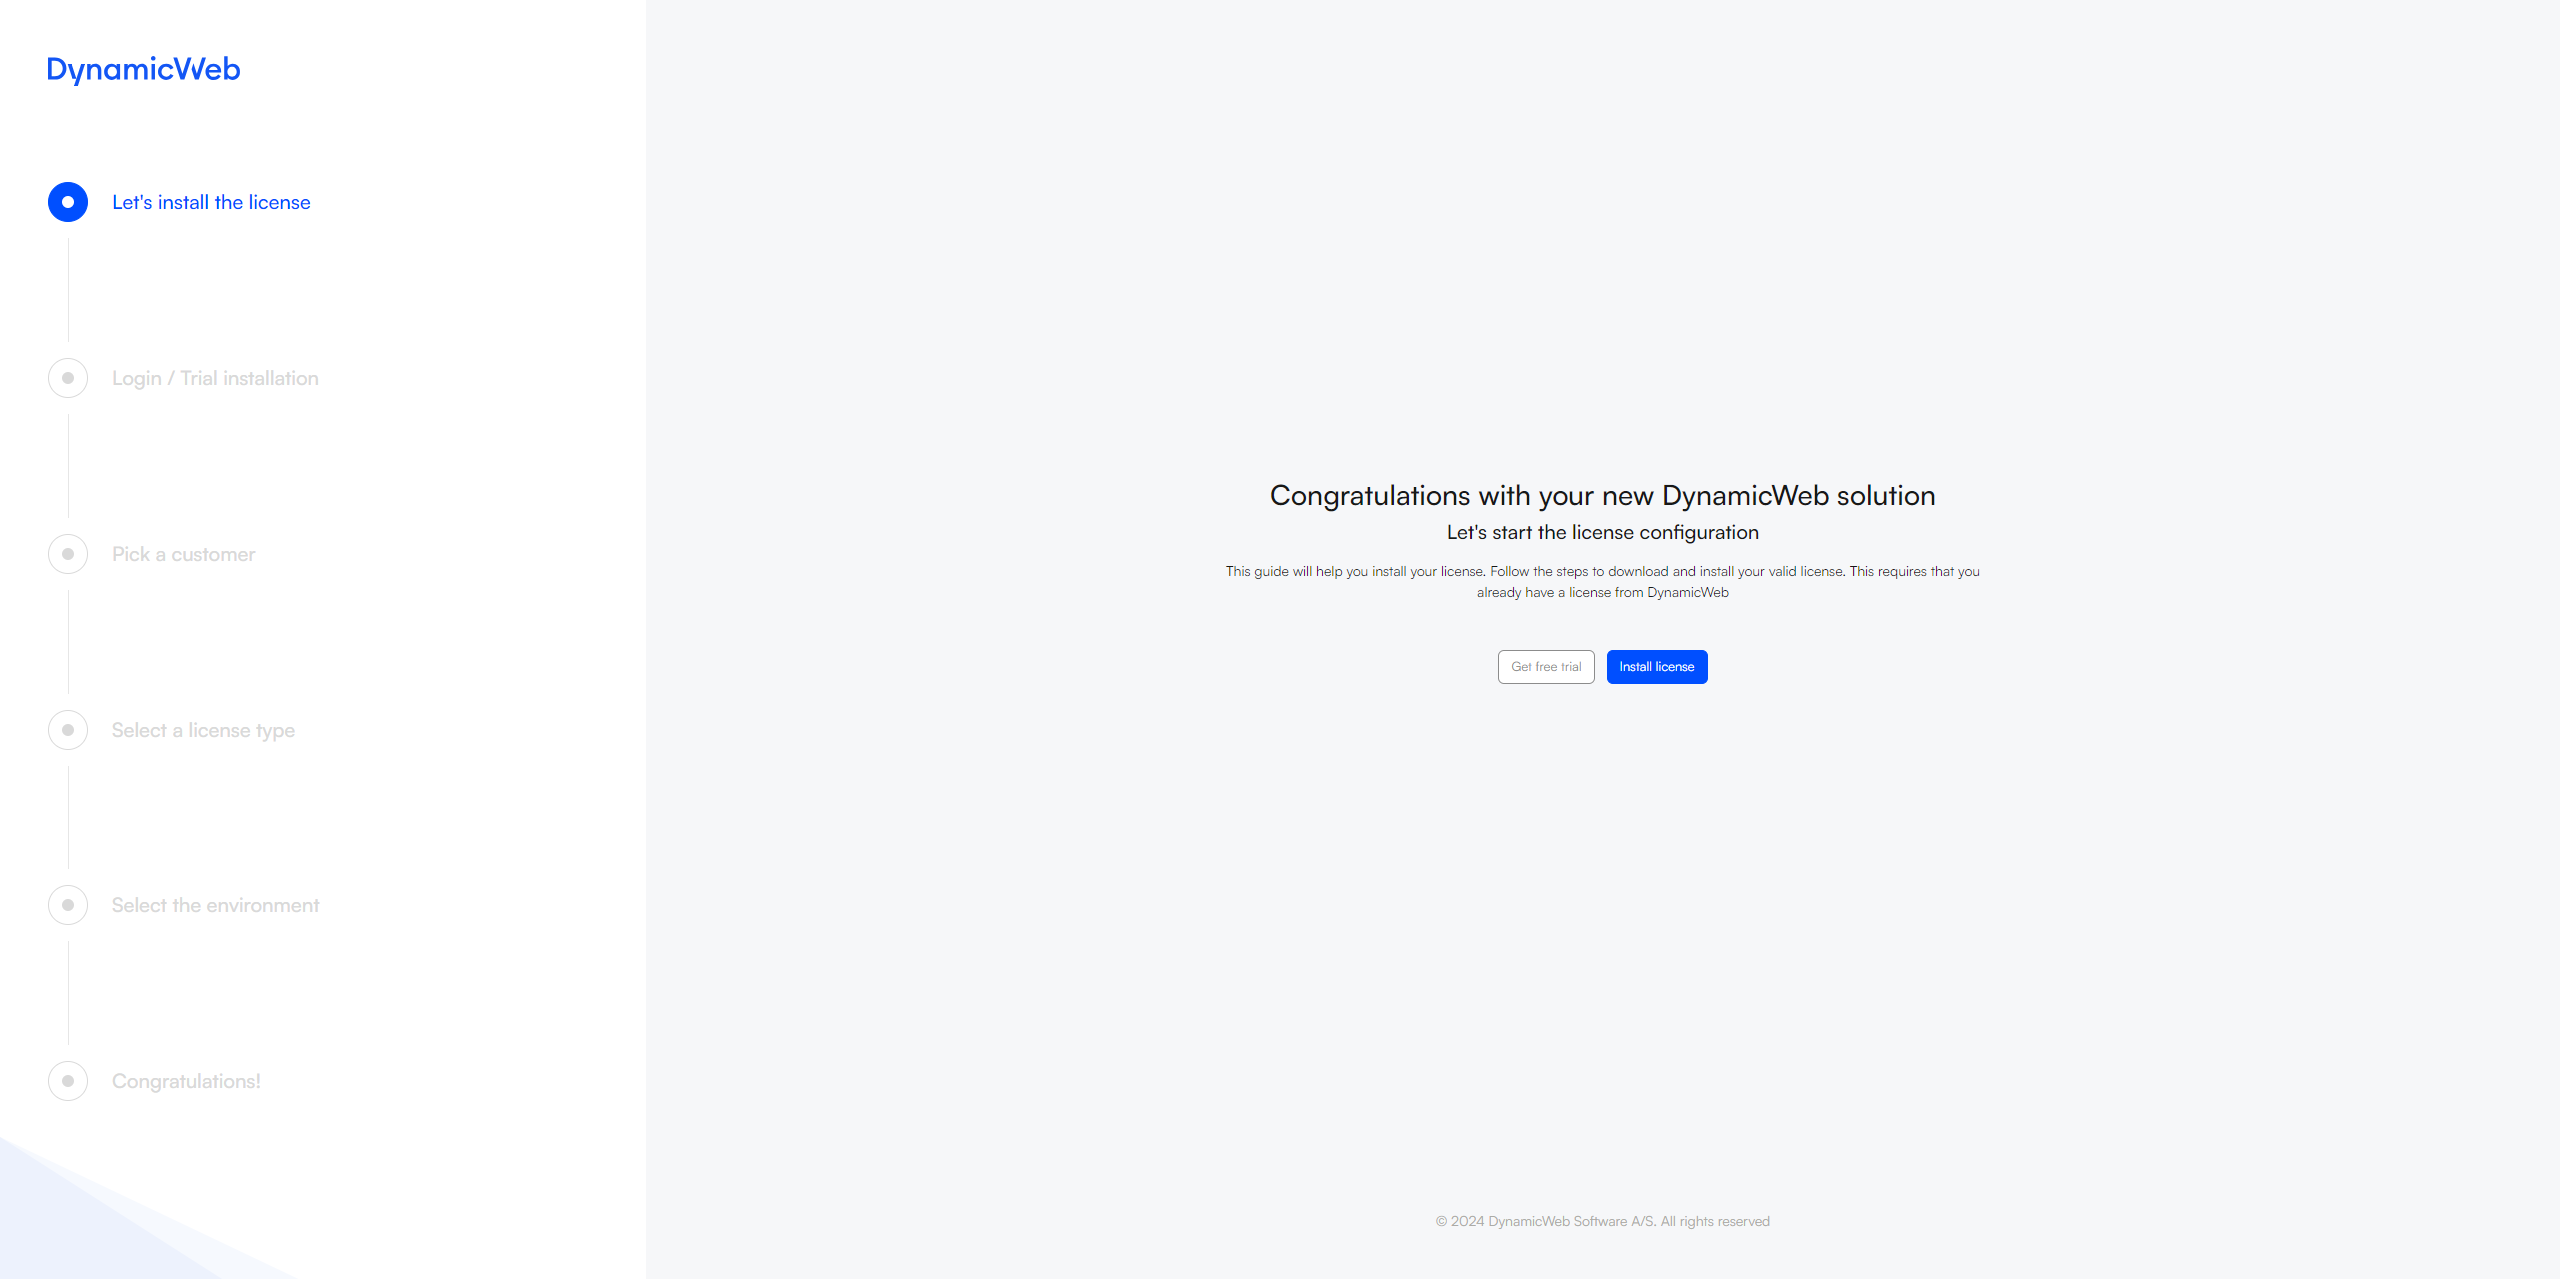
Either way will eventually lead you to the License configuration, where you will need to install a license or get free trial. The free trial is valid for 30 days and contains the same features as a full license.
After following the License guide, you will be directed to the login screen. Here, you can login as the administrator user created during the setup guide.