An Account represents a shared user/customer entity in the system. It functions similarly to a User Group, but instead of representing a role or permission group (such as Administrators or Editors), an account usually represents a business relationship.
Multiple users can be associated with the same account, allowing them to share common information such as a customer number and organizational affiliation.
Tip
To use the Accounts feature you must first enable it under Feature Management.
Creating an Account
Accounts may be created manually or (more likely) via integration from an external system.
To create an account manually:
- Use the context menu for the Accounts node in the tree
- Provide a name
- Click Create
Once created, the account appears in the Accounts overview.
Users can be added to an account:
- Manually by opening the account and clicking +New user
- Automatically through logic in the Users - Create user app
You can see examples of the automation logic below.
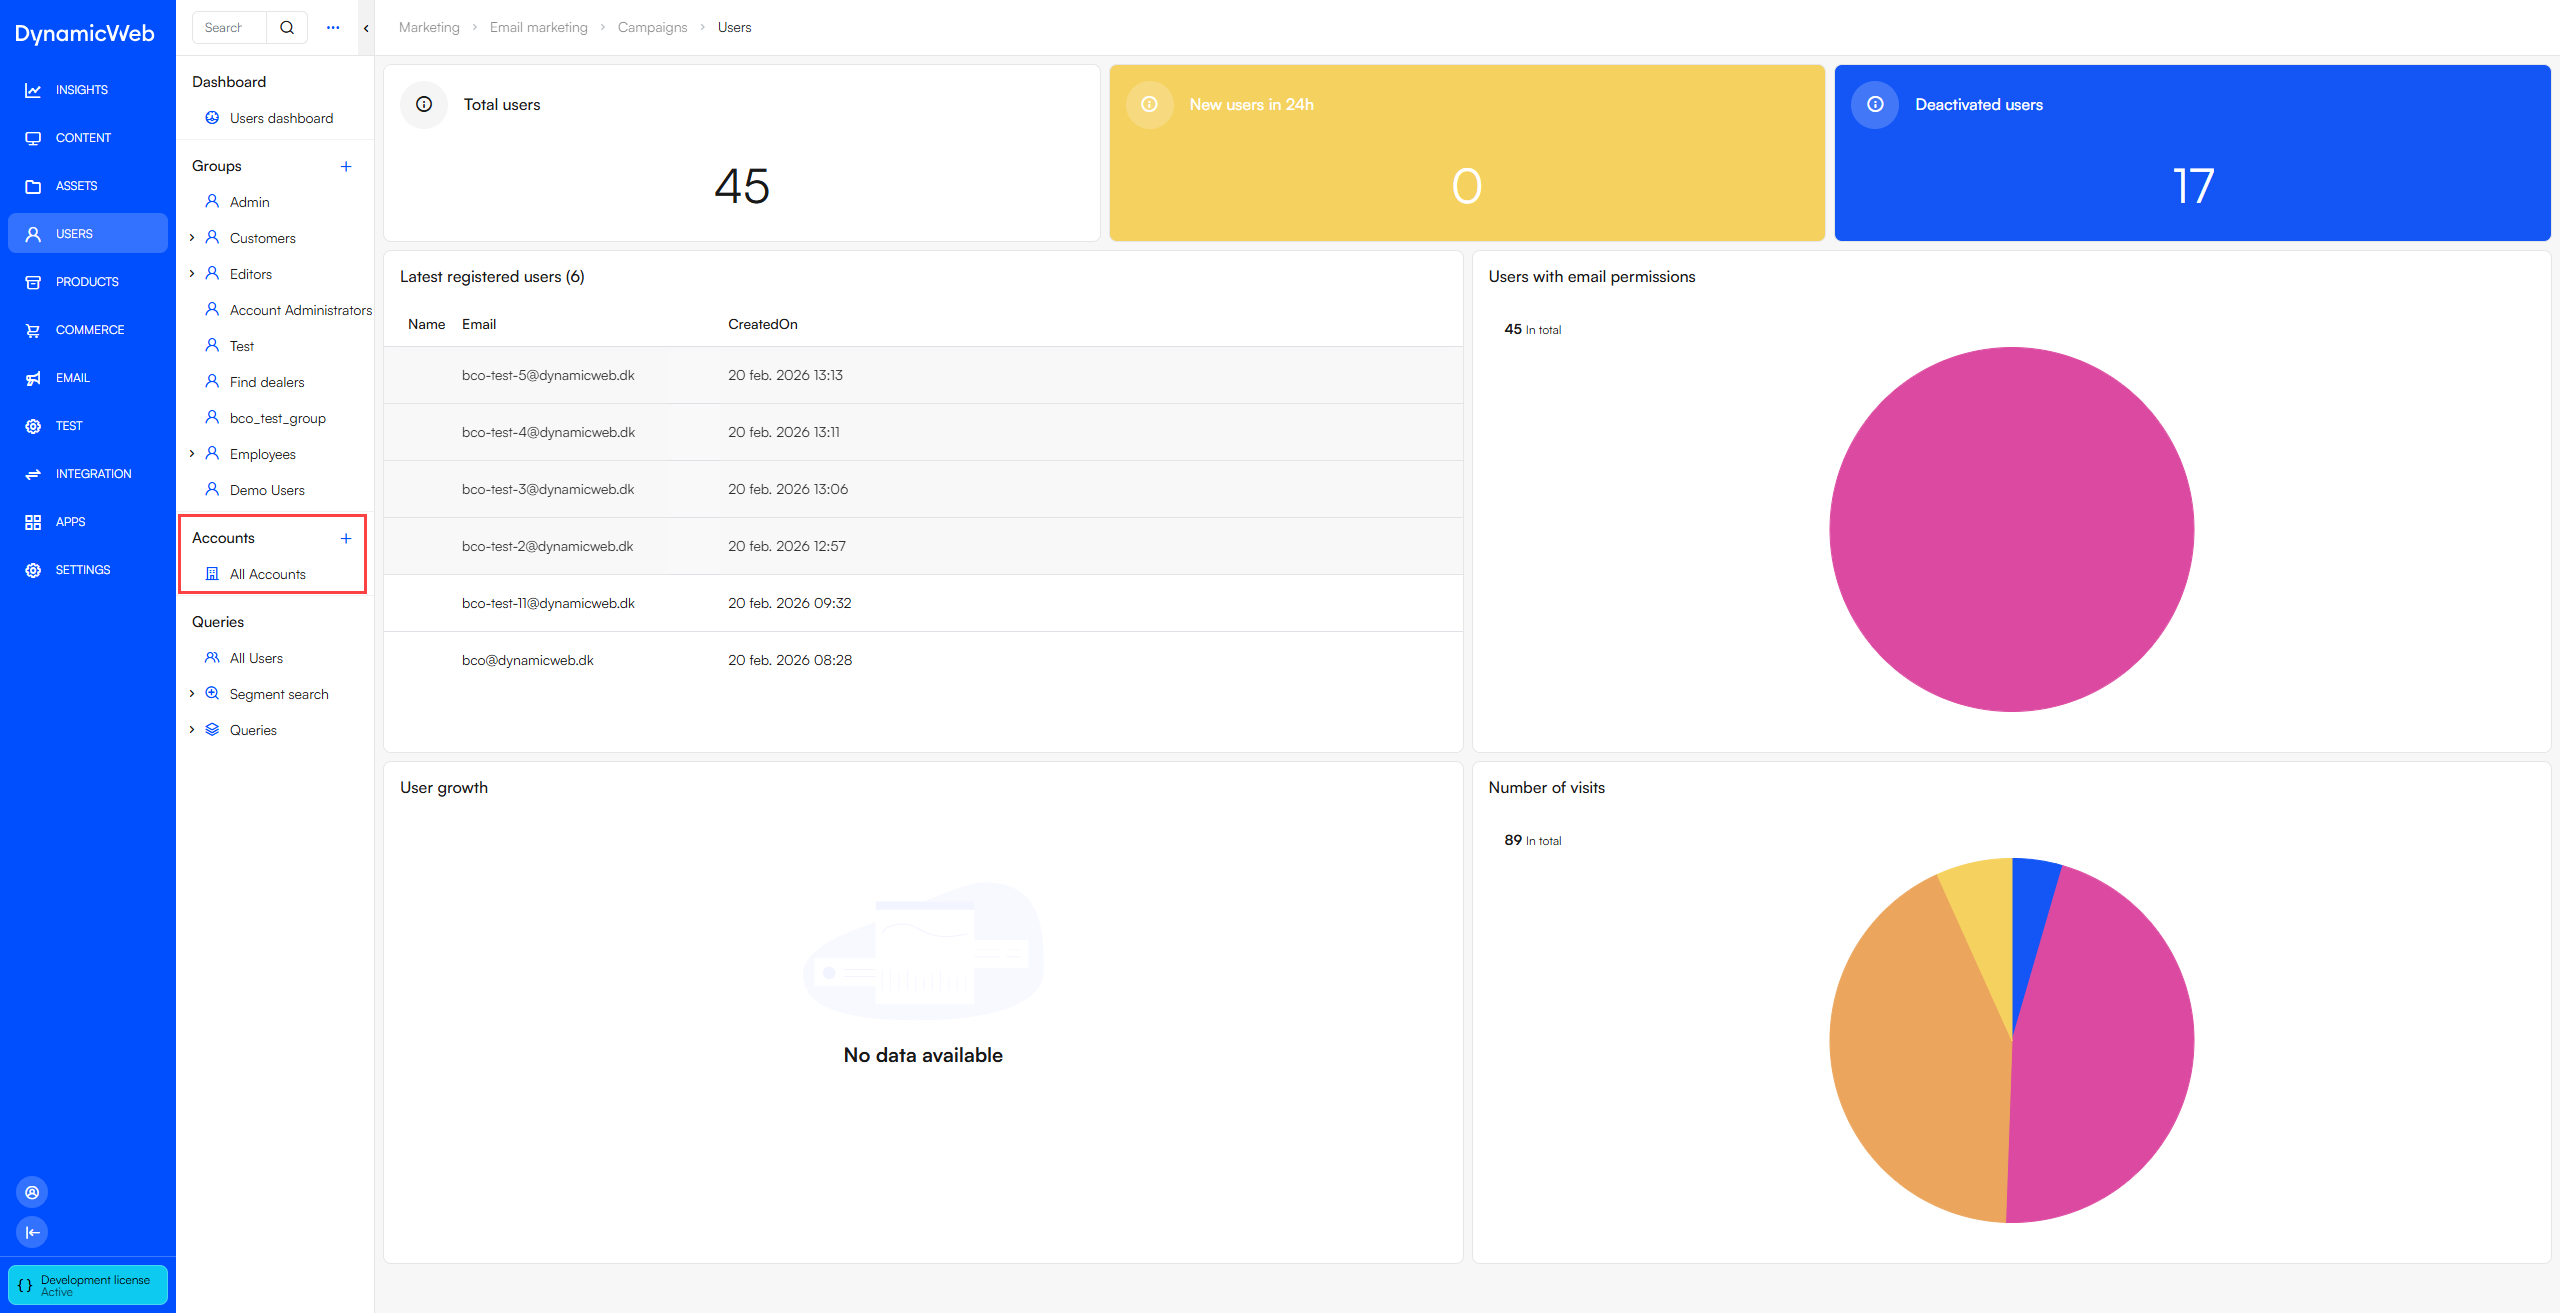
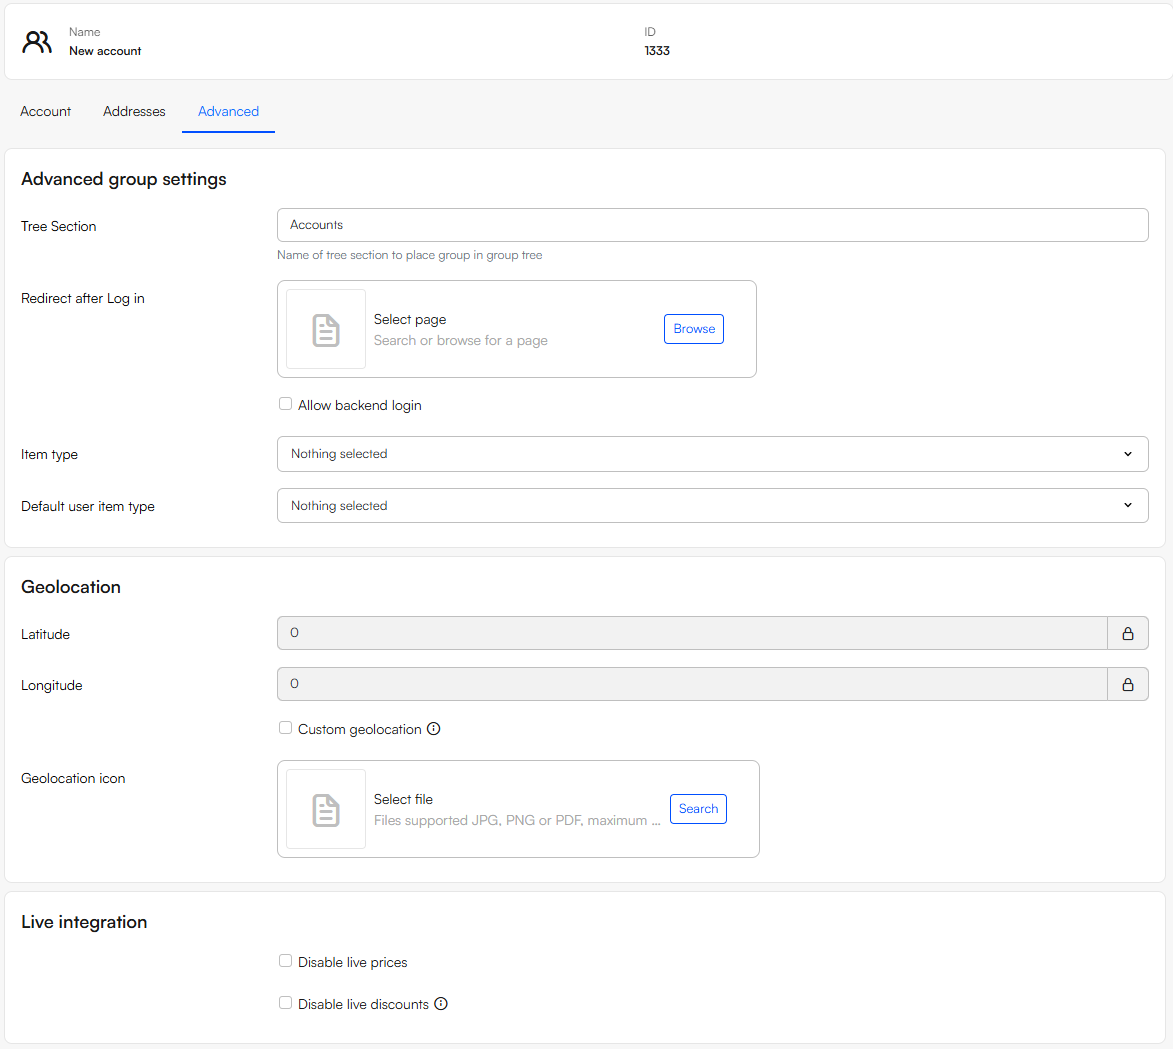
Account fields
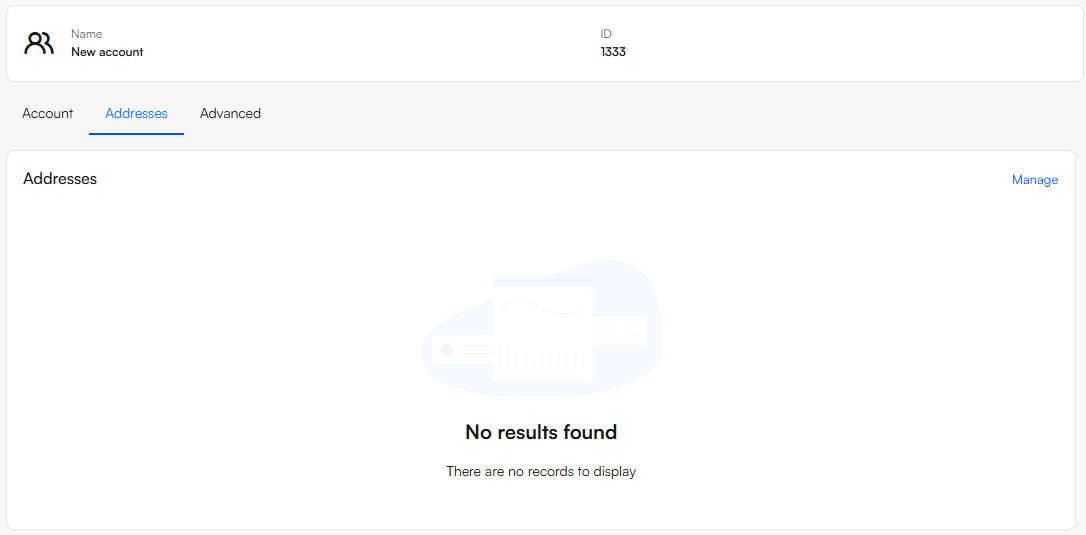
Accounts feature a set of fields which are available when you create or edit an account. They are organized in the following tabs on the edit screens:
 On the Account tab you can control various basic properties:
In the account information section you can:
- Set the Name of the account
- Select a default permission for all users who are members of the account
- Set an account image which can then be used in frontend
- Set the customer number
- Set the email address
In the Users-section you can select a segment search query. The users returned by this query will then become members of this account, forming a sort of dynamic user group which you can set permissions on.
In the default address, phone and work sections you can add additional information to an account.
Example: Adding users to an account based on customer number
To enable users to be automatically added to an Account:
- Navigate to the page containing the Users – Create user app.
- If you are using the standard Swift package, this is typically located at:
- Content → Navigation → Customer Center / Cart → Sign in → Create account
- If you are using the standard Swift package, this is typically located at:
- Open the Users – Create user app.
- Go to the App tab.
- Scroll to the User groups section.
Here you can configure how newly created users are associated with Accounts:
- Do not auto-assign customer number
- Get customer number from input field
- Get customer number from group with same email domain
- Inherit customer number from the logged-in user
To implement the logic, check: Add user to group based on customer number
Example: Adding users to an account based on email domain
One way to automatically add users to an account is by using their email domain:
- In the account you want users should be added to, provide an email address and a customer number in the Account tab
- Example:
- Customer number:
ABC123 - Email:
account@dynamicweb.com
- Customer number:
- Example:
- Navigate to the page with the Users - Create user app attached to it
- Head to the app tab and enable Get customer number from group with same email domain This assigns the customer number based on the user's email domain.
- Enable Add user to group based on customer number