Guide 7 - Campaigns and Ecommerce Badges
Welcome to the seventh guide of our Swift Design Tutorial, which aims to get you familiar with using Swift and its features to create beautiful websites.
In these guides we focus on what is possible to do with Swift without any customizations, as we believe this is the best way to learn what Swift is all about; simplifying the process of website-building to the point where you can create high-quality prototypes in the fraction of the time it usually takes.
In this guide we cover:
- Creating custom campaigns
- Creating an ecommerce badges collection where you can create custom ecommerce badges
- Creating and designing custom ecommerce badges
- Adding products to the campaigns you have created
- Showing the ecommerce badges you have designed in Frontend
To enhance your understanding, we strongly recommend actively participating in the tutorial by building your own version as you progress through each exercise. This hands-on approach will deepen your understanding and empower you to apply it in real-world scenarios.
Exercise 1: Creating a Campaign
Campaigns are strategic marketing initiatives designed to promote products or services. These initiatives can include targeted advertising, discounts, special offers, or seasonal promotions. They are what our ecommerce badges will visually represent.
To create a new campaign:
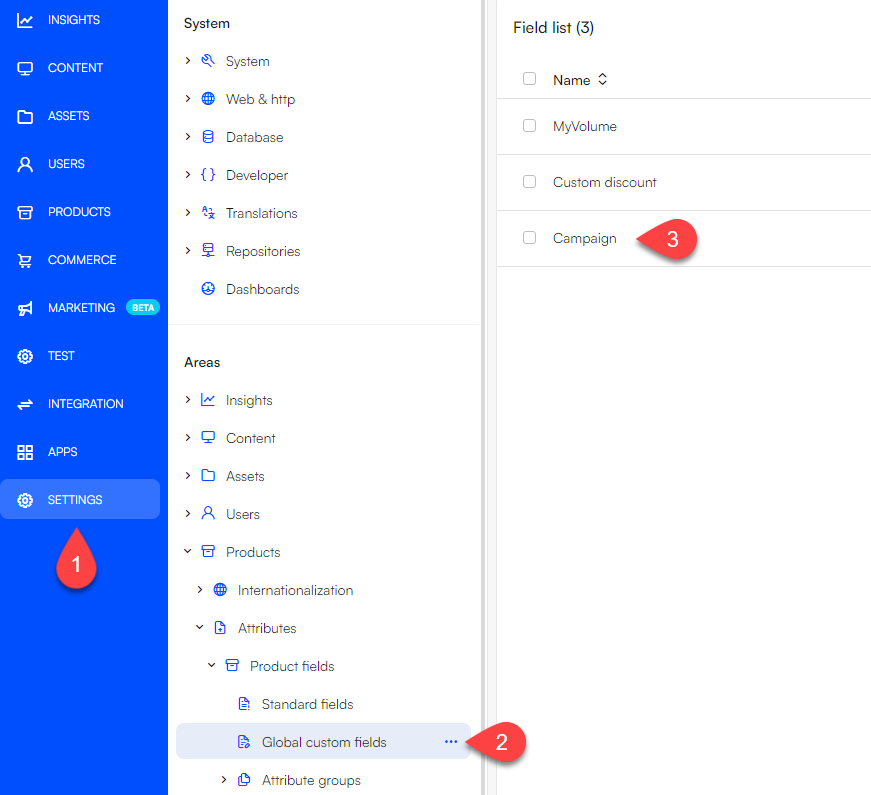
- Head to Settings
- Navigate to Global custom fields via Products > Attributes > Product fields > Global custom fields
- Click on the Campaign field
- Switch to the Options tab
Here, you can see an overview of the already existing Campaigns:
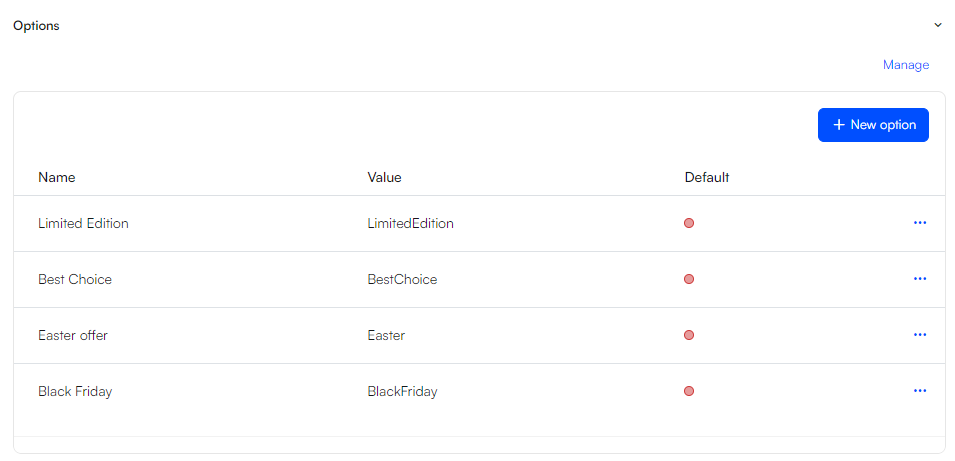
To add a new campaign:
- Click New option
- Enter the name of your campaign.
- Enter the value of your campaign. The value should be similar to the name, though without spaces.
In our example, we’ll make a campaign for Halloween, however if you feel like making a campaign for something else, feel free to do so!

- Hit Save
Having created the campaign, our next step is to add Ecommerce badges to it.
Exercise 2: Creating an Ecommerce badges collection
The Ecommerce Badges Collection is a repository where you can create and store your custom ecommerce badges. The Standard Swift solution comes pre-equipped with an ecommerce badges collection which you are welcome to use. However, for the purpose of this tutorial, we will be creating a new ecommerce badges collection.
To create a badges collection:
- Navigate to Content > Swift tools > Design
- Right click on Design and select ‘New page’
- Select the ‘Ecommerce badges collection’
- Give it a title, e.g. ‘Ecommerce badges collection’
- Enter the Publication tab and check Hidden in menu
- Click Save
This creates an empty page where you can add ecommerce badges to:
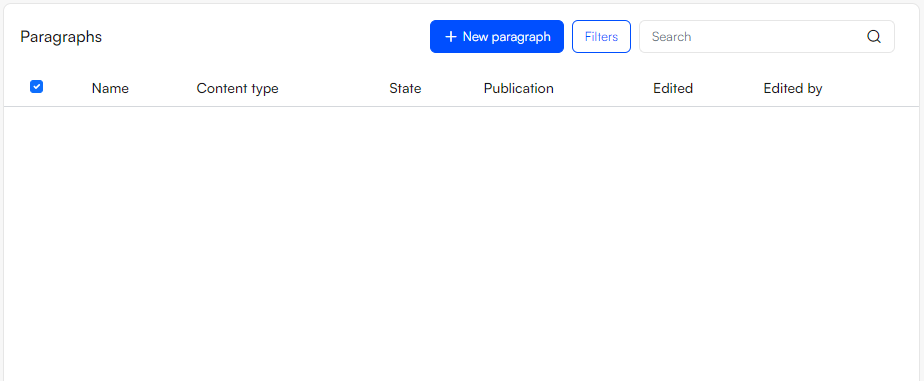 The first badge to create on the Ecommerce badges collection should be a default no badge paragraph.
- Click New paragraph
- Choose Ecommerce badge
- Name it ‘No badge’ and leave the details and layout as they are and hit Save
Linking the Badges collection to a website
Next, we need to link this Ecommerce Badge collection to our website.
To do this:
- Click the three vertical dots in the top left corner and click Websites
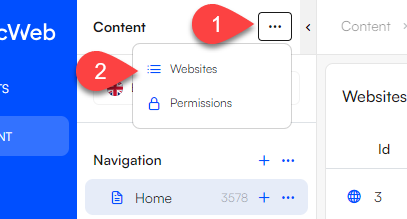
- This opens a list of your websites. Choose the one relevant for you.
- Scroll down to the Design section. In this section you’ll find the Ecommerce badges page

- Click the Internal button to the right and navigate to Swift tools > Design > YourEcommerceBadgesCollection
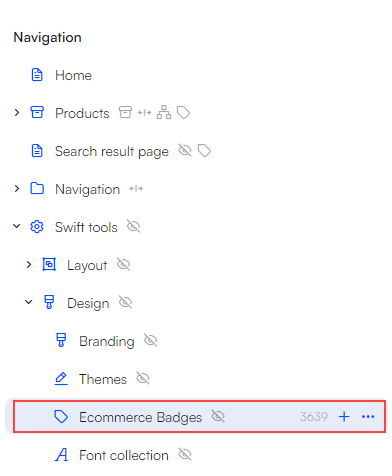
- Hit Select and click Save
Exercise 3: Creating Ecommerce Badges
Now that we've created a campaign and an Ecommerce badge collection, we can create and design our ecommerce badge. We'll create our badge in the ecommerce badge collection folder we've just created.
Ecommerce badges are more than just decorative elements; they are powerful tools that can influence consumer behaviour and assist customers in identifying products that are New, On Sale, or part of a custom campaign. From 'Best Seller' to 'Limited Stock'.
To create an ecommerce badge:
- Navigate to Content > Swift tools > Design > YourEcommerceBadgesCollection
- Add a New paragraph
- Select Ecommerce Badge
This opens for the configuration of your ecommerce badge. In our example we’ll:
- Give it the Badge text ‘Halloween Sale’
- Give it the Css class name ‘HalloweenSale20XX’ - it is important that it is a unique name.
- We’ll check the Campaign checkbox and link the badge to our newly created ‘Halloween Sale’ campaign.
Styling the Ecommerce Badge
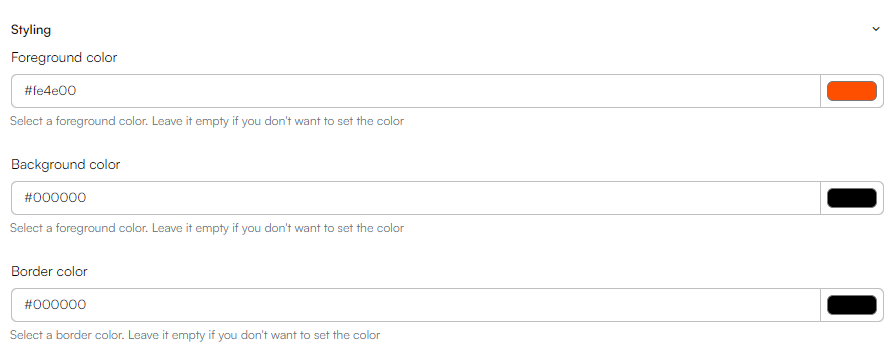
Next up is the styling, here it’s important to note that:
- Foreground color controls text color
- Background color controls the color of the badge
- Border color controls the border color of the badge
You can select a color in a few different ways depending on your needs:
- You can directly type in the Hex code in the text field
- You can click the color icon to the right of the text field and select a color
- You can choose the color picker and select a color by hovering over it.
In this example, we've set the text color to orange while keeping the border and badge color black. Feel free to experiment on your own for a better understanding of the process.
- Hit Save
Previewing the Ecommerce Badge
As a last step, you’ll need to render the colors of the new badge. To do this, click the Ecommerce Badges and select Preview
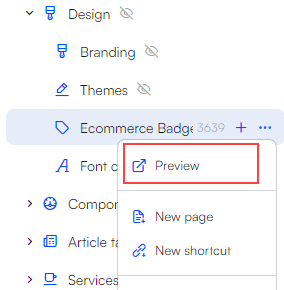
This opens a new page, where you can view the styling of your newly created badge.

Now we've created both the Campaign and its corresponding Ecommerce Badge within the campaign. We're now ready to add products to our newly created campaign!
Exercise 4: Adding products to Campaigns
To display a badge on a specific product, we’ll need to add that product to our campaign. This is done in the Products section.
To add a product to a campaign:
- Enter Products
- Locate the product you want to add to a campaign by selecting a Channel and navigating through the folder tree of this channel. In our example we'll choose the 'Performance Body-Secure Jersey' from the 'BIKES' channel.
Note
Please note that linking a product to a campaign differs based on the product's characteristics. If the product has multiple variants, the linking process is slightly different than if it has only a single variant.
Single Variant
If a product does not have any variants, click the three vertical dots to the right and click Edit
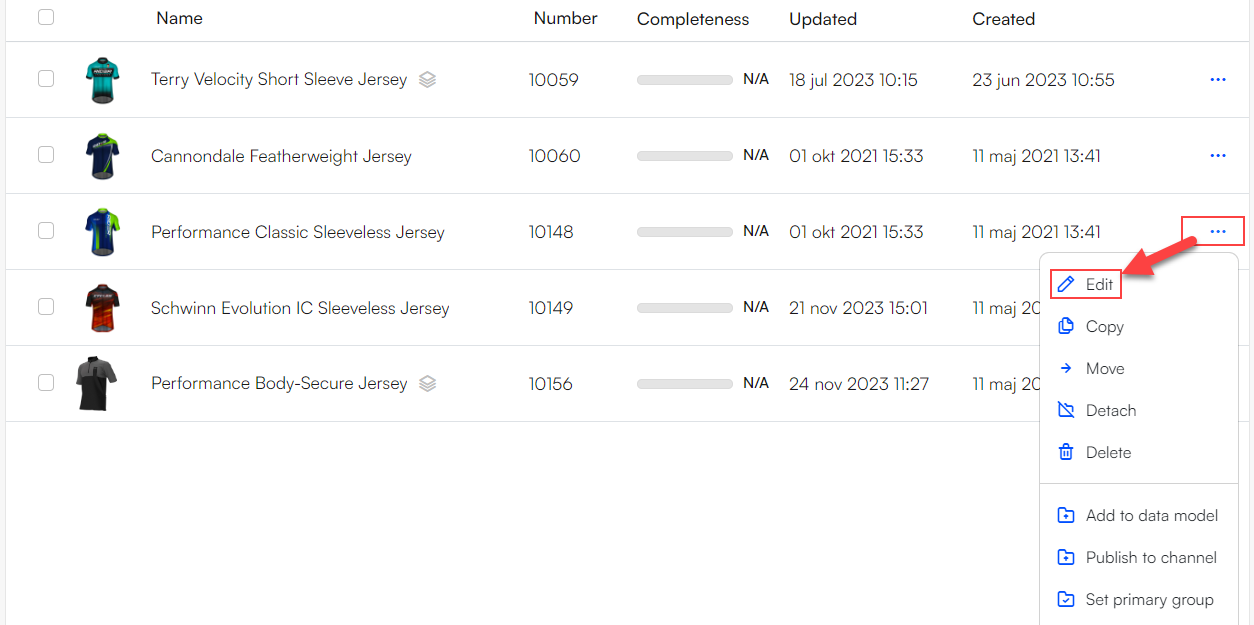
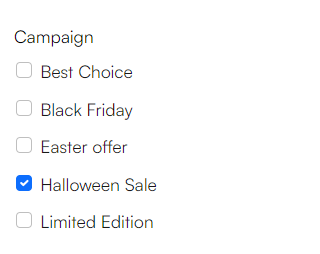
Scroll down to the Campaign section and check the boxes for the campaigns you wish to add to the product.
Multiple Variants
When a product includes multiple variants, the approach in linking it to a campaign involves an additional step: selecting the specific variants that will be associated with the campaign. For instance, you might want to include only the green variant of a shirt in a sale, not the red variant.
To add a campaign to one or more variants of a product, you need to:
- Enter the product by clicking it
- Head to the variants section
- The variants section contains a list of the variants of the product
- Click Manage in the top right corner of the 'Combinations' list
- Check off the variants you wish to include in the campaign
- Click Actions in the top right corner and select Grid Edit
- Scroll to the right and until you find the Campaign column
- Click the dropdown arrow of the top row and select Set value
- Select your campaign and click Ok
The last thing to do is to clear your browsing data of cached images and files. That way, your system will load the latest changes and you will be able to check if everything is as it should be.
Exercise 5: Showing badges in frontend
Ecommerce badges can be attached to multiple columns:
- Product List - Grid View
- Product List - List View
- Product List - Compact View
- Product Details Media Gallery
- Product Details Media
- Product Slider/Grid view
- Related Products List View
To attach a badge to a column, do the following:
- Click the green pen icon on the column you wish to add your badge to
- In the Badges section, select the Halloween badge you’ve just created
- In the New publications section you can chose how many days the badge should be displayed on the product
- In the Sale type section, if the product has a Discount, you can choose to show the discount as text, a percentage, or an amount.

Your newly created badge should now show on the chosen column.
That's it! You've successfully crated a campaign and an ecommerce badges collection, created and designed an ecommerce badge, linked a product to a campaign and shown it in frontend.