This article is a step-by-step guide to making a local installation of DynamicWeb 10 using Visual Studio Code, a free IDE that you can run on Windows, Mac or Linux.
Before you can install DynamicWeb 10 using VS Code follow these steps:
- Install .NET SDK 10.x
- Install SQL Server Express (or equivalent, see requirements) and SQL Server Management Studio Express (latest version)
- Install and launch VS Code
- In VSCode install the C# extension
You're now ready to install DW10 using VSCode.
Tip
If you're a Mac user, the setup for your database is going to be different - see here.
Install DynamicWeb Project Templates
First install the DynamicWeb Project Templates package:
Open up a PowerShell terminal inline in VS Code
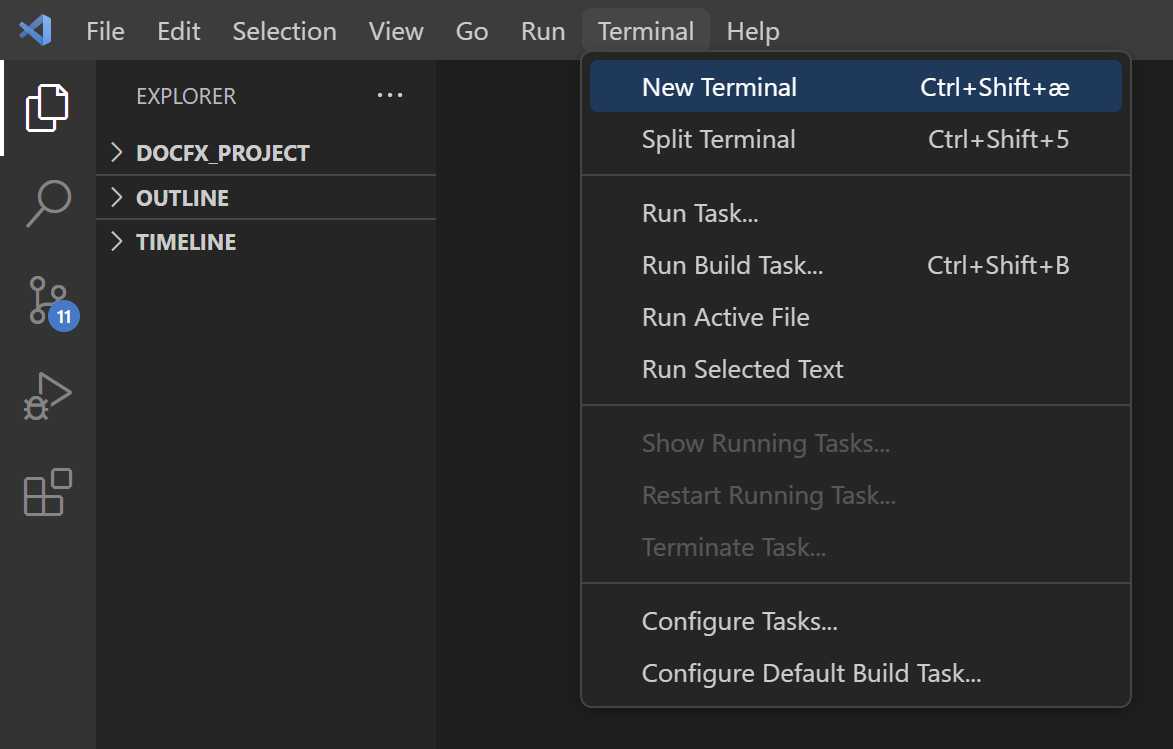
In the terminal type the following (don't worry about the folder context you're in yet):
dotnet new install Dynamicweb.ProjectTemplates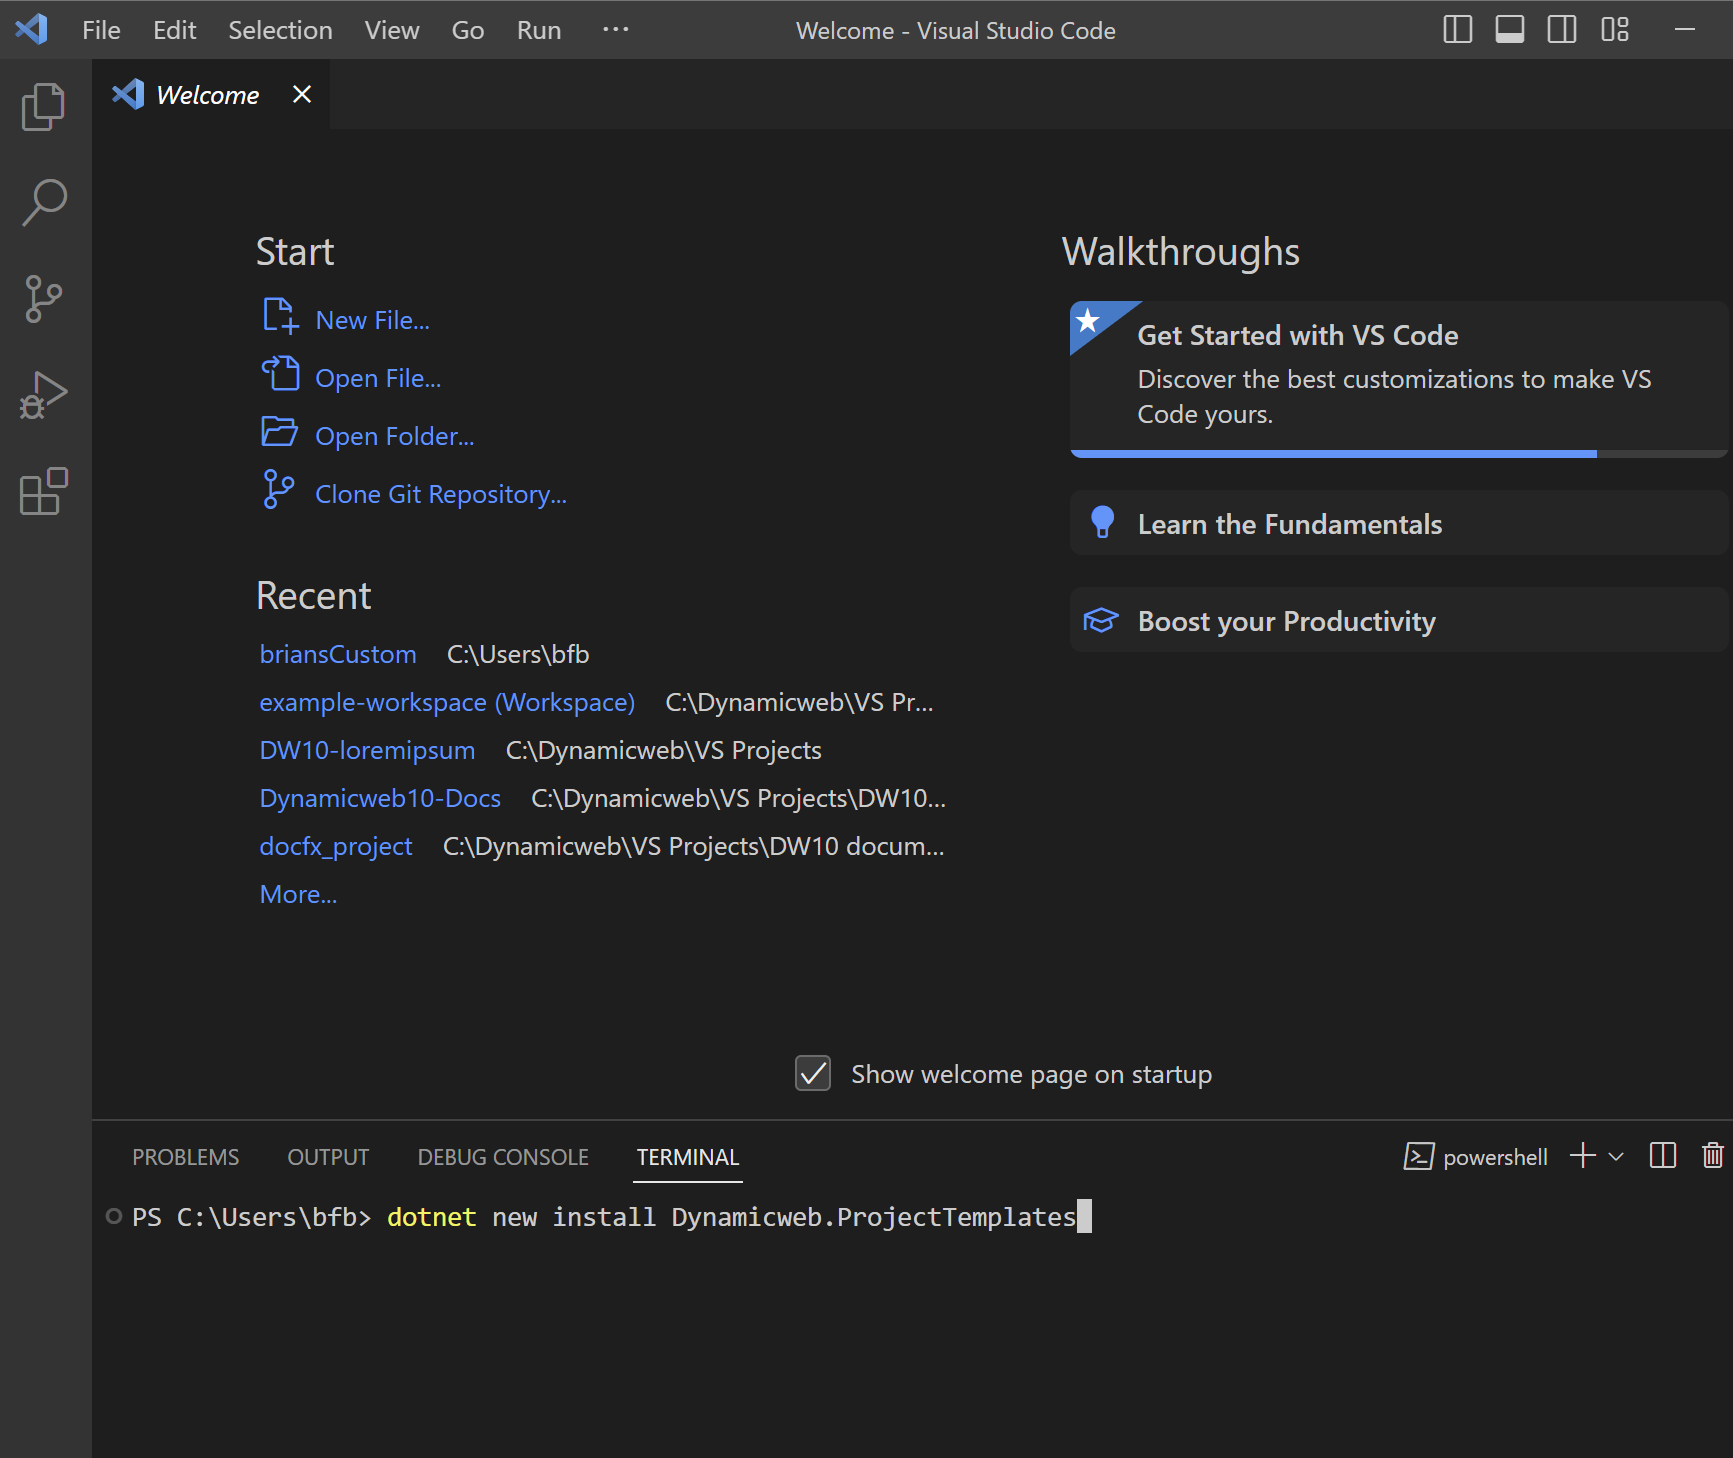
Select the folder where you'd like to install your solution by using the 'cd' (change directory) command:
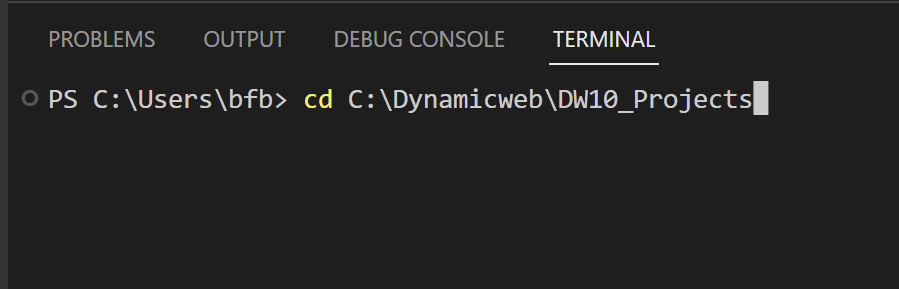 Tip: You should consider creating a folder on your hard drive for local development and create a new folder for each solution you create
Create a new DW10 project
Use the terminal to create the new DynamicWeb project
dotnet new dw10-suite --name 'Example DW10'
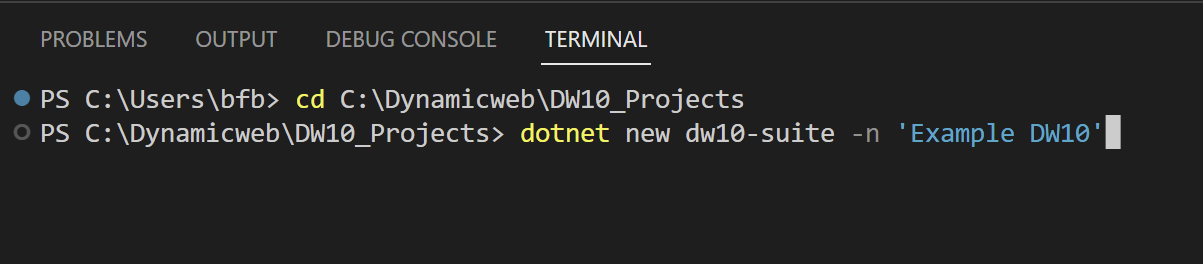
This will create a new DynamicWeb 10 Suite in a folder called 'Example DW10'. You could also have chosen the 'dw10-cms' template. If you are already located in the directory you would like to make the solution in, for example by using the 'md' command, you could also omit the '--name' parameter.
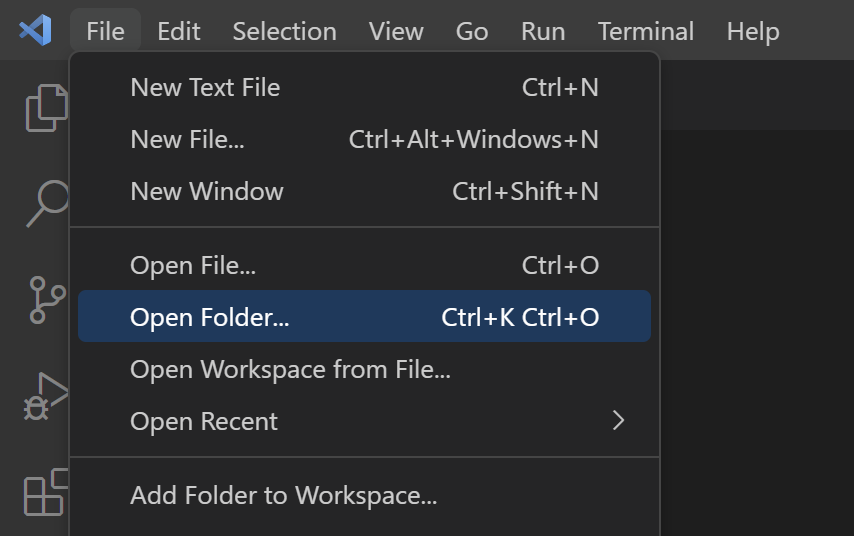
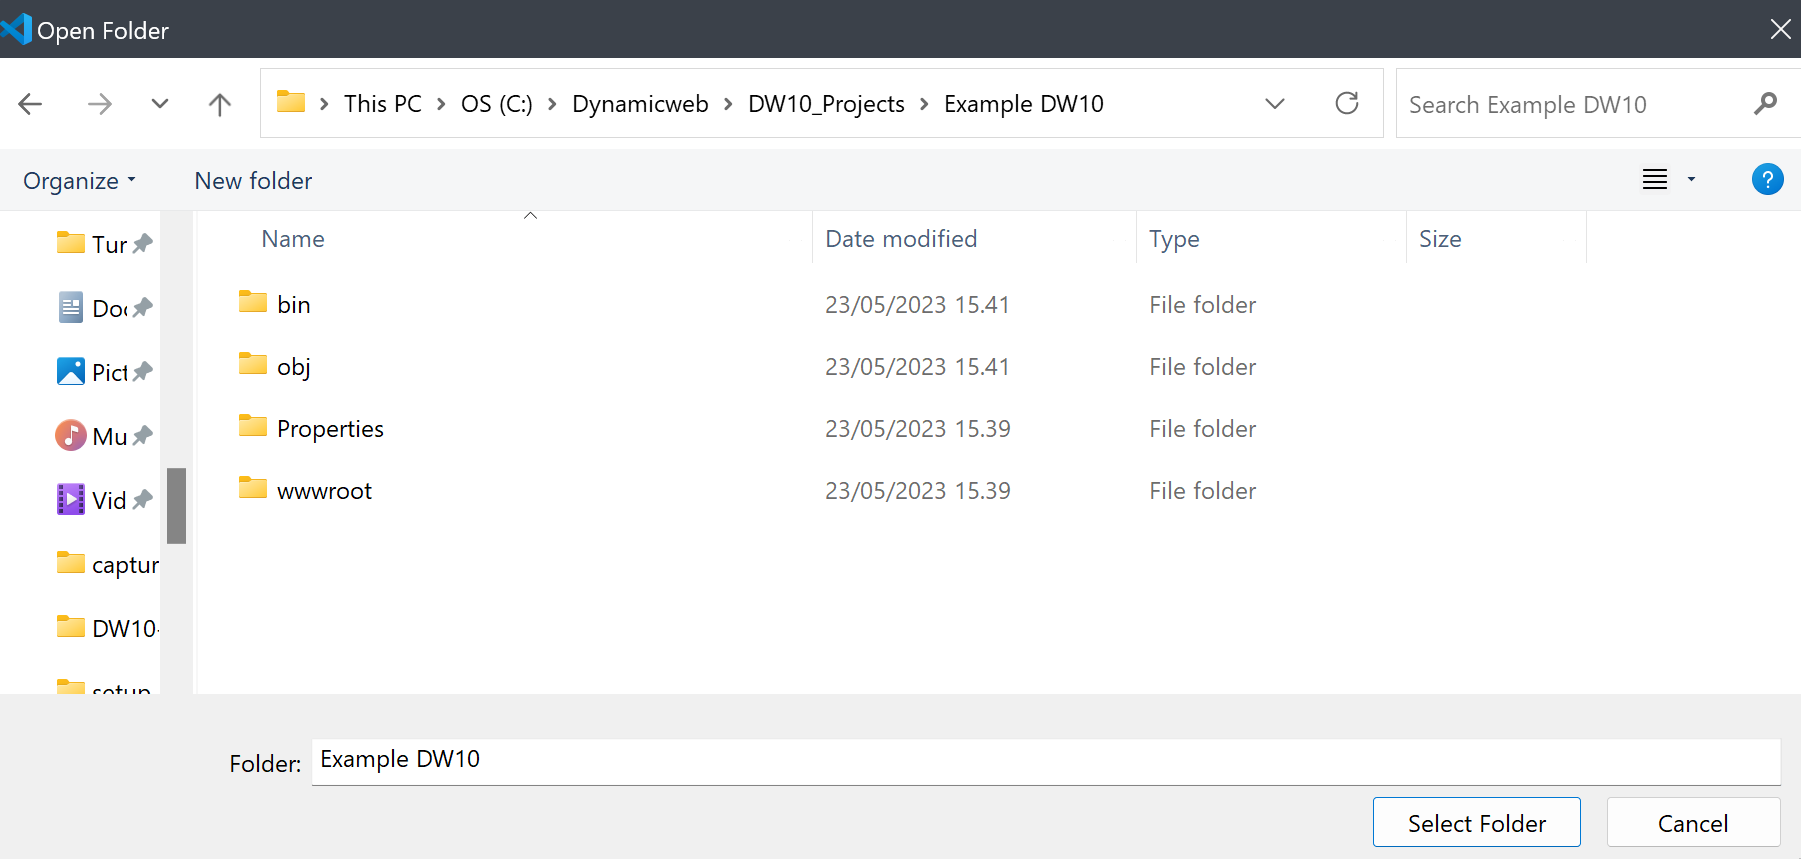
Open the project in VS Code
In VS Code, you can now open and select the folder where you've created your project:
You may get a message saying offering to add assets. Go ahead and say yes.

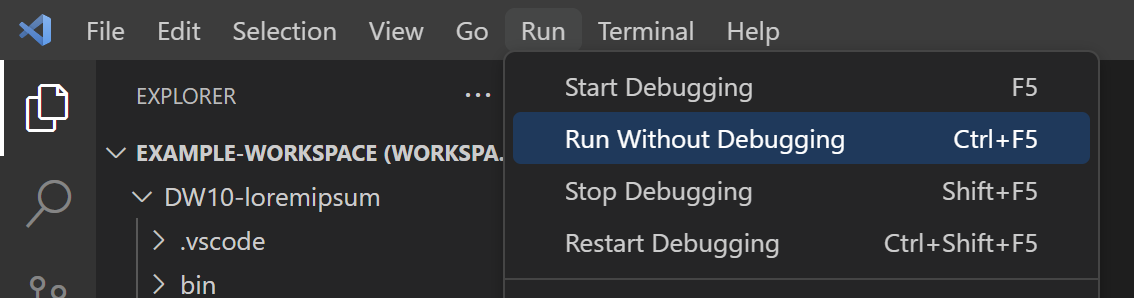
Run the project
The project is not yet built - to do so you can run it using the menu or Ctrl+F5:
 Alternatively, you can also enter 'dotnet run' in the terminal:

This will open a new browser window with your new solution and the first step of the setup guide.
Next Steps
After installing DW10 locally in this manner there are several things you can do:
- Follow the setup guide and explore DynamicWeb 10
- Prepare for local frontend development
- Prepare to extend DynamicWeb 10 with custom functionality
Explore DynamicWeb 10
If you want to check out what DynamicWeb 10 is about you should simply follow the setup guide to generate a Files-folder and a database and log into the administration.
Note
If you want to install a Swift (or another pre-packaged solution), you should follow the Extract the database and Extract the Files-folder steps in the Swift install guide before proceeding with the setup guide.
You can then connect to the extracted Files-folder and database instead of generating new empty ones.
Local frontend development
When you use the installed project to do frontend development, you don't need to run the application (except initially, to build it). Instead, you use the project primarily to provide code completion/IntelliSense.
To activate IntelliSense:
- Install the C# Dev Kit extension
- Sign in with Microsoft to use the extension

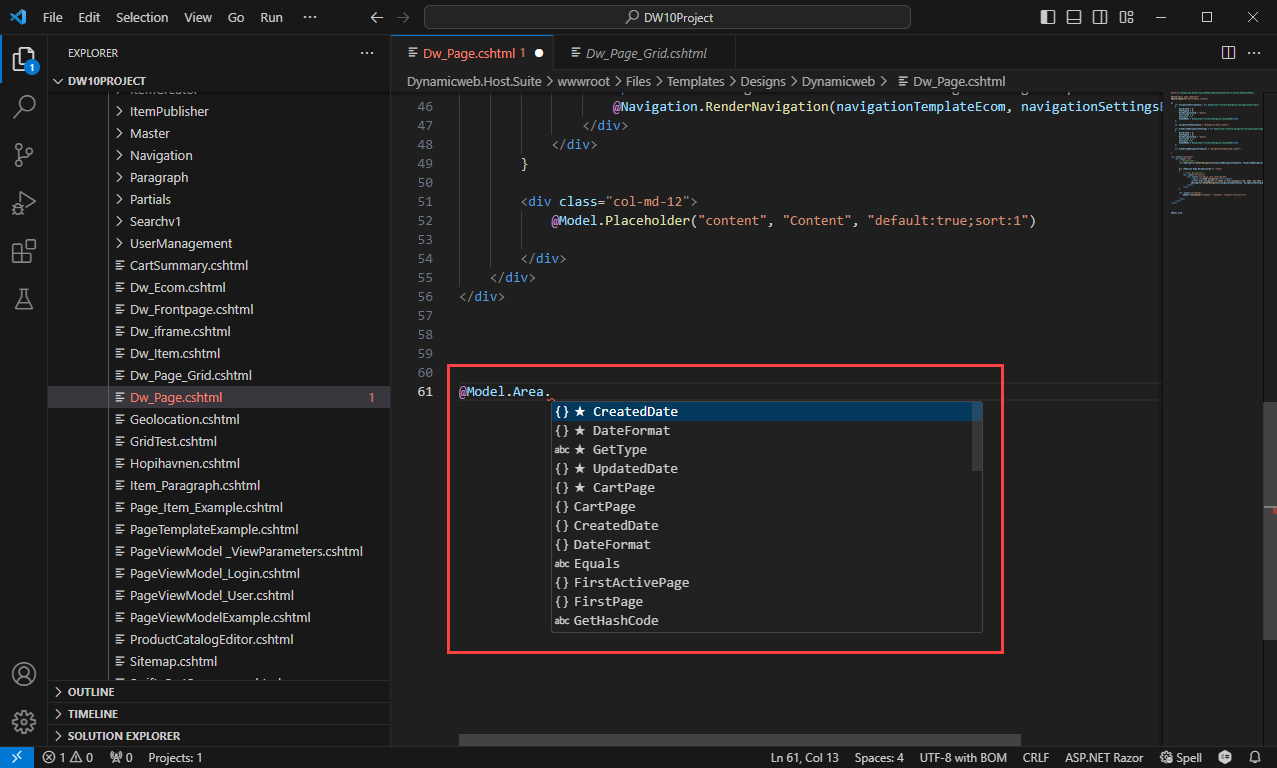
Once you've signed in you should have a bit of patience - VS Code needs to load all the references in DW10 which takes a while. After it's done you've got IntelliSense:
Note
Please note that you need to add a Files-folder with your design and template files - e.g. a Swift Files-folder - to the project manually.
You can add it anywhere in the 'Example DW10' project folder, but if you want to run this application you should place it in the wwwroot-folder where the application expects to find it. If you're only using this project for IntelliSense it doesn't matter where you place it.
Develop custom functionality
To set up an environment for developing custom functionality, please consult the extensibility documentation.