Creating a website
Set up your website and get started with DynamicWeb 10
Welcome to the first tutorial in our introduction series for DynamicWeb 10. In this tutorial, we will show you how easy it is to create a content website from scratch using DynamicWeb 10.
To follow this guide, you need access to a clean DynamicWeb 10 solution with no preconfigured design. If you don't have access to a clean solution, you can easily install one locally using one of our install guides.
Once you've completed the install process, log in to your solution and proceed with this tutorial.
Tip
This tutorial is based on a clean DynamicWeb 10 solution with no example data. If you're looking for the Swift-based design tutorial, look here.
Part 1: Websites & Pages
A website is a default building block in DynamicWeb 10 under which pages are placed. All solutions are born with a default website called Standard, which is also the one we will use for this tutorial.
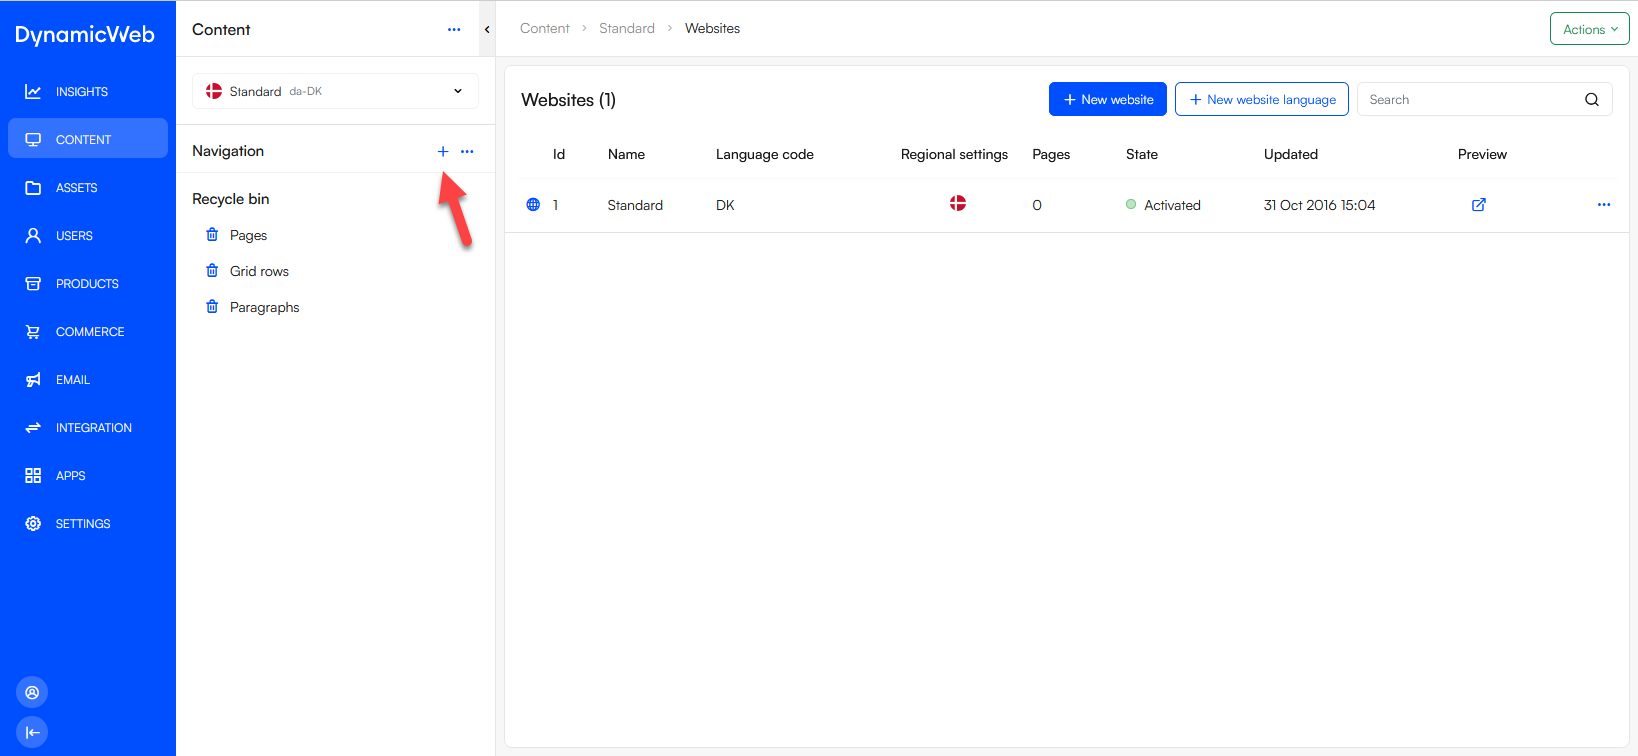
Currently this website has no pages - create one:
- In the navigation tree, click the +-icon

- Select the Standard page type (should be your only choice)
- Enter a page title - e.g. Home
- Save
Most designs will use the page tree structure as the basis for a website navigation in frontend, but that's of course customizable (and outside the scope of this article).
Speaking of designs, your website doesn't have one yet - let's do something about that.
Part 2: Designs & templates
A design is a collection of files which control how data you create using the administration interface is shown in frontend to website visitors. Designs consist of:
- Templates with markup and code fetching content from the solution database
- Static resources like css, javascript, etc.
For this tutorial, we've created a very simple design for you - install it like this:
- Open your solution folder and navigate to
wwwroot/Files - If it doesn't exist, create a
Templates-folder next to theSystem-folder - Inside the
Templates-folder, create aDesigns-folder - Clone the BasicDesign repo into this folder
Each folder inside the Designs-folder is a design, and you can have multiple on a solution. To make your website use a specific one, you need to select it at the website level:
- Open the DynamicWeb administration and navigate to the Content-area (where you created the page)
- Click on the Standard-website to open the website settings
- Switch to the Layout-tab
- Use the dropdown to select defaultPage.cshtml as the Default page template
- Save
Once set, all pages created on the solutions will use this template unless you specifically select another one. You can read more about designs & templates if you're interested.
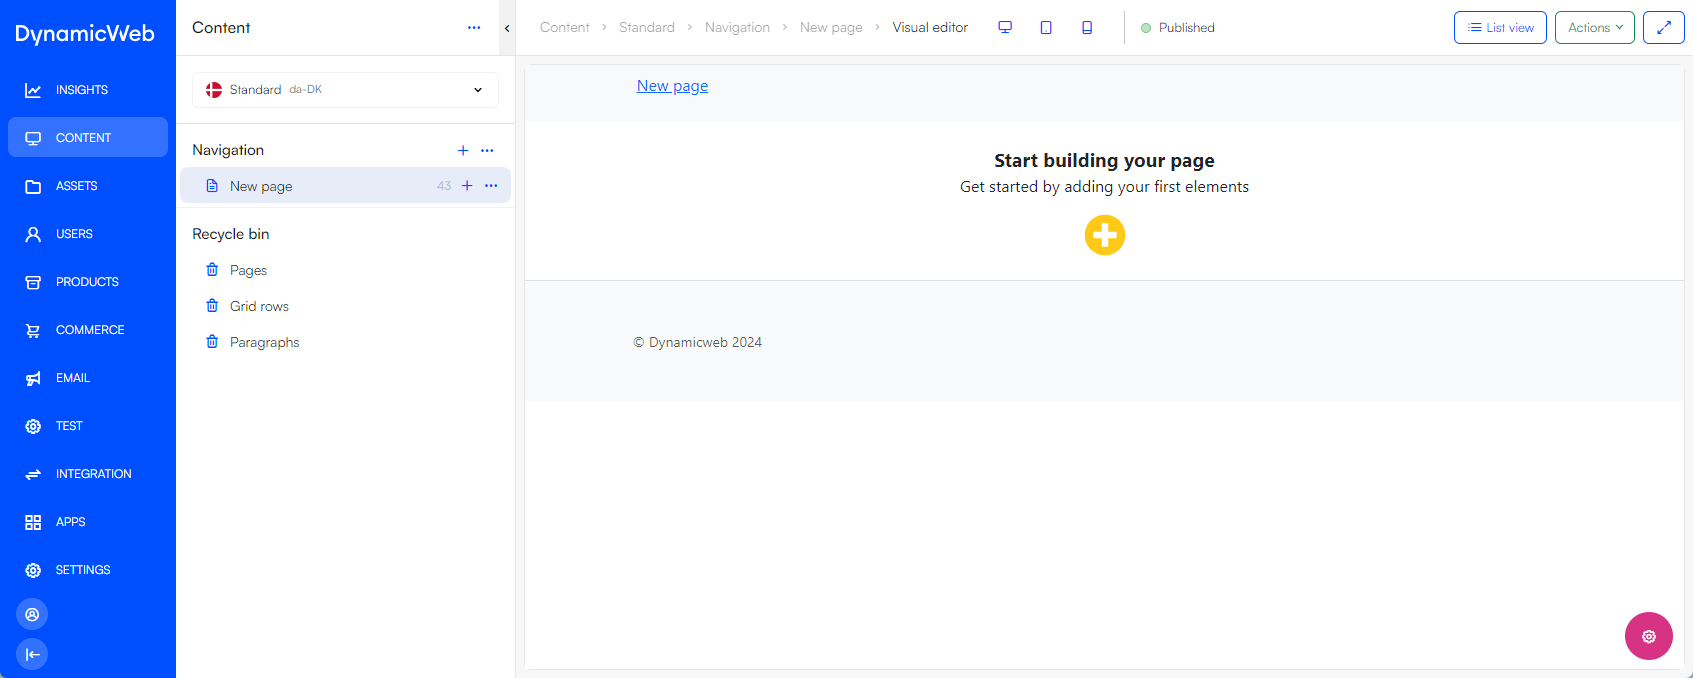
Go back to the content area and click on the page you created - it will now open in the Visual Editor mode, an editing mode which shows a preview of the page layout as it's being edited.

Part 3: Creating the content grid
The design you just applied is grid-based, which means that it allows you to dynamically create a content grid using rows with preconfigured columns, then add content to the columns using paragraphs.
First, create the content grid:
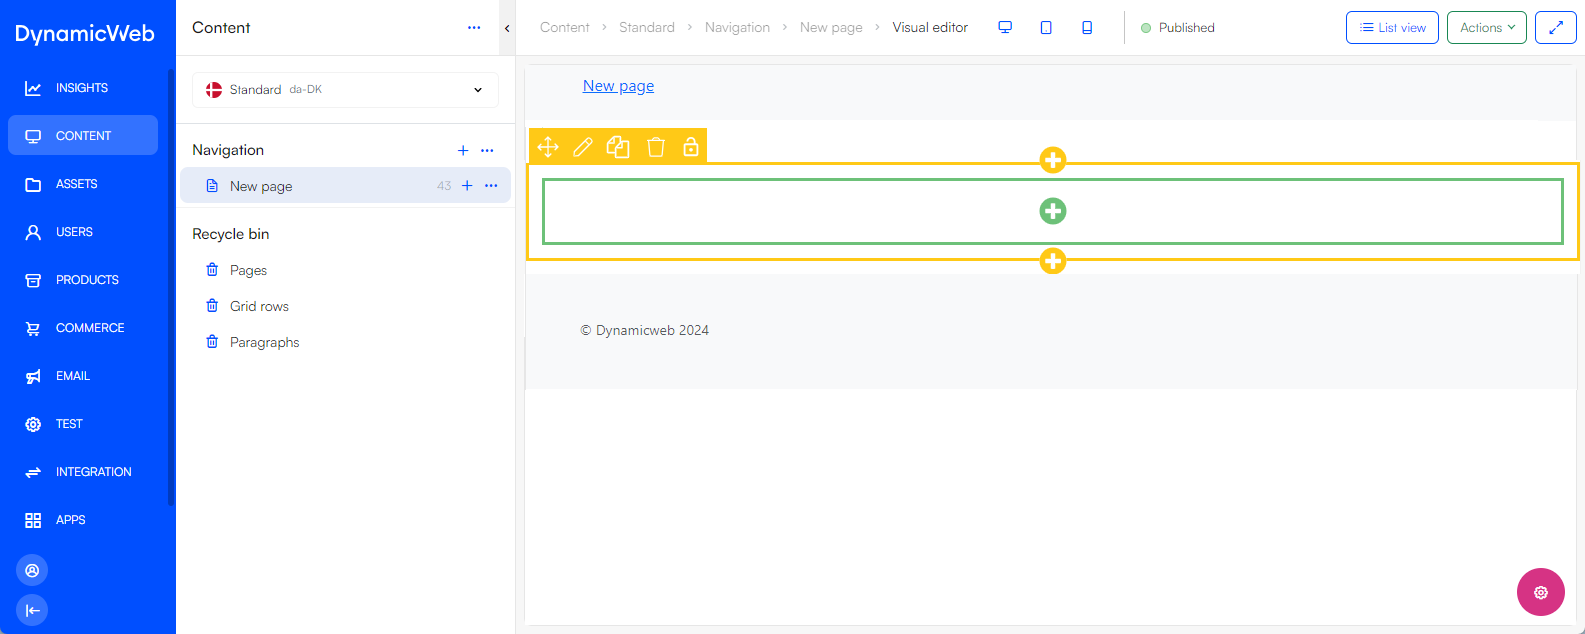
- Click on the yellow plus button in Visual Editor
- Select 1 Column
You've now defined a grid on your page that consists of 1 row with 1 column. The yellow outline represents the row and the green outline a column:

A grid-based design is only one of the possible content models you can implement using DynamicWeb 10, read more here.
Part 4: Adding content to columns
Next, add content to the column in your grid:
- Open the paragraph selector by clicking the green plus button inside the column
- Select a paragraph to add
- Add text, images, and use the different paragraph-specific settings to configure the content
- Save
At this point, only the standard paragraph is available to you. It allows you to add a title, some text, an image and related image settings. In real world projects, you will create custom paragraph types by attaching item types to paragraphs - see the Swift content columns article for inspiration.
Part 5: Open page in frontend
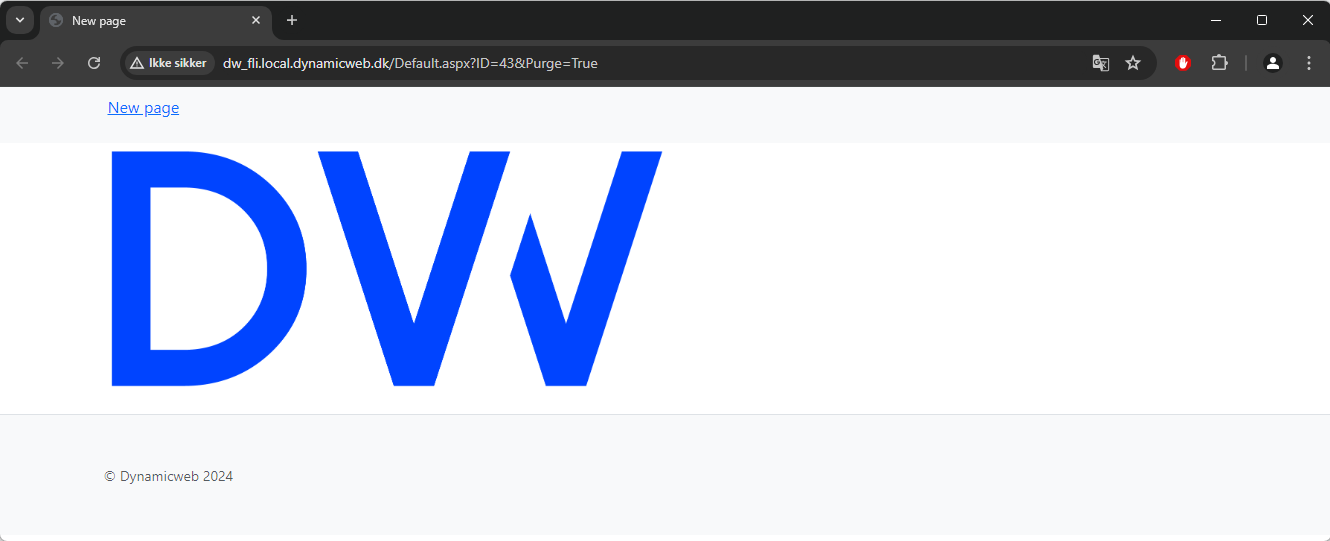
Now that you've created a page, applied a design, and created a row and a column with content, you can open your website in frontend and see how it looks.
In the navigation tree, open the context menu for the Home page by clicking the dots (...), then select Preview - the page will open in a new tab in your browser.

You're now ready for the next tutorial - From website to webshop.
Next steps
This concludes the first tutorial in our introduction series for DynamicWeb 10. In this tutorial we covered the following:
- How to create pages
- What a design is - and how to clone an example design into your solution
- How to set a default page template for a website
- How to use the visual editor to create and structure content
In the next tutorial, we will teach you to go from this very simple content website to a webshop so you can sell stuff online.